Canvas Art

In the fall I taught a class using the Canvas Art Workshop On The Go® which was Close To My Heart’s special for July.

Here is my finished project:

papercraftingwithkellyjanes.com

 I love the large frame for the 5×7 photo, but I wasn’t overly fond of the colors of the frames for the 2.5×2.5 photo. Thankfully CTMH offers a variety of chipboard accents and I happened to have the perfect frame on hand from the Dimensional Elements Framework. I used Ruby Exclusive Ink® with a sponge dauber to color the white frame to match the theme of the art project.

I also wanted the canvas to be as versatile as it possibly could be, So I added hook & loop velcro dots to the underneath side of the frames, and onto the canvas where the frames attach.

papercraftingwithkellyjanes.com

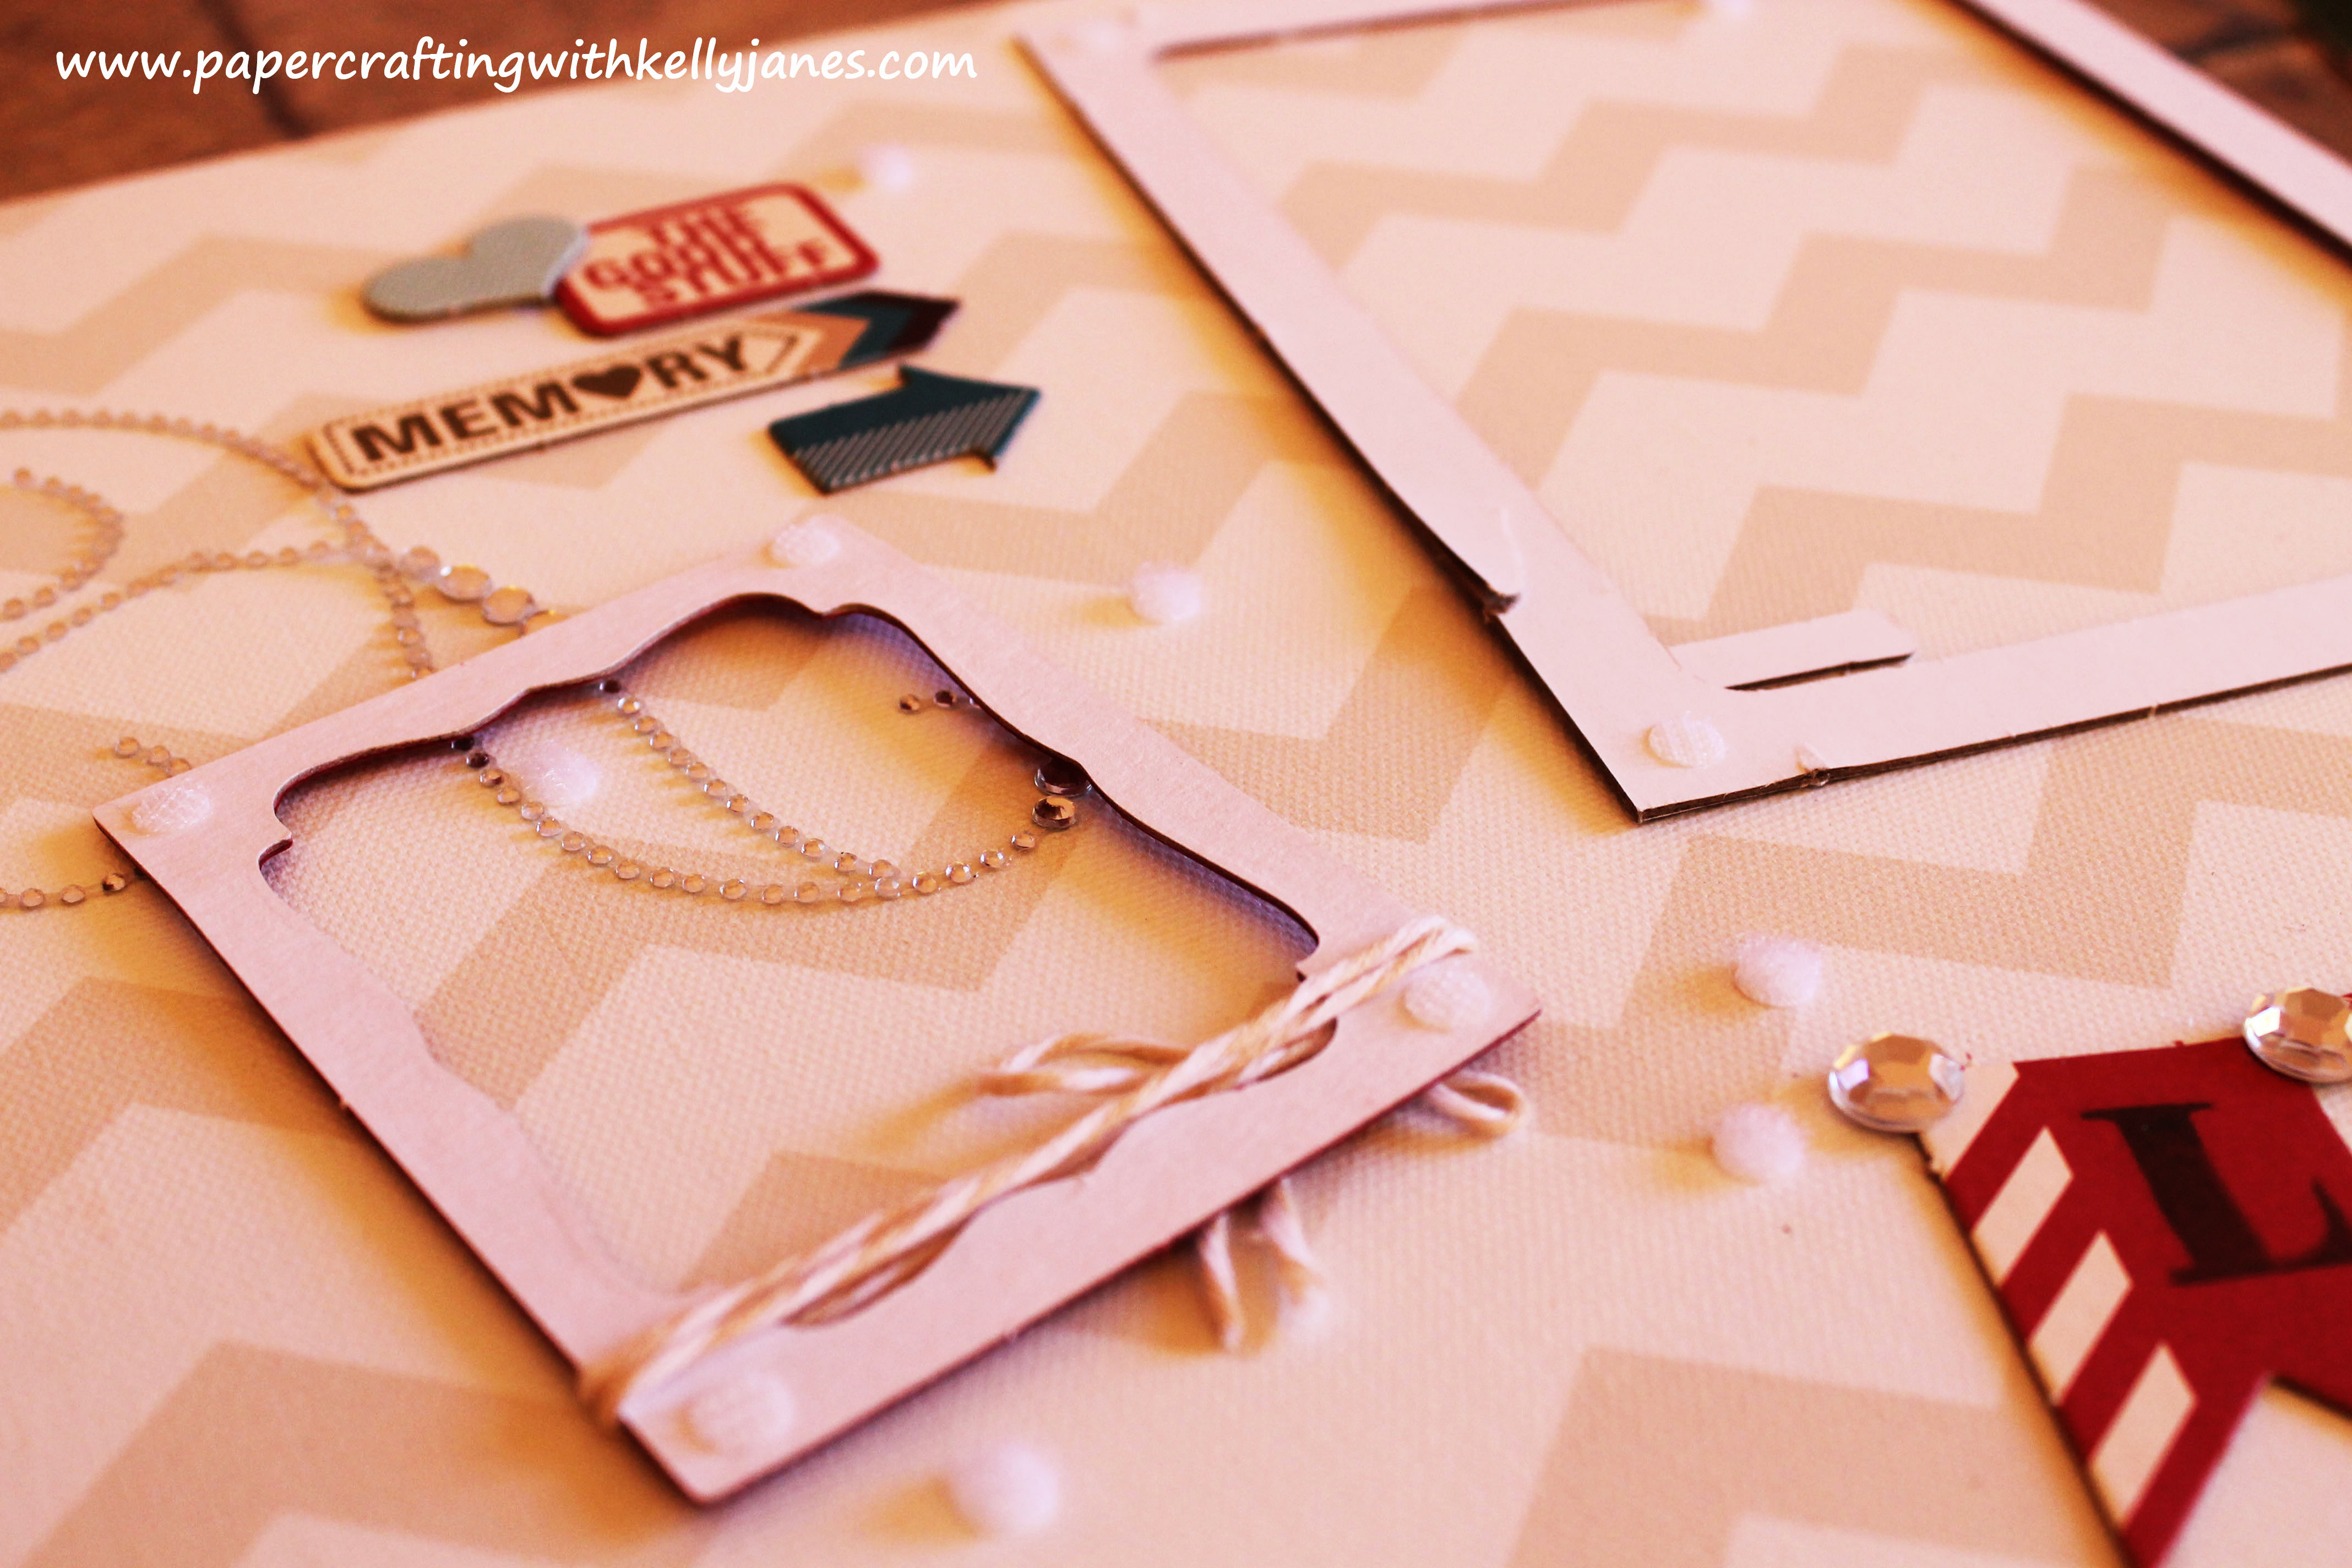
As you can see below, by using the Hook & Loop velcro dots I can swap my photos in and out easily! This is the same canvas, but it has a completely different look by just swapping the photos! Changing the photos is a snap since the frame from the Framework Dimensional Elements is made to fit a wallet size photo versus the frame that came with the kit which is made to fit a 2.5×2.5 photo. Simple and easy! Love that!!!!

papercraftingwithkellyjanes.com

Now onto the card a card I created in September! (Wow! I know this is late, but better late than never, right?!?)

papercraftingwithkellyjanes.com

{Card inspired by page 89 in the Autumn/Winter 2013 Idea Book. }

Starting with a Colonial White Cardstock base I added a layer of Autumn Terracotta Cardstock and another layer of Colonial White. Using the Remarkable Wreath Stamp Set I stamped the wreath in Cocoa Exclusive Ink® and the leaves in Autumn Terracotta Exclusive Ink®. The sentiment is from the same stamp set and stamped in Cocoa Exclusive Ink®. I also added some Bronze Glitz™ Glitter Gel (while supplies last) to the wreath to add some sparkle

papercraftingwithkellyjanes.com

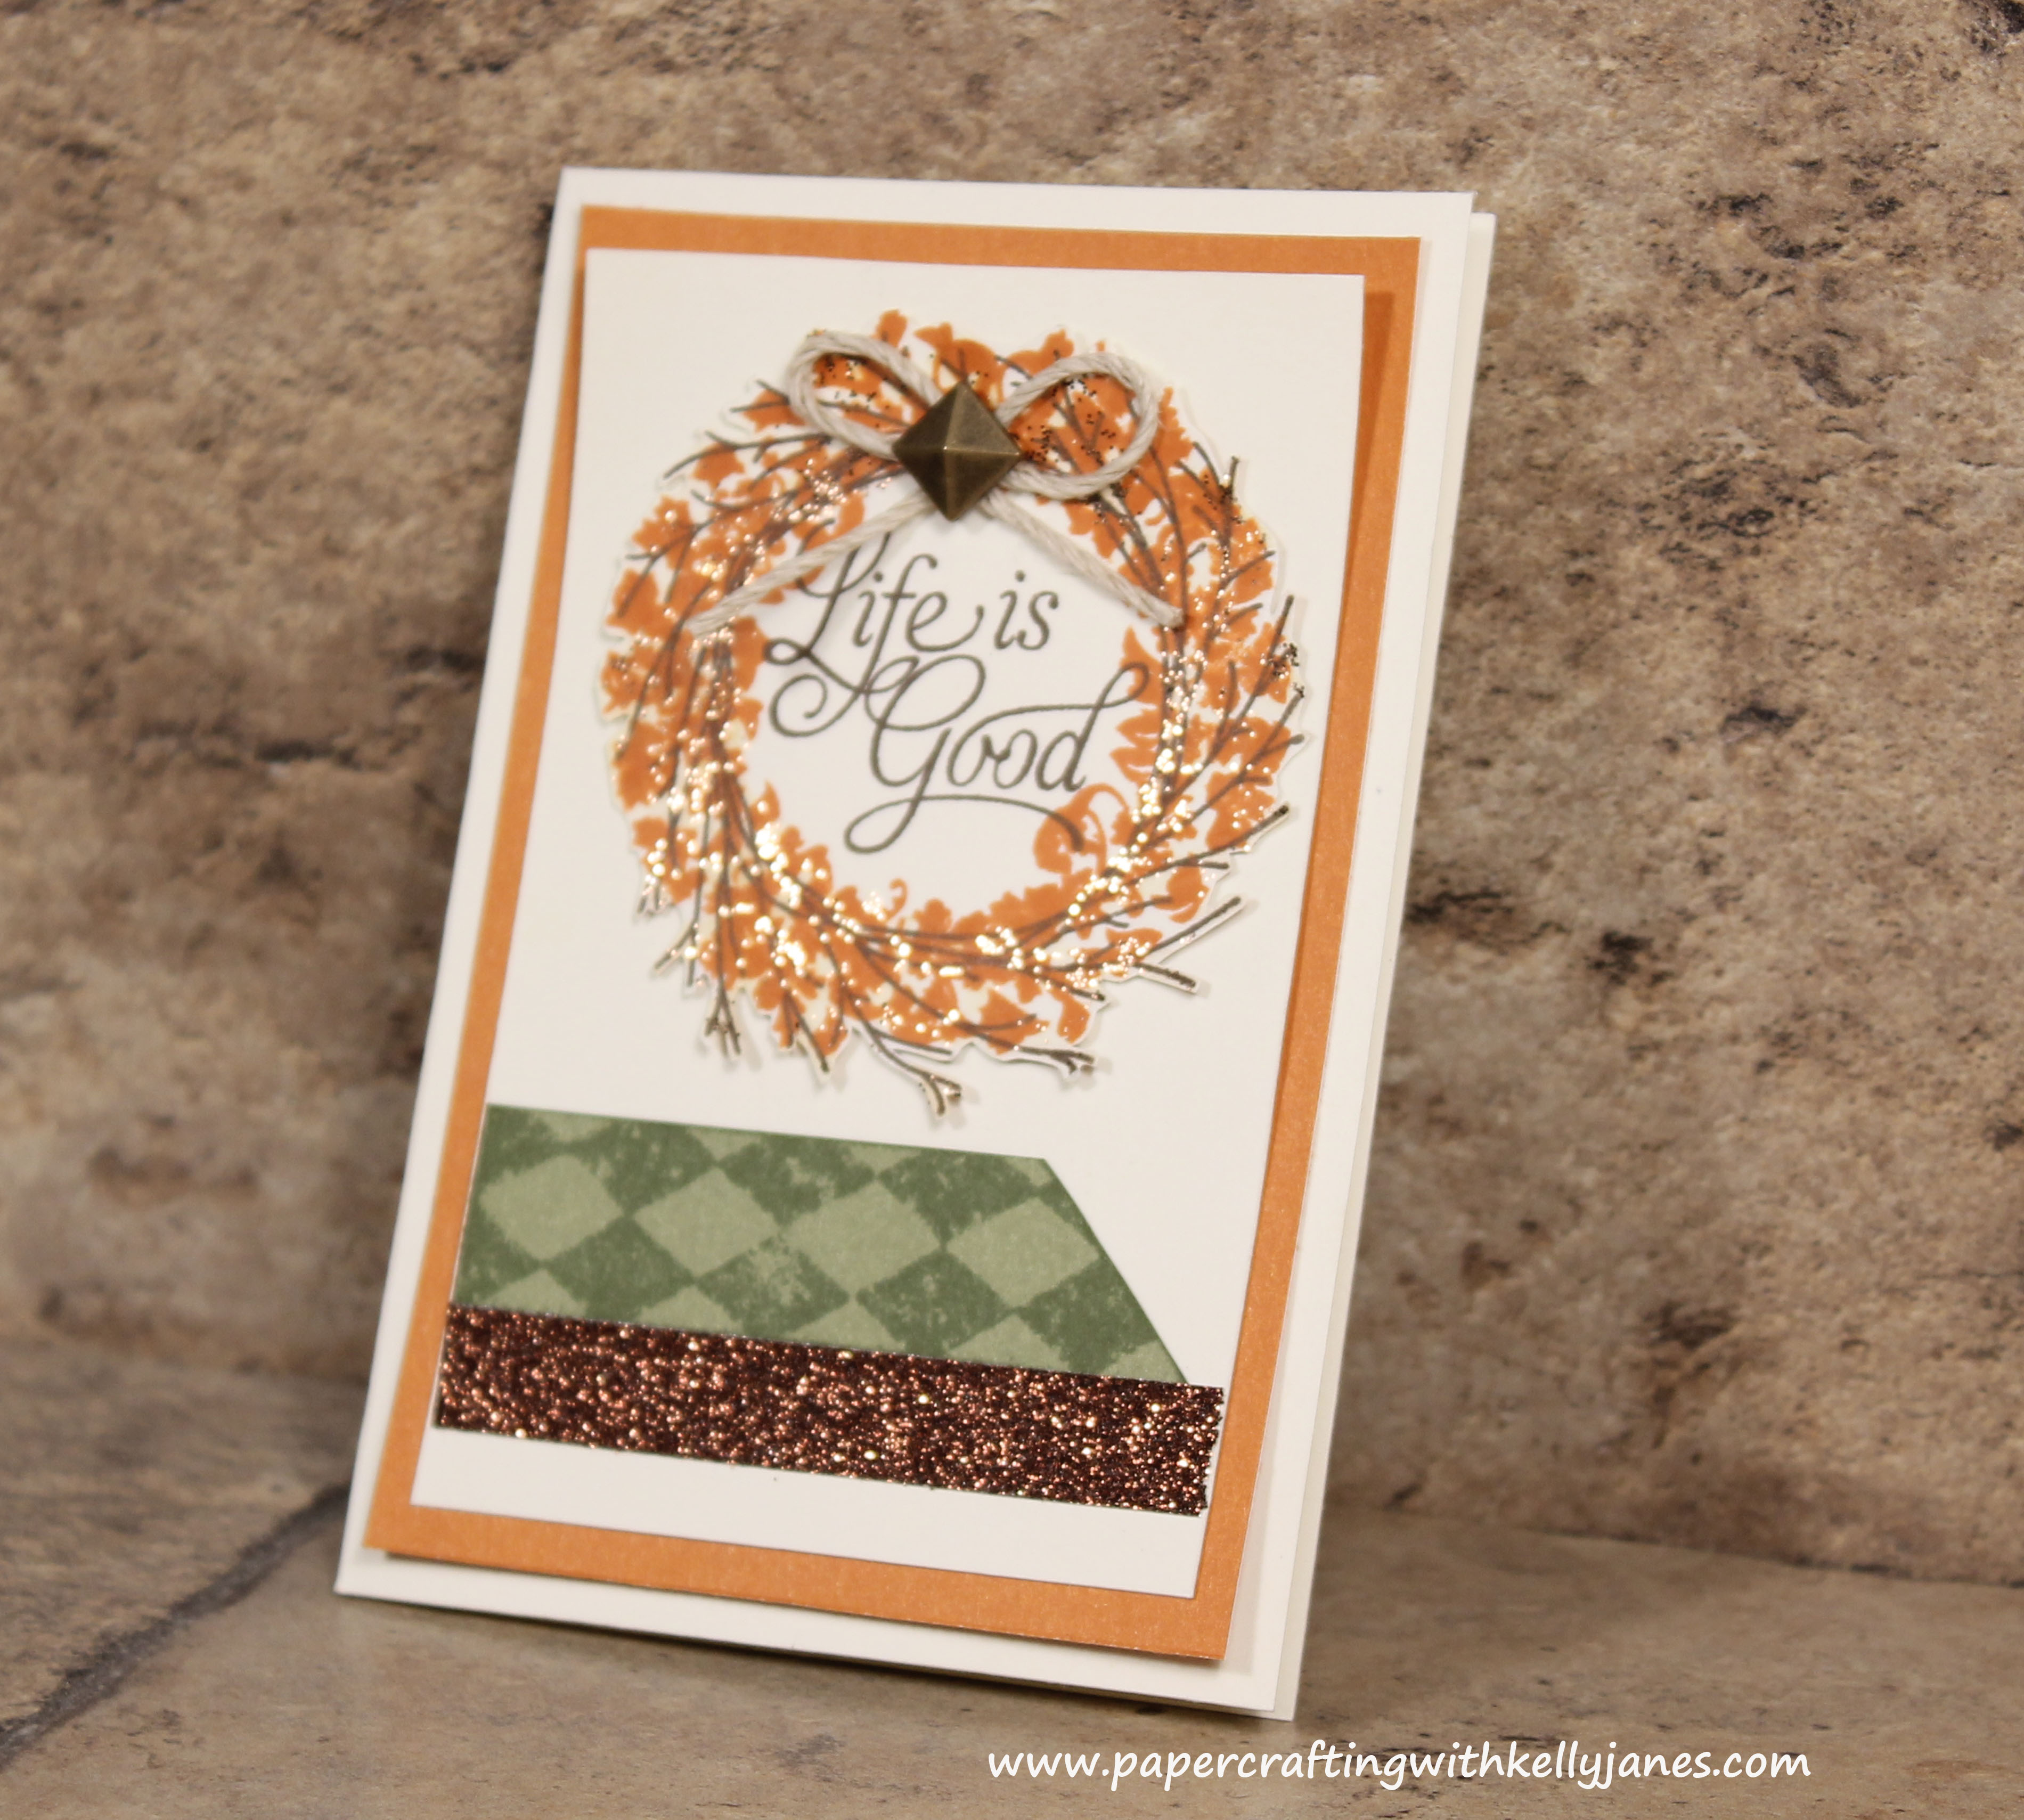
{Here you can really see the gleam from the Glitter Gel and the Shimmer Trim!}

The bow is tied using Natural Hemp (retired) and I added a Durable Square Stud (while supplies last) for a finished look. The strips at the bottom of the page are made using Olive Cardstock and Bronze Shimmer Trim. To create the pattern on the green cardstock I used the Fabulous You Stamp Set in Olive Exclusive Ink®.

-Kelly

Paper, Washi, Embossing! Oh My!!

I have two Christmas cards to share with you today!

Here is the first card:

CTMH: Sparkle & Shine

Starting with a white card base, I added a B&T layer of the Sparkle & Shine Paper Packet (only available until December 31!!!). Next adding a layer of Juniper Cardstock, stamped with snowflakes from the Santa Claus Stamp Set in White Daisy Exclusive (Pigment) Ink®.  Now how cute is that Santa image?!!? It comes from the same Santa Claus Stamp Set in Ruby Exclusive Ink®. The cute border is from the Workshops On The Go® Sparkle & Shine Scrapbooking Kit (available only until December 31!!!) and is stamped in Whisper Exclusive Ink®.

I used a masking technique when stamping the border. I stamped the Santa image on a piece of scrap paper and cut it out. Using a sticky note to temporarily hold the Santa image in place so I could stamp the border around the Santa image. {Card inspired by Just Jingle}

Here is the second card:

CTMH: Sparkle & Shine CTMH: Sparkle & Shine

Using the Honeycomb Stamp Set I stamped a variety of hexagons using Juniper Exclusive Ink®, Ruby Exclusive Ink®, and Versamark®. I then used silver embossing powder and my Craft Heater to melt the powder to give that great shine on the card. Next, I added a layer of  Sparkle & Shine Washi Tape, which also has great shimmer!!! To finish the card I added a strip of B&T paper from the Sparkle & Shine Paper Packet and another layer of Juniper Cardstock. Once again stamping the sentiment, from Perfect Fit-Holidays Stamp Set, in Versamark® and using the same technique with the silver embossing powder. I also used a Corner Rounder in the upper right hand corner of the card. {Card inspired by North Shore Stamper}

When CTMH introduced the mini pigment pad sets it took away the need to have multiple jars of embossing powder!! You just add the Clear Detail Embossing Powder directly to the ink. The powder melts allowing the color to shine through. You get 10 different colors included in the mini pigment pad sets meaning you can heat emboss 10 different colors using just ONE jar of embossing powder!! AMAZING!

—————————————————————————————-

-Kelly

*All products mentioned are from CTMH unless otherwise mentioned