Altenew Live Your Dream Scrapbook Collection Release Blog Hop + Giveaway

Hey friends! I’m so excited to be joining the Altenew Live Your Dream Scrapbook Collection Blog Hop! If you started the blog hop from the beginning then you would have come from Laurie Willison’s Blog. If you’ve started here, WELCOME! I’ll have a link to the next blog at the bottom of my post so you’ll still be able to make your way around the entire blog hop.

This Live Your Dream Collection is GORGEOUS! It’s so gorgeous that I found myself really wanting to hoard the whole thing! HA! I really love the wide variety of projects that you can create with this collection. It is a bright and elegant line that you really can use to document any occasion. From the little daily moments, you want to remember forever to bigger milestones like parties and birthdays. All of the products in this collection are very versatile and you can use them for many different projects such as 12×12 layouts, pocket scrapbooking, cards, home decor, and much more.

This collection contains:

  • 16 sheets of 12×12 double-sided patterned papers (2 of each/16 different designs)
  • 2 6″x12″ sheets of puffy alphabet stickers (220 pieces)
  • 2 6″x12″ sheets of chipboard stickers (38 pieces)
  • 2 6″x12″ sheets of clear stickers (31 pieces)
  • 1 pack of wood epoxy buttons (20 pieces)
  • 1 pack of die-cut cardstock embellishments (32 pieces)

Now let’s dive right into my first project…

Altenew - Live Your Dream - Kelly Janes

I took the Patterned Paper with the rainbow watercolor stripes and cut the blue, green and orange stripes from the paper. I tore each of the stripes in half and stacked the pieces vertically down the center of the white cardstock background. I then went through the Chipboard Stickers and Cardstock Die Cuts and chose the embellishments that matched the green, blue & orange patterned paper strips.

Altenew - Live Your Dream - Kelly Janes

Altenew - Live Your Dream - Kelly Janes

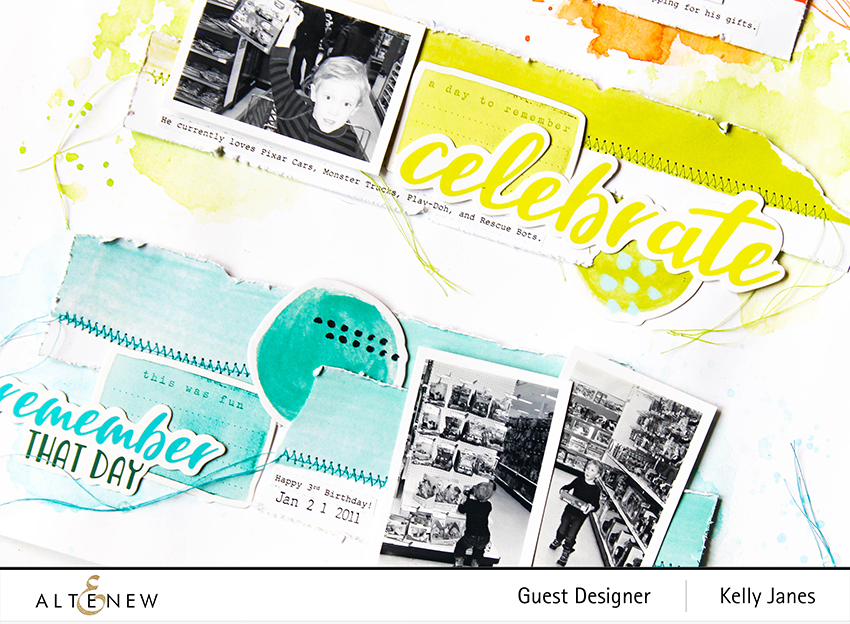
I wanted to add a little more visual interest to the background so I grabbed watercolors from my stash and added watercolor behind each of the strips. I then added machine stitching in coordinating colors to each of the patterned paper strips. Then I moved on to adhering everything down. I printed my journaling, cut it in strips and added a line of journaling to each cluster on the layout.

Altenew - Live Your Dream - Kelly Janes

Altenew - Live Your Dream - Kelly Janes

Now you can take a look at how this layout came together from beginning to end.


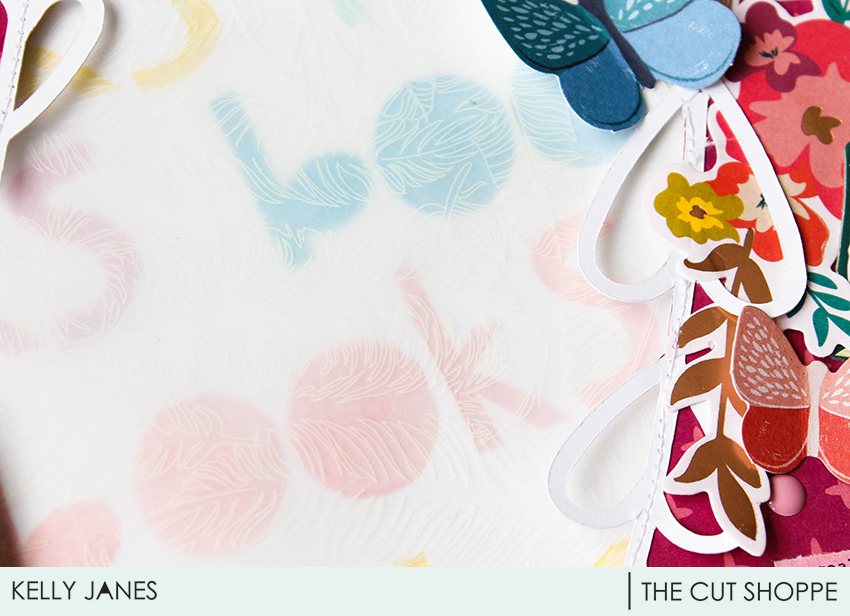
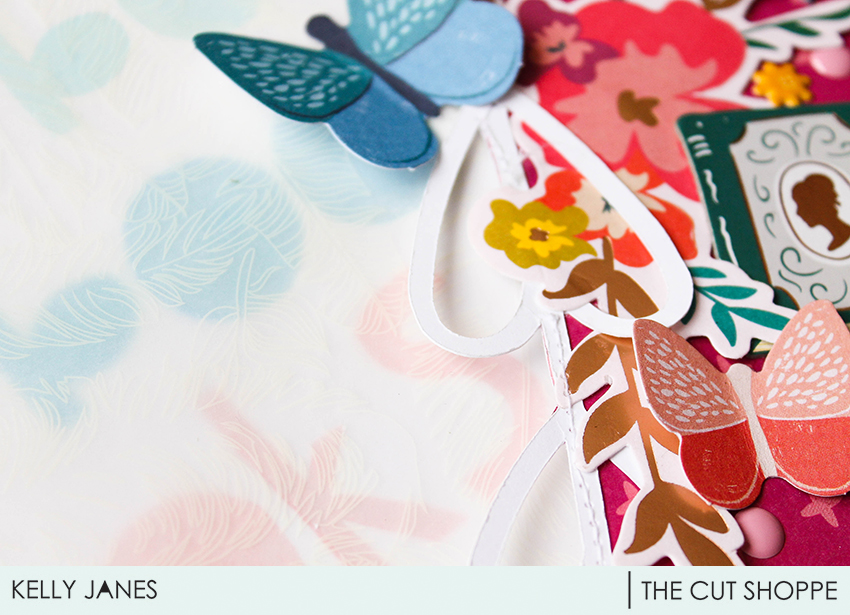
For my second project, I started with a white cardstock base. I used the Summer Vibes Cut File from The Cut Shoppe to cut palm leaves from one of the beautiful Patterned Papers from the Live Your Dream Collection. I positioned the palm leaves on the left side of the layout and placed my photo in the center of the cut files.

Altenew - Live Your Dream - Kelly Janes

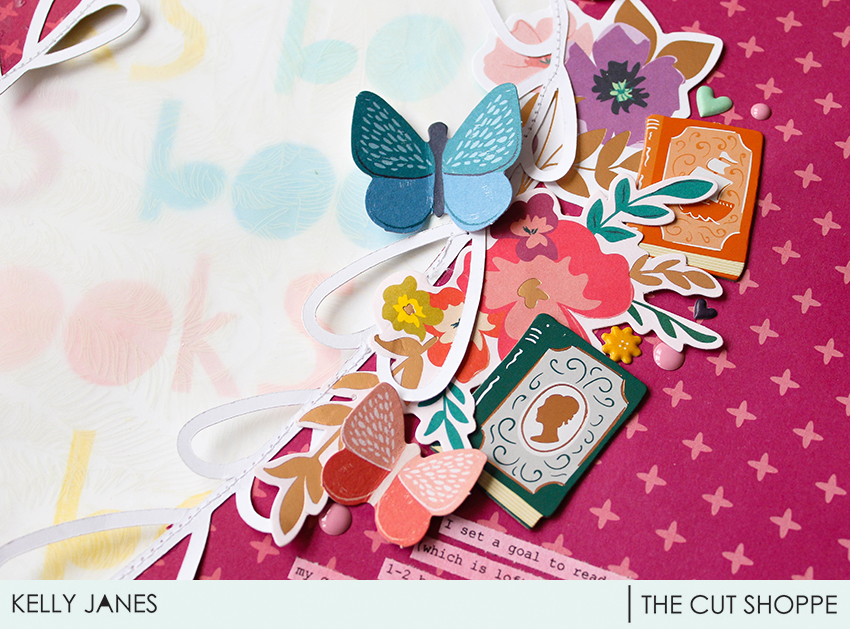
I used multiple Clear Stickers for this layout, but I wanted to use them as die cuts rather than a sticker. I adhered the clear stickers to scrap pieces of white cardstock and fussy cut them out. This way the clear stickers will stay true to their color and I’m able to move them around on my background easily.

Altenew - Live Your Dream - Kelly Janes

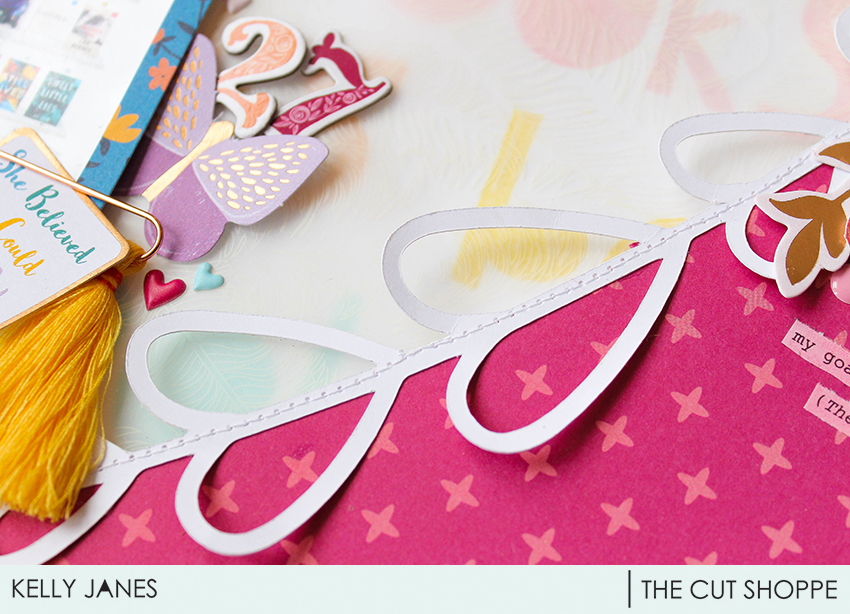
I grabbed the Altenew Watercolor Dots Stamp Set and a pink spray mist from my stash and added a messy dot background to the white cardstock. I love the added interest the stamping brings to the background. Once the mist was dry, I used my We R Memory Keepers Typecast Typewriter to add a few lines of journaling to the layout. I then brought all of the pieces back onto the background. I adhered down the patterned paper palm leaves, added the Clear Stickers and a few of the Chipboard Stickers also.

Altenew - Live Your Dream - Kelly Janes

For the title “Summer Memories”, I used a combo of the Black Puffy Alpha Stickers and one of the Chipboard Pieces.

Altenew - Live Your Dream - Kelly Janes

Here’s the process video showing how this layout came together.


GIVEAWAYS:

To celebrate this release, Altenew is giving away a $50 gift certificate to 6 lucky winners! Please leave a comment on the Altenew Card Blog and/or Altenew Scrapbook Blog by February 28, 2019 for a chance to win. 6 winners will be announced on the Altenew blogs on March 3, 2019.

Altenew has also kindly offered for me to give away a $30 Altenew gift certificate! All you need to do to enter the giveaway on my blog is to leave a comment on this blog post by March 2, 2019. (To leave a comment, head to the top of my blog & click on the number to the right of the blog post title.) I will be announcing the winner of the $30 gift certificate on my blog on March 3, 2019, so be sure to check back to see if you were the winner!


I want to give a huge THANKS to Altenew for asking me to participate with this crazy talented group of hoppers! I have no doubt that you are finding inspiration as you’re making your way through and your next stop is Erum Tasneem.

This blog post contains affiliate links. This means I will receive a commission (at no cost to you) from products purchased from those links.

Below is a complete list of blog hoppers and you can also find a complete list on the Altenew Scrapbook Blog.

Altenew Scrapbook Blog
Paige Evans
Enza Gudor
Kathleen Graumüller
Jen Schow
Zinia Redo
Bea Valint
Raquel Bowman
Sandra Dietrich
Amanda Baldwin
Maryam Perez
Svitlana Shayevich
Missy Whidden
Altenew Card Blog
Nathalie DeSousa
Kymona Tracey
Patricia Roebuck
Lydia Evans
Terhi Koskinen
Lilith Eeckels
Meghann Andrew
Reiko Tsuchida
Flóra Mónika Farkas
Virginia Lu
Kim Jeffress
Elsie Robinson
Laurie Willison
Kelly Janes <<< You are here
Erum Tasneem

27 Books | The Cut Shoppe

Hey friends! I’m back today with a recent layout I created for The Cut Shoppe using the Freebie Friyay With Love Cut File.

12x12 scrapbook layout for The Cut Shoppe Design Team using the Freebie Friyay With Love Cut File & Pink Paislee Paige Evans Whimsical Collection.

I set a goal at the beginning of 2018 to read 24 books. It was a lofty goal, because the year before I think I only read 1 or 2 books. I enjoy reading, but struggled to find books I liked at the library. I don’t follow authors or new releases so I never knew what I was looking for or what was new. Then I discovered Book of the Month (BOTM) and I rediscovered my love of reading books! I actually beat my goal and read 27 books in 2018! 26 of the books were from Book of the Month and 1 other from another book subscription I tried, Blind Date with a Book. I wanted to celebrate/document meeting my goal so I printed a screenshot of my “bookshelf” from BOTM.

12x12 scrapbook layout for The Cut Shoppe Design Team using the Freebie Friyay With Love Cut File & Pink Paislee Paige Evans Whimsical Collection.

I started by cutting the With Love Cut File on white cardstock using my Cricut. I then traced the inside of the heart on another piece of white cardstock. I used an older stamp set from Illustrated Faith and numerous Scrapbook.com Inks to spell out the word “books” in a rainbow of colors at a diagonal. The stamped words ended up being a little too bright so I added a layer of vellum over the words to help mute the boldness of the colors.

12x12 scrapbook layout for The Cut Shoppe Design Team using the Freebie Friyay With Love Cut File & Pink Paislee Paige Evans Whimsical Collection.

Many of Paige Evans Collections contain book related embellishments so I knew immediately wanted to use those collections. I started with the Pink Paislee Paige Evans Whimsical Collection. I grabbed Patterned Paper #3 (which is also included in the 12×12 Paper Pad) to use as my background and positioned the cut file so it was running off the left side of the page. I then used a pencil to trace the inside of the heart on the patterned paper and cut out the center of the heart. I added the stamped white cardstock in that spot, and positioned the cut file on top of all of those layers.

12x12 scrapbook layout for The Cut Shoppe Design Team using the Freebie Friyay With Love Cut File & Pink Paislee Paige Evans Whimsical Collection.

I then moved onto embellishing. I grabbed a few of the Whimsical Floral Die Cuts and positioned them along the top right of the heart. I also grabbed a few Ephemera Die Cuts; including the frame & butterflies. I thought one of the Whimsical Tassels would add a nice pop of color and added texture so I positioned one along the framed photo. I also grabbed a sticker from the Whimsical Sticker Book that says, “She believed she could so she did”.  I also grabbed a couple book chipboard stickers from the Pink Paislee Paige Evans Oh My Heart Collection. I wanted to add the number 27 somewhere on the layout, but the 7 in the Whimiscal Thickers was green. I didn’t have any of that color on the layout, so I reached for the numbers in the Pink Paislee Paige Evans Pick Me Up Thickers. The colors matched perfectly!

12x12 scrapbook layout for The Cut Shoppe Design Team using the Freebie Friyay With Love Cut File & Pink Paislee Paige Evans Whimsical Collection.

Once I had all of the die cuts in place, I added white machine stitching around the cut file heart. I needed to add journaling to this layout because I had the number 27 on the layout, but only 26 books are shown in the photo. I thought white cardstock would be too much of a contrast to add onto the pink patterned paper background. I decided I would print my journal and then add a little color to the copy paper to help it blend into the background.

I grabbed my Vicki Boutin Stencil Brush that I had used with a Red Art Crayon when I was creating my December Daily. I happened to rub the brush on a scrap piece of paper to see if I needed to clean the brush before using a different color art crayon. When I was testing the brush, I realized that the remaining color on the Stencil Brush was the perfect color! I just used the brush on the copy paper that I had printed the journaling on, and cut it into thin strips to add onto the background.

12x12 scrapbook layout for The Cut Shoppe Design Team using the Freebie Friyay With Love Cut File & Pink Paislee Paige Evans Whimsical Collection.

I had a small typo in the journaling, but didn’t want to go through the hassle or reprinting so I used one of the Whimsical Enamel Dots to cover my mistake. I then decided to add a few more around the layout along with a few tiny Puffy Stickers from the Whimsical Collection.

Now you can take a look at my process video to see step-by-step how this layout came together.

I’ve set a new goal for 2019 to read 30 books, and I’m off to a slow start. I’m only 2 books in, but I’m not giving up yet! HA! Did you set any goals for 2019? If one of your goals is to break out your die cutting machine and use it more (which I totally think you should!!), then remember to head to The Cut Shoppe Store to check out all of the cut files & digital collections!

This blog post contains affiliate links. This means I will receive a commission and/or free product (at no cost to you) from items purchased from those links.