Hey friends! Are you a fan of Valentine’s Day? I’m usually not a fan, but this year I was about all things pink and heart shaped. I seriously couldn’t get enough and I blame the scrapbooking industry! HA! There are so many cute, fun products available right now. I thought it would be fun to put together a Valentine’s mini album to showcase our Valentine’s festivities!
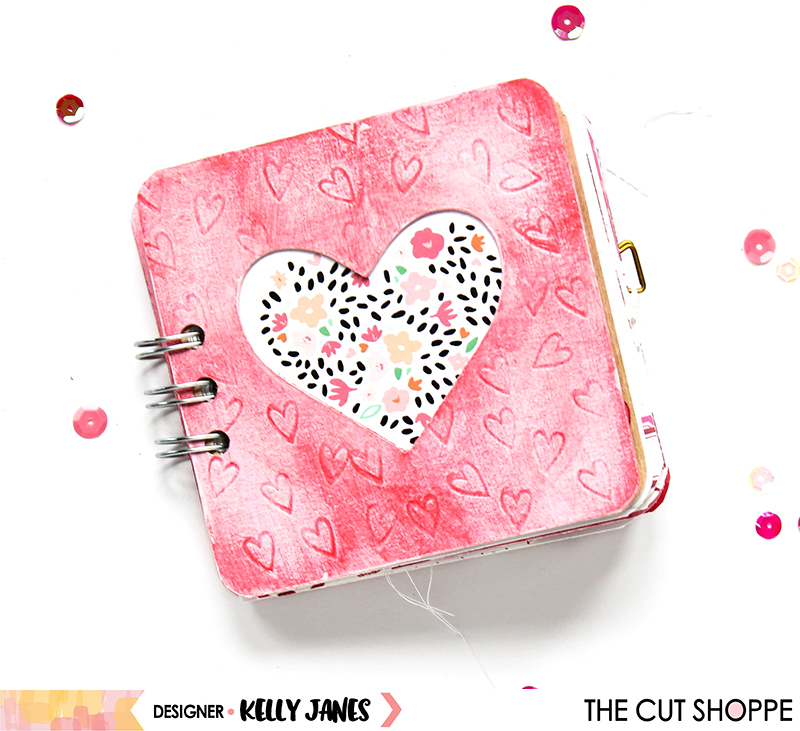
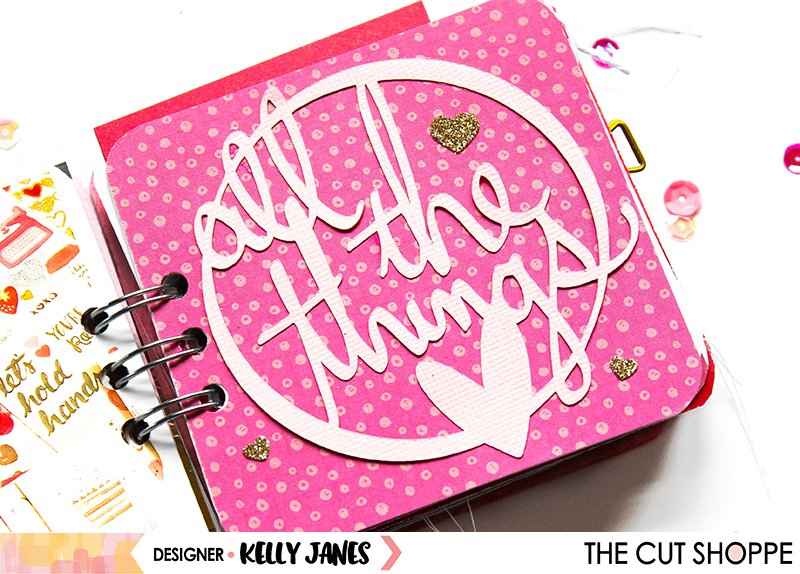
I used The Cut Shoppe XOXO Cut File and scrap chipboard/cardboard (it’s actually part of the packaging that is included in Scrapbook.com orders) to create the cover. I embossed the cover using the Melody Ross Chip Art Stamps and then I painted the cover using acrylic paints and Mod Podge to give it more of a Valentine’s feel.
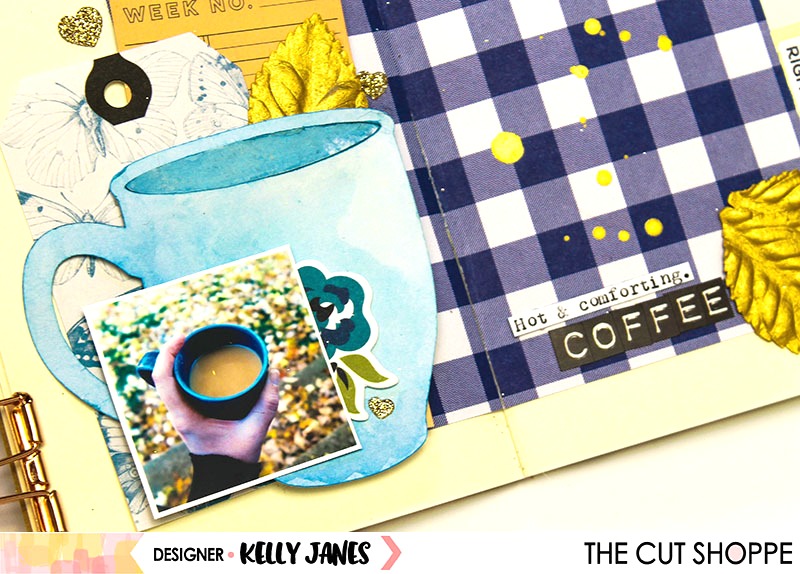
One thing I love about mini albums is it gives me a chance to use up a lot of stash and scraps, and because Valentine’s has a pretty traditional color scheme of red & pinks, I was able to mix a lot of my old product with new! A majority of the products I used throughout the album are from the Crate Paper Collections: Heart Day, Hello Love & Main Squeeze. I also tossed in some My Mind’s Eye – My Story, Crate Paper – Fourteen, Carta Bella – Devoted and Simple Stories – Adore.
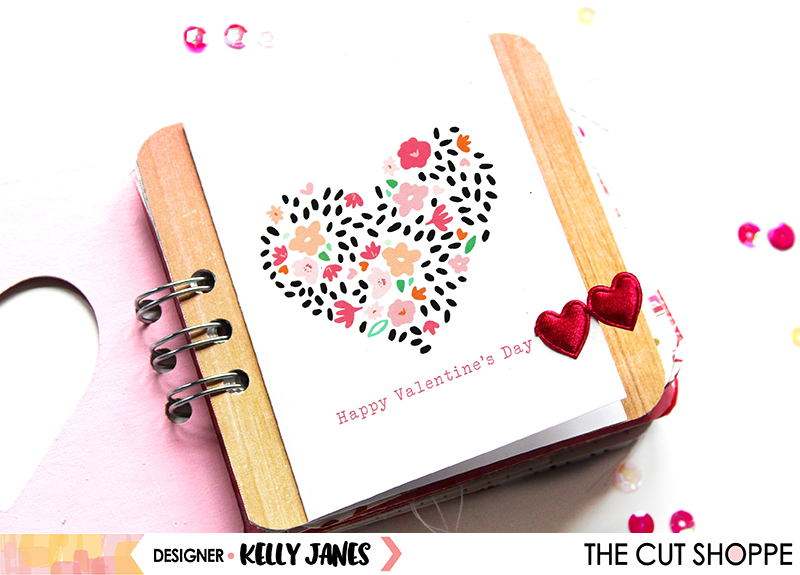

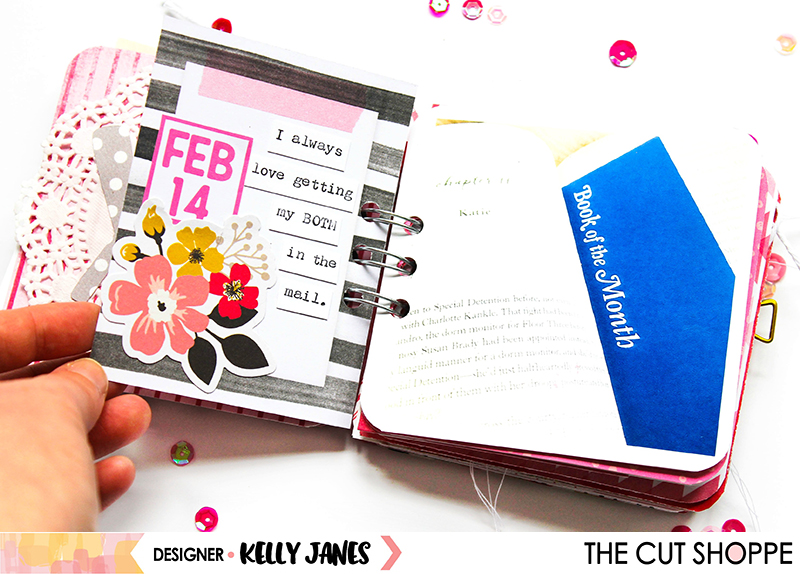
For a majority of the journaling throughout the album I used my We R Memory Keepers Typecast Typewriter.

Another thing I love about mini albums is the ability to make them interactive! I used a white cardstock strip of paper and (4) 2×2 photos to create this accordion, which was inspired by the super talented Bea Valint. I just used a bow clip to hold the photos together when the album in closed.

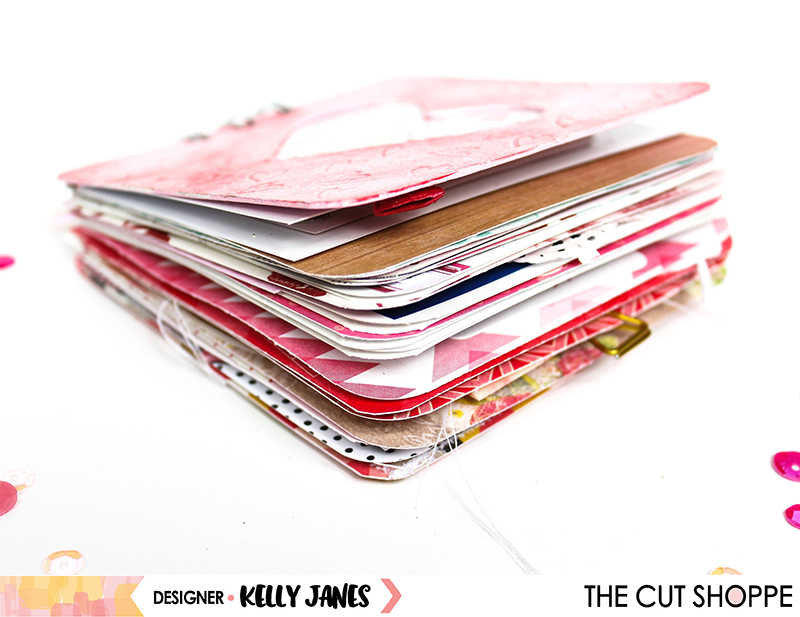
One of the trickiest parts of putting this album together was making it fun without making it too bulky. I bound the album using the We R Memory Keepers Cinch Tool before I embellished. I used the largest rings I had, but I think I really could have went up another size.
That’s the great thing about cut files! They create a lot of fun and visual interest without creating a lot of bulk!
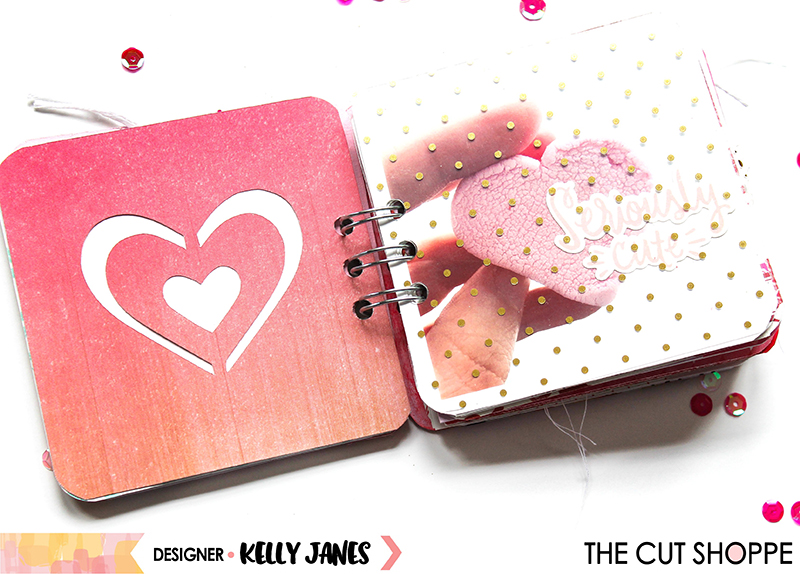


I also used the negative and positive pieces from the XOXO Cut File for additional embellishments.


Another trick I used to help to reduce bulk is to tear away layers of chipboard and remove the dimensional adhesive that is placed by the manufacturer.


I know I’ve included numerous photos of the mini album in this blog post, and believe it or not there are quite a few more pages that I didn’t share here. I recorded a flip through video so you can see the album from cover to cover!

Remember to head to The Cut Shoppe Etsy Store to check out the XOXO Cut File, A Banner Day Cut File, and The All the Things Cut File that I used for this mini album. There are so many fun cut files available in the shop so head there now!