Welcome to another Blog Hops with Heart Blog Hop! If you’ve followed my blog for any length of time then you know that Halloween is my favorite holiday to scrapbook, so I am happy to be the starting point of our Halloween Blog Hop! You can make your way around the entire hop by clicking the link at the bottom of the post. My dear friend, Amie Kiger, has a complete list of hoppers in case you get lost along the way! So let’s go ahead and jump straight into my project…
I LOVE scrapbooking Halloween! I think it has something to do with the playfulness of the products, and it’s almost like seeing new product for the first time because it all has been tucked away for almost an entire year. I do have to mix old with new each season and I recently purchased the Pretty Little Studio Goosebumps Collection designed by Ashley Horton and knew that is where I wanted to start. The largest paper size that Pretty Little Studio offers is 8×8 so I needed to go digging through my stash to find a 12×12 patterned paper for my base. I stumbled across a gray and white polka print from the retired CTMH Jeepers Creepers Collection and knew it would be perfect. It had just the right amount of pattern without being too distracting or overbearing.

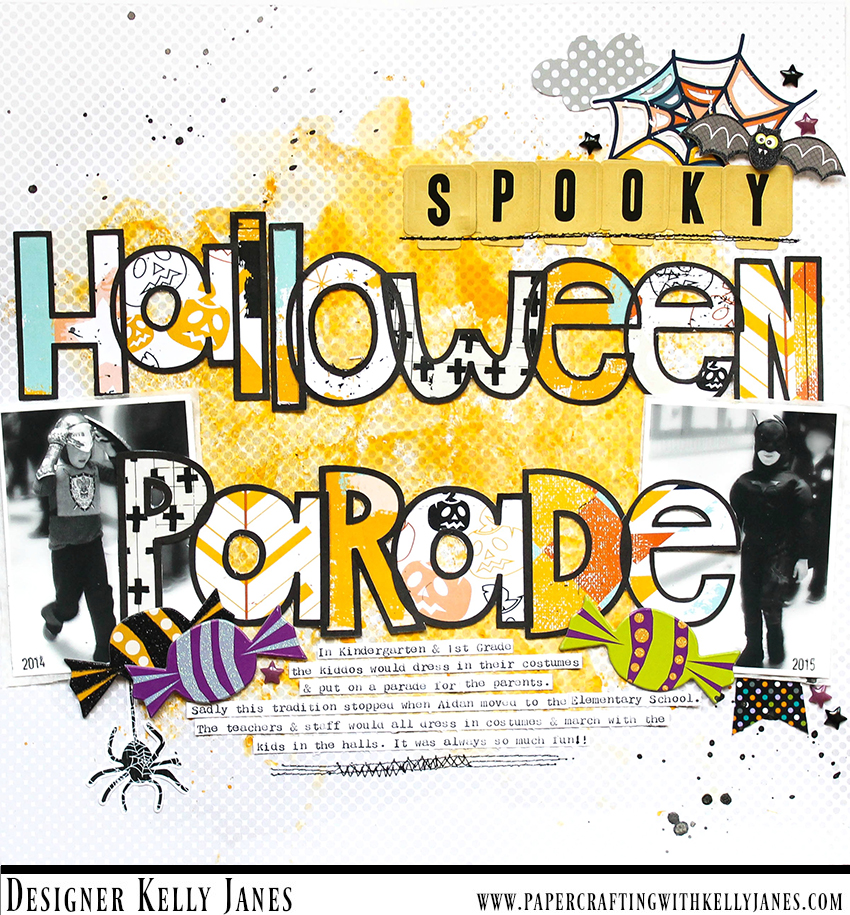
I knew that I wanted to add a bit of color to the background so I first applied a layer of Clear Gesso to the background. Gesso will prep the patterned paper for the wet media and help prevent any tearing. I grabbed a Mango Gelato from my stash, mixed the gelato with water and used the packaging technique to apply the color to the background. I wanted the color to be fairly rich on the background and I just wasn’t getting the coverage I wanted with the gelato. So I grabbed an orange acrylic paint from the Illustrated Faith Acrylic Paint Set and mixed it with a deeper orange gelato from my stash. I watered down that mixture and applied it to the layout using the packaging technique.
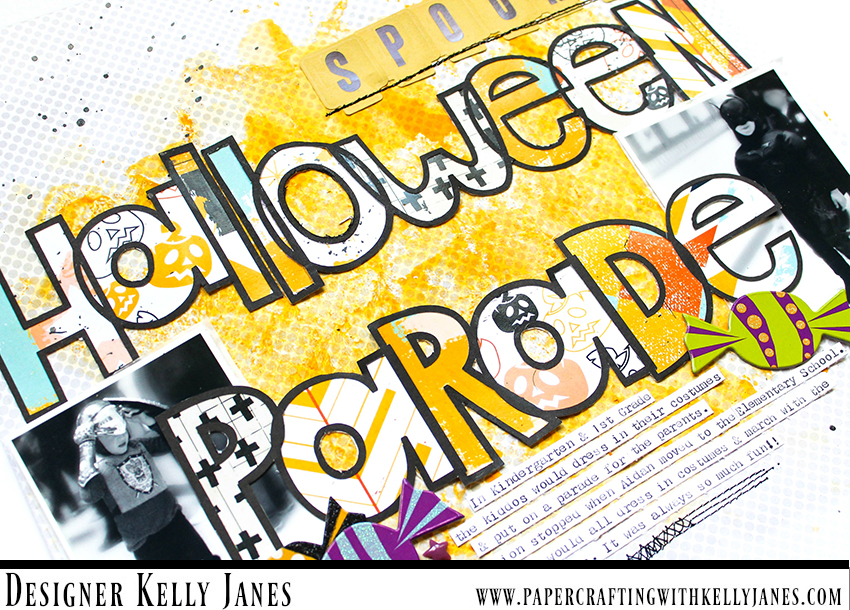
After the mixed media was dry I moved on to my title. I used the Open Letter Alpha Cut File from The Cut Shoppe to create the title, Halloween Parade. I used a variety of patterned papers from the 8×8 Goosebumps Patterned Paper Pack, including part of the packaging, to back the letters of the cut file. I grabbed my two photos, added a layer of tissue paper, and tucked the photos behind the word Parade. The photos I used for my layout are from a Halloween Parade that my son’s primary school put on each year for the parents. Sadly this fun event ended when he graduated from the primary school and moved into the elementary school. The photos are a little blurry because he was in motion, but I wanted to document the memories nevertheless.
I then moved onto embellishing….

I created a cluster above the word Halloween using a web die cut from the Goosebumps Spooktastic Die Cut Pack, a 3 dimension bat from my stash, and a cloud from the Bella Blvd Spooktacular Clips. I also added the word “Spooky” to the title using die cuts from the Crate Paper After Dark Collection. I also wanted to add a little embellishing under the photos to create visual triangle of embellishment clusters. Under the left photo I added a couple chipboard candy pieces from a Little Yellow Bicycle Booville Collection, that has been in my stash for years, and also a sticker from the Goosebumps Spooktastic Sticker Sheet. For the photo on the right, I added an additional chipboard candy piece from the same Little Yellow Bicycle Collection and another clip from the Bella Blvd Spooktacular Clips.

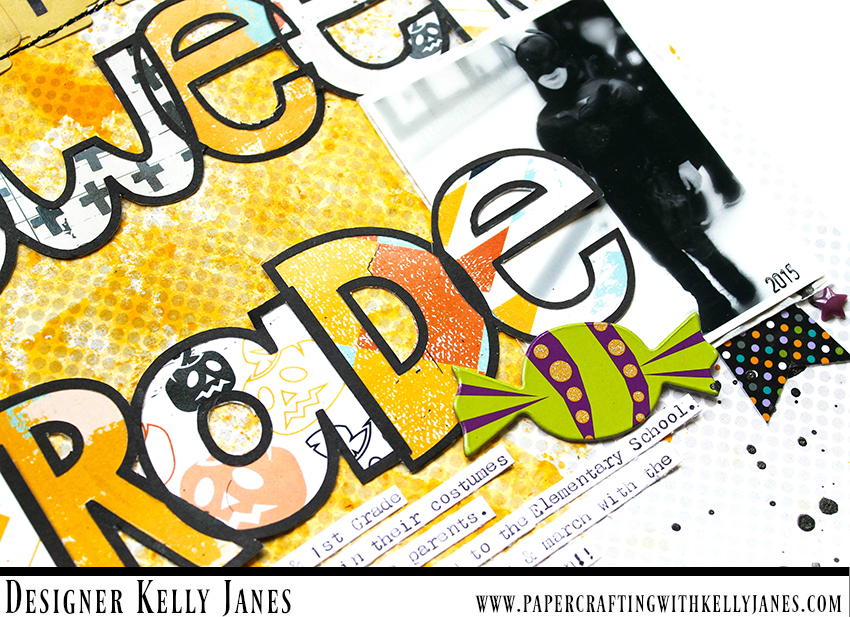
For final touches I added my journaling with my We R Memory Keepers Typecast Typewriter. I typed the journaling onto a scrap piece of white cardstock, trimmed the journaling into strips and adhered the journaling to my layout using my Xyron Sticker Maker. I also added black machine stitching to the top and bottom of the layout, along with a few splatters of Black Heidi Swapp Color Shine and a few enamel stars from a retired CTMH collection.

Now you can take a look my YouTube Process Video!

Next up on the Halloween Hop is Jayma Malme! Thanks so much for spending part of your day with us!