Hey friends! I’m back with a new layout that was recently shared on The Cut Shoppe Blog using the Party On Cut File.

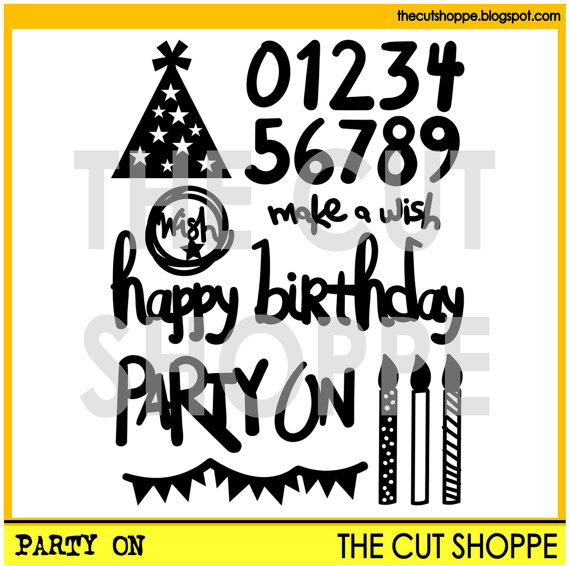
I started in Cricut Design Space by slicing out the “Make a Wish” sentiment from the Party On Cut File set. My idea for this layout was to have a large title placed diagonally across the center of a 12×12 sheet of cardstock so I resized the sentiment to 13.5″. Now if you are familiar with Cricut Design Space then you know that 11.5″ is the largest image that you can cut, but 11.5″ just wasn’t going to be large enough!! DS will automatically reset your mat size to 12×24″ if your image is larger then 11.5″ so I just continued onto the cut screen. Now I do not have a mat that size, but wanted to see if there was a way I could “trick” DS into cutting this 13.5″ image on a 12×12″ mat. Once I was on the cut screen I used the rotation arrow to rotate the sentiment at an angle. I was sure to keep the image within the 12″ grid lines. I sent the image to cut once I had it positioned the way I liked and it cut perfectly! I was able to cut a 13.5″ image on a 12×12″ mat!
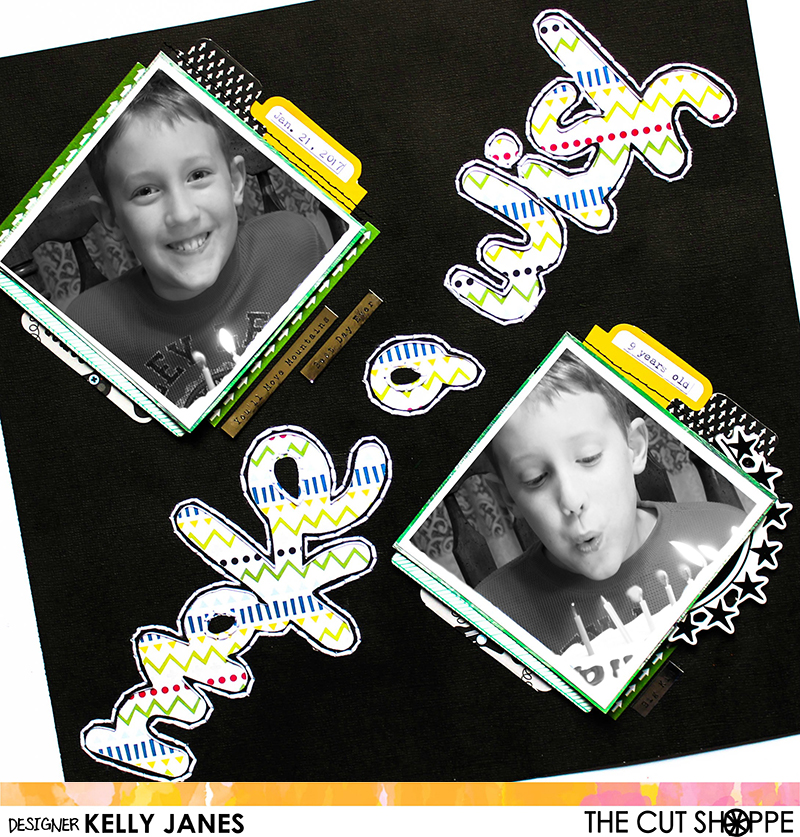

I cut the ‘Make a Wish’ sentiment in both black and white cardstock because I wasn’t sure which I would like to use as the background. I ended up deciding on the black cardstock, but used the sentiment cut on the white cardstock behind the black cardstock to create a shadow effect. I love the extra depth, dimension and interest this adds to the layout. It is subtle but those subtle details sometimes make all the difference! I also backed the sentiment with a pattern paper from the Bella Blvd-Alex Collection. I added hand stitching using white embroidery floss around each of the letters to help give a border and to help them pop off the page a bit more. I added a photo above and below the sentiment along with embellishments from the Crate Paper-Cool Kid Collection and the Bella Blvd-Alex Collection.
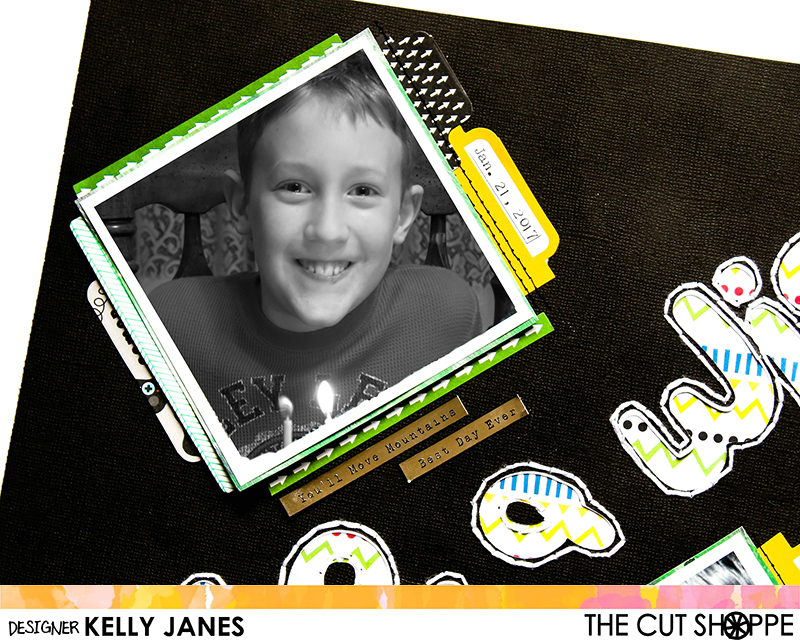
I love these photos of Aidan! I also love that after 9 years I finally have a photo that is in focus as he is blowing out his birthday candles! HA!

I’ve put together a process video that includes a Cricut Design Space tutorial showing you exactly how I cut this cut file!
Thanks for joining me today and remember to head to The Cut Shoppe Etsy Store to check out all of the cut files and digital collections!