My most recent purchase from Close To My Heart contained the Stitch Guide. This fun guide has multiple designs that allow you to create patterns with embroidery floss on any papercrafting project. This is my first spin using the Stitch Guide and was inspired by this card from Patricia Roebuck.

The sentiment comes from the Birthday Stamp Set that is included in the Cricut® Art Philosophy Collection in Cotton Candy Exclusive Ink™. The texture of the embroidery floss made it tricky to adhere the cardstock to the base of my card. I tried many things including 3D Foam Tape, Glue Dots, tape runner adhesive, finally coming up with the solution of Liquid Glass!

This is actually the third rendition of this card. Initially I had stamped the sentiment on the same White Daisy Cardstock as the embroidery floss. I didn’t like that so I cut it off, and added the sentiment to the card base. It seemed as if it was still missing something so I then added a few Pink Glitter Gems to the card. Finally, finallllly it seemed complete. How many of my papercrafting blogging friends out there have made a card, taken photos, edited those photos, inserted them into your blog post, and only then do you look at the card to realize you aren’t happy with the finished product!?! I know I’m not the only one, and it happened THREE times with this card!!
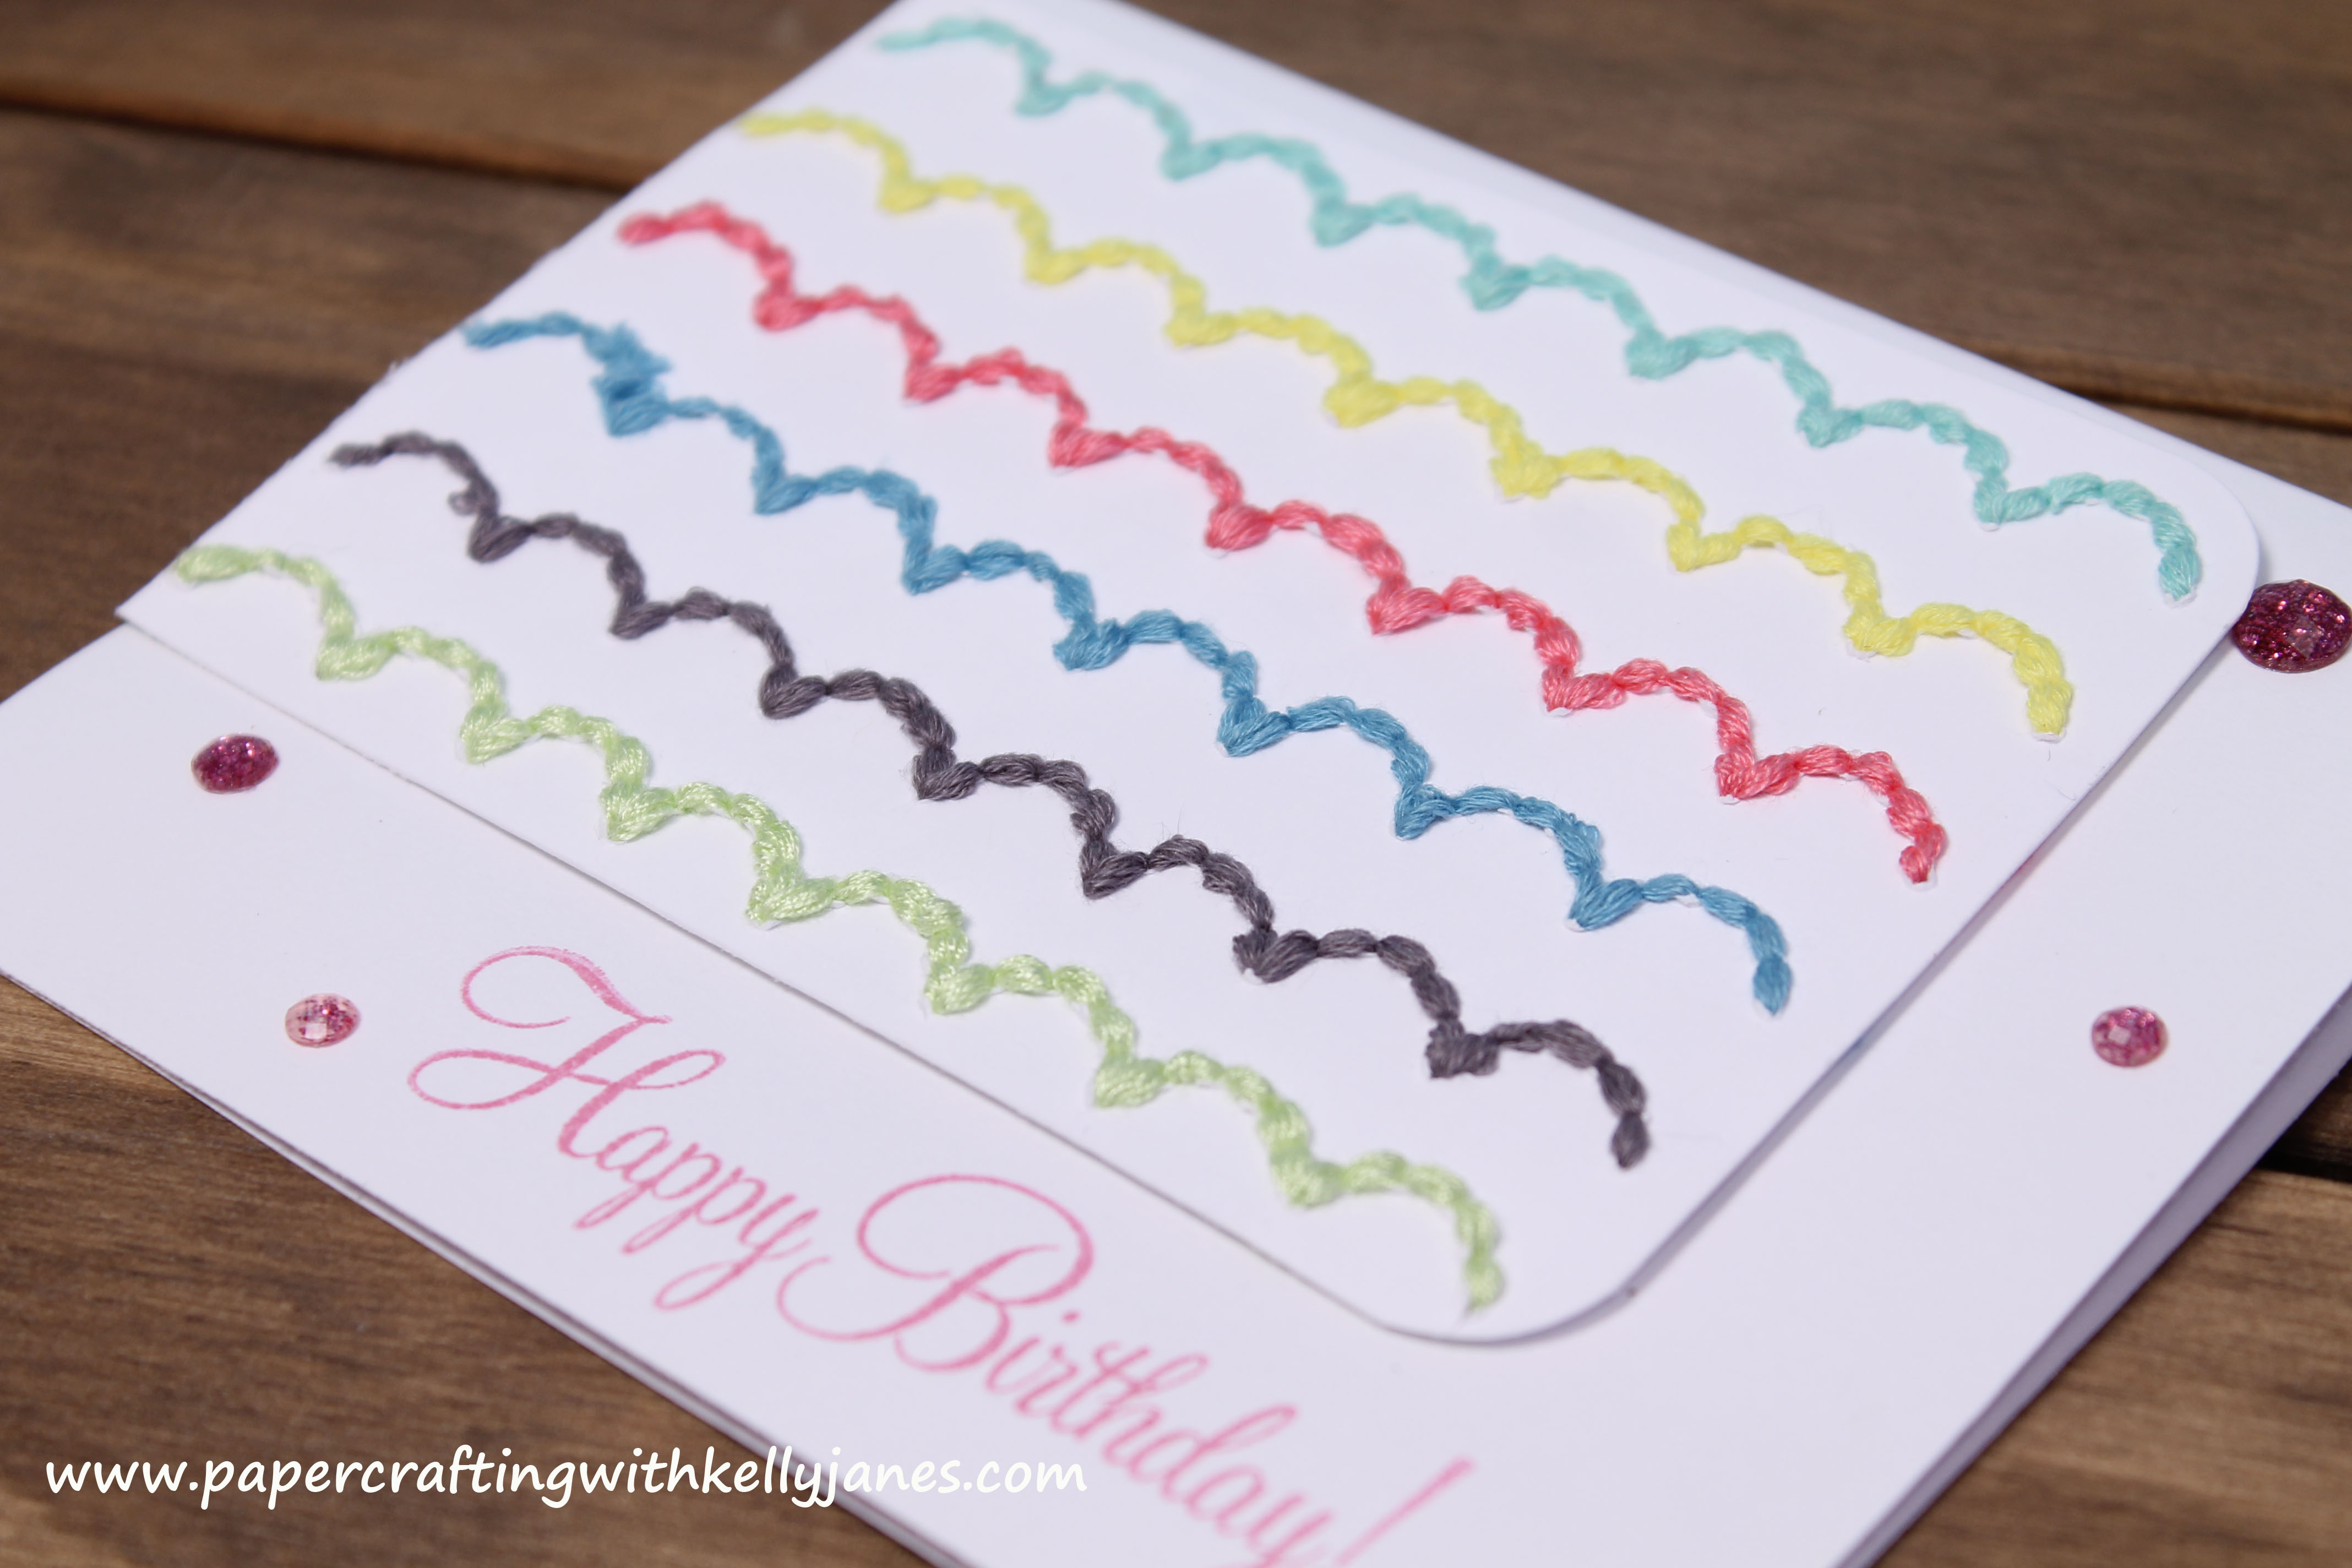
- I used my Versamat and a Ruler to create lines on my paper where I knew I was going to be stitching. This way I knew when I laid my stitch guide on my paper that I would have straight lines.
- Lightly draw the lines with a pencil and once the paper piercing is complete go back through and erase those lines.
- I would recommend to use Close To My Heart’s Piercing Tool Kit and Foam Mat while using the Stitch Guide.
- I originally had planned on stitching directly to my card base. After seeing the backside of the paper when the stitching was complete, I would recommend to stitch onto a separate piece of paper and then adhere to the card base.
While it may appear that this card was quite time consuming, it really wasn’t. It took me longer to figure out how to adhere the cardstock with the embroidery floss to the card base then it did to actually stitch the pattern!! I love the finished product, and will be using this Stitch Guide again the near future!! I can see how purchasing and collecting multiple colors of embroidery floss could become an obsession and an addiction!! One of the many things I love about the papercrafting community is that you can always learn something from others. For those of you who are experts in sewing, embroidery, or cross-stitch I would appreciate any insight, tips, or advice!!
Thanks for stopping by!!
-Kelly
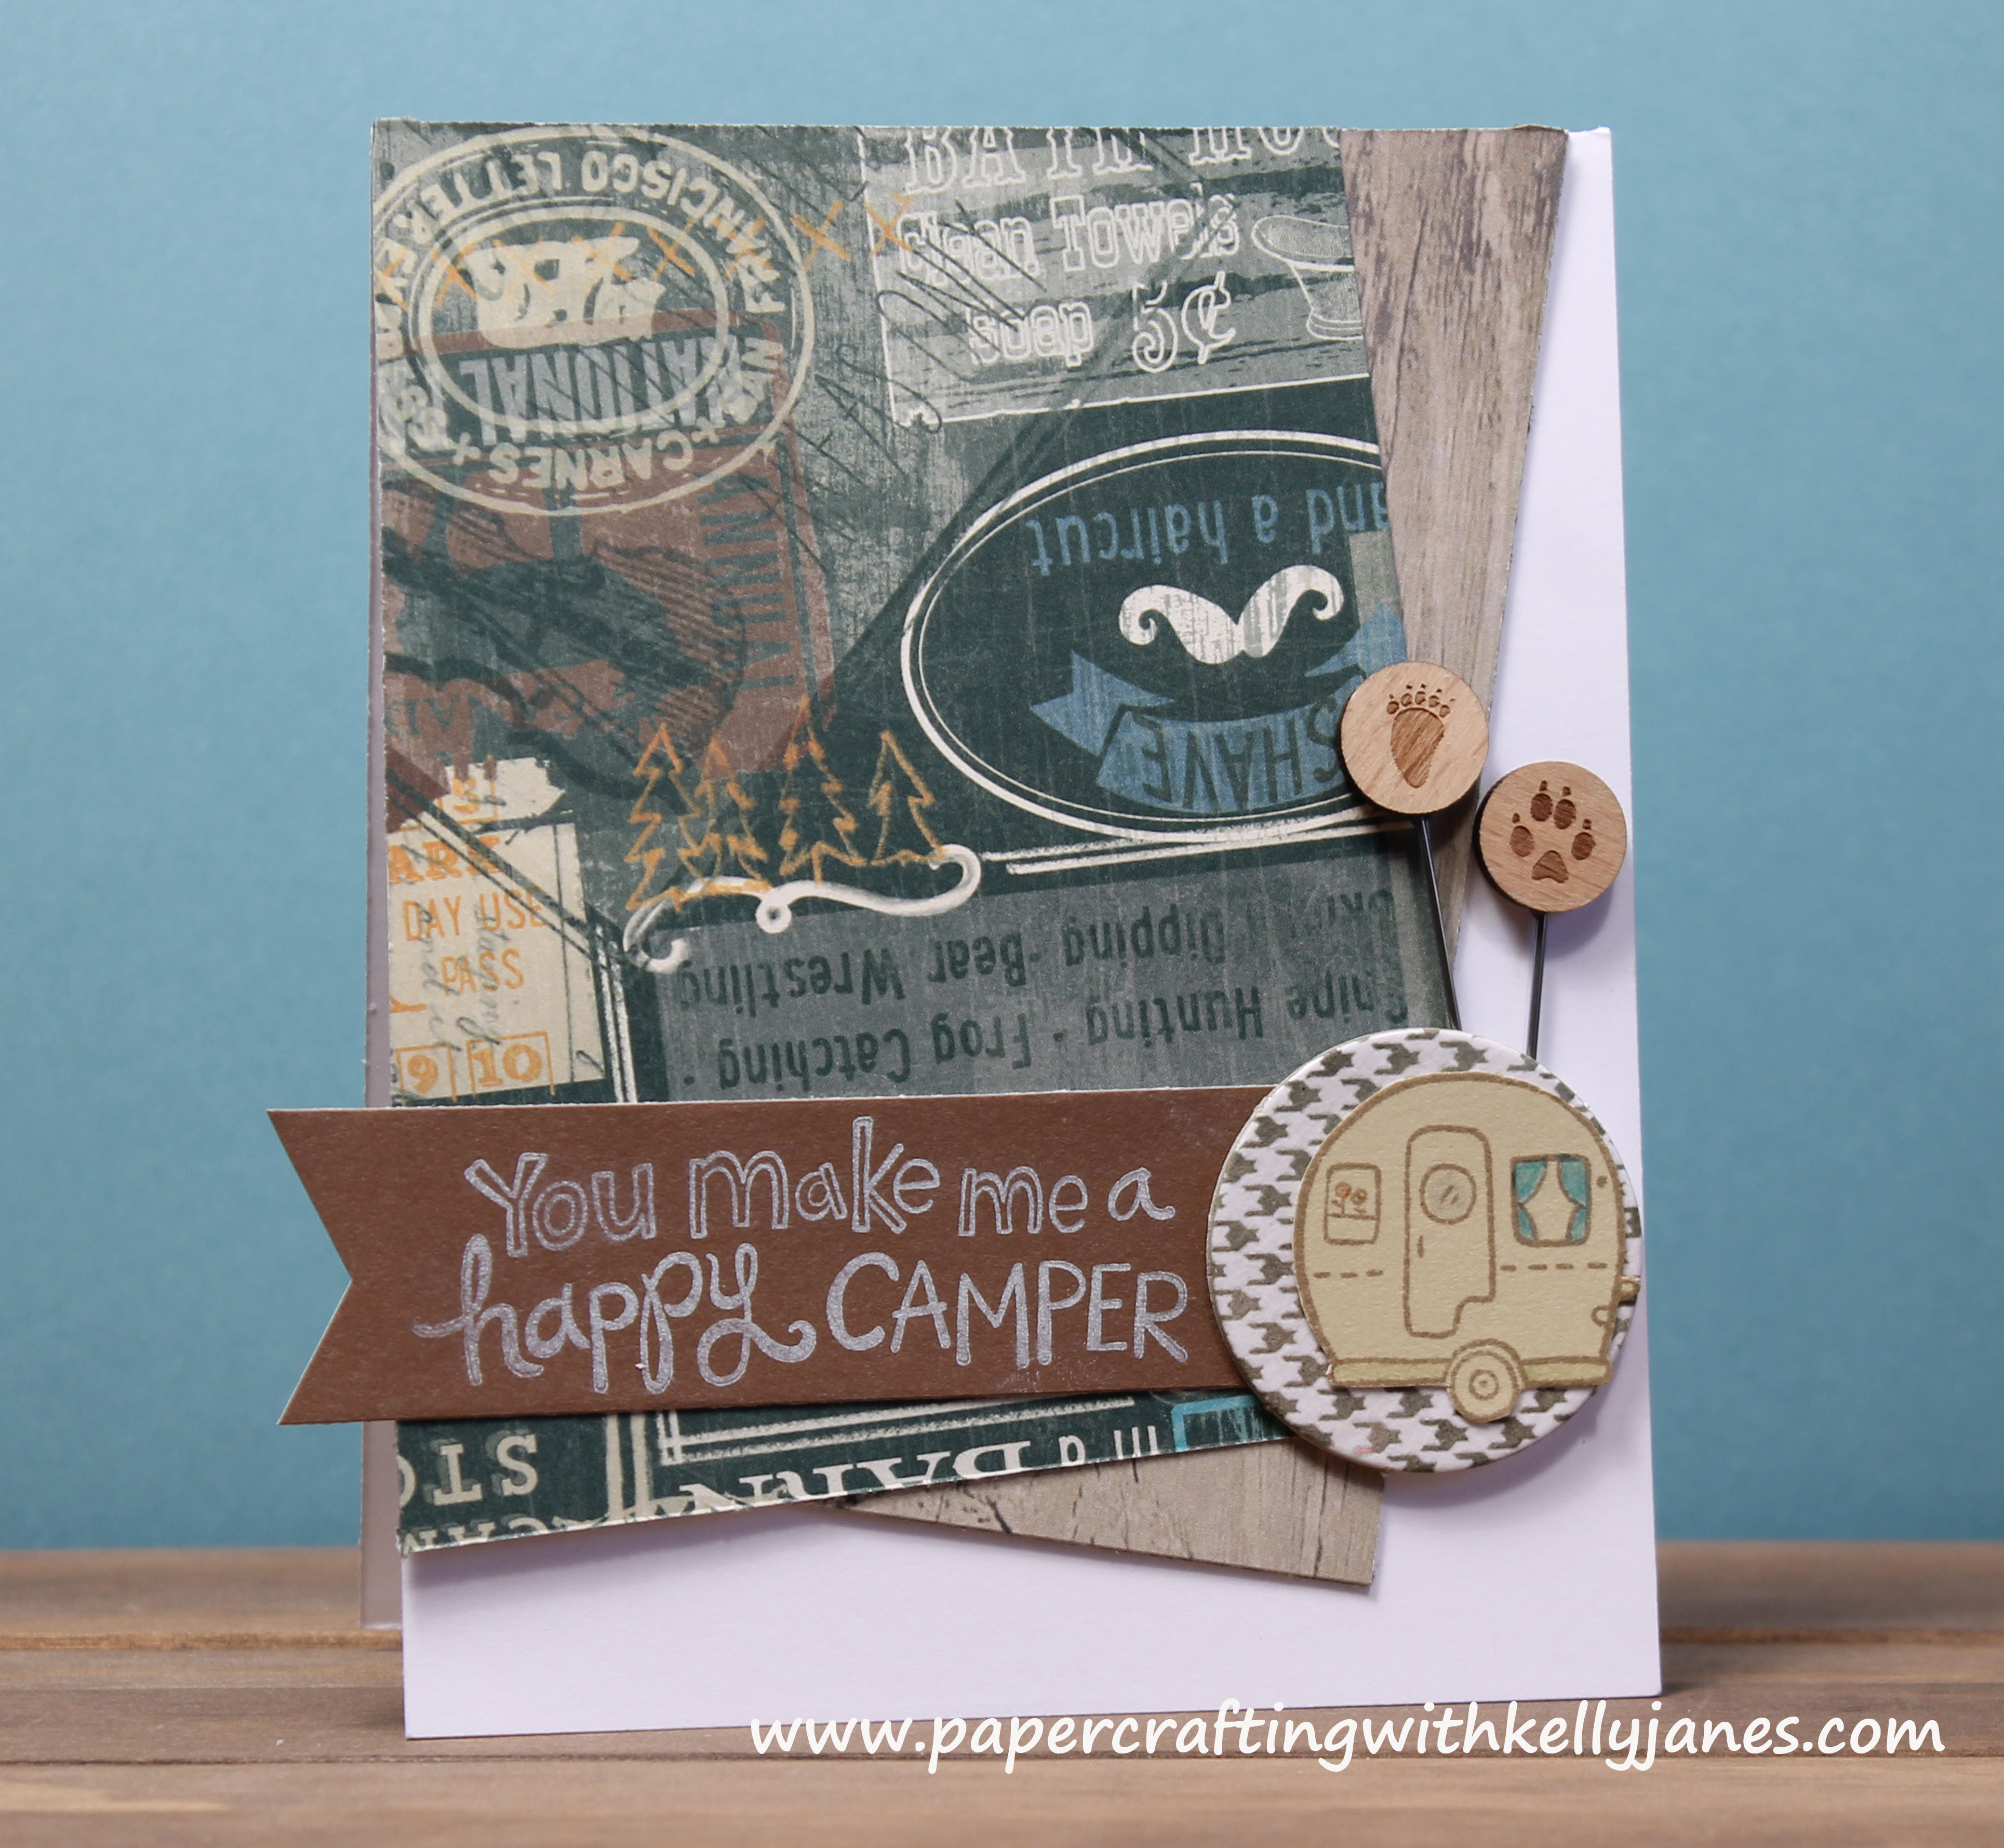

 This card is based off