Trying to create a birthday card for a 5 year old boy can be tricky…. Thankfully there are so many journaling cards included in the Picture My Life™ {PML} Scrapbooking Kits!!

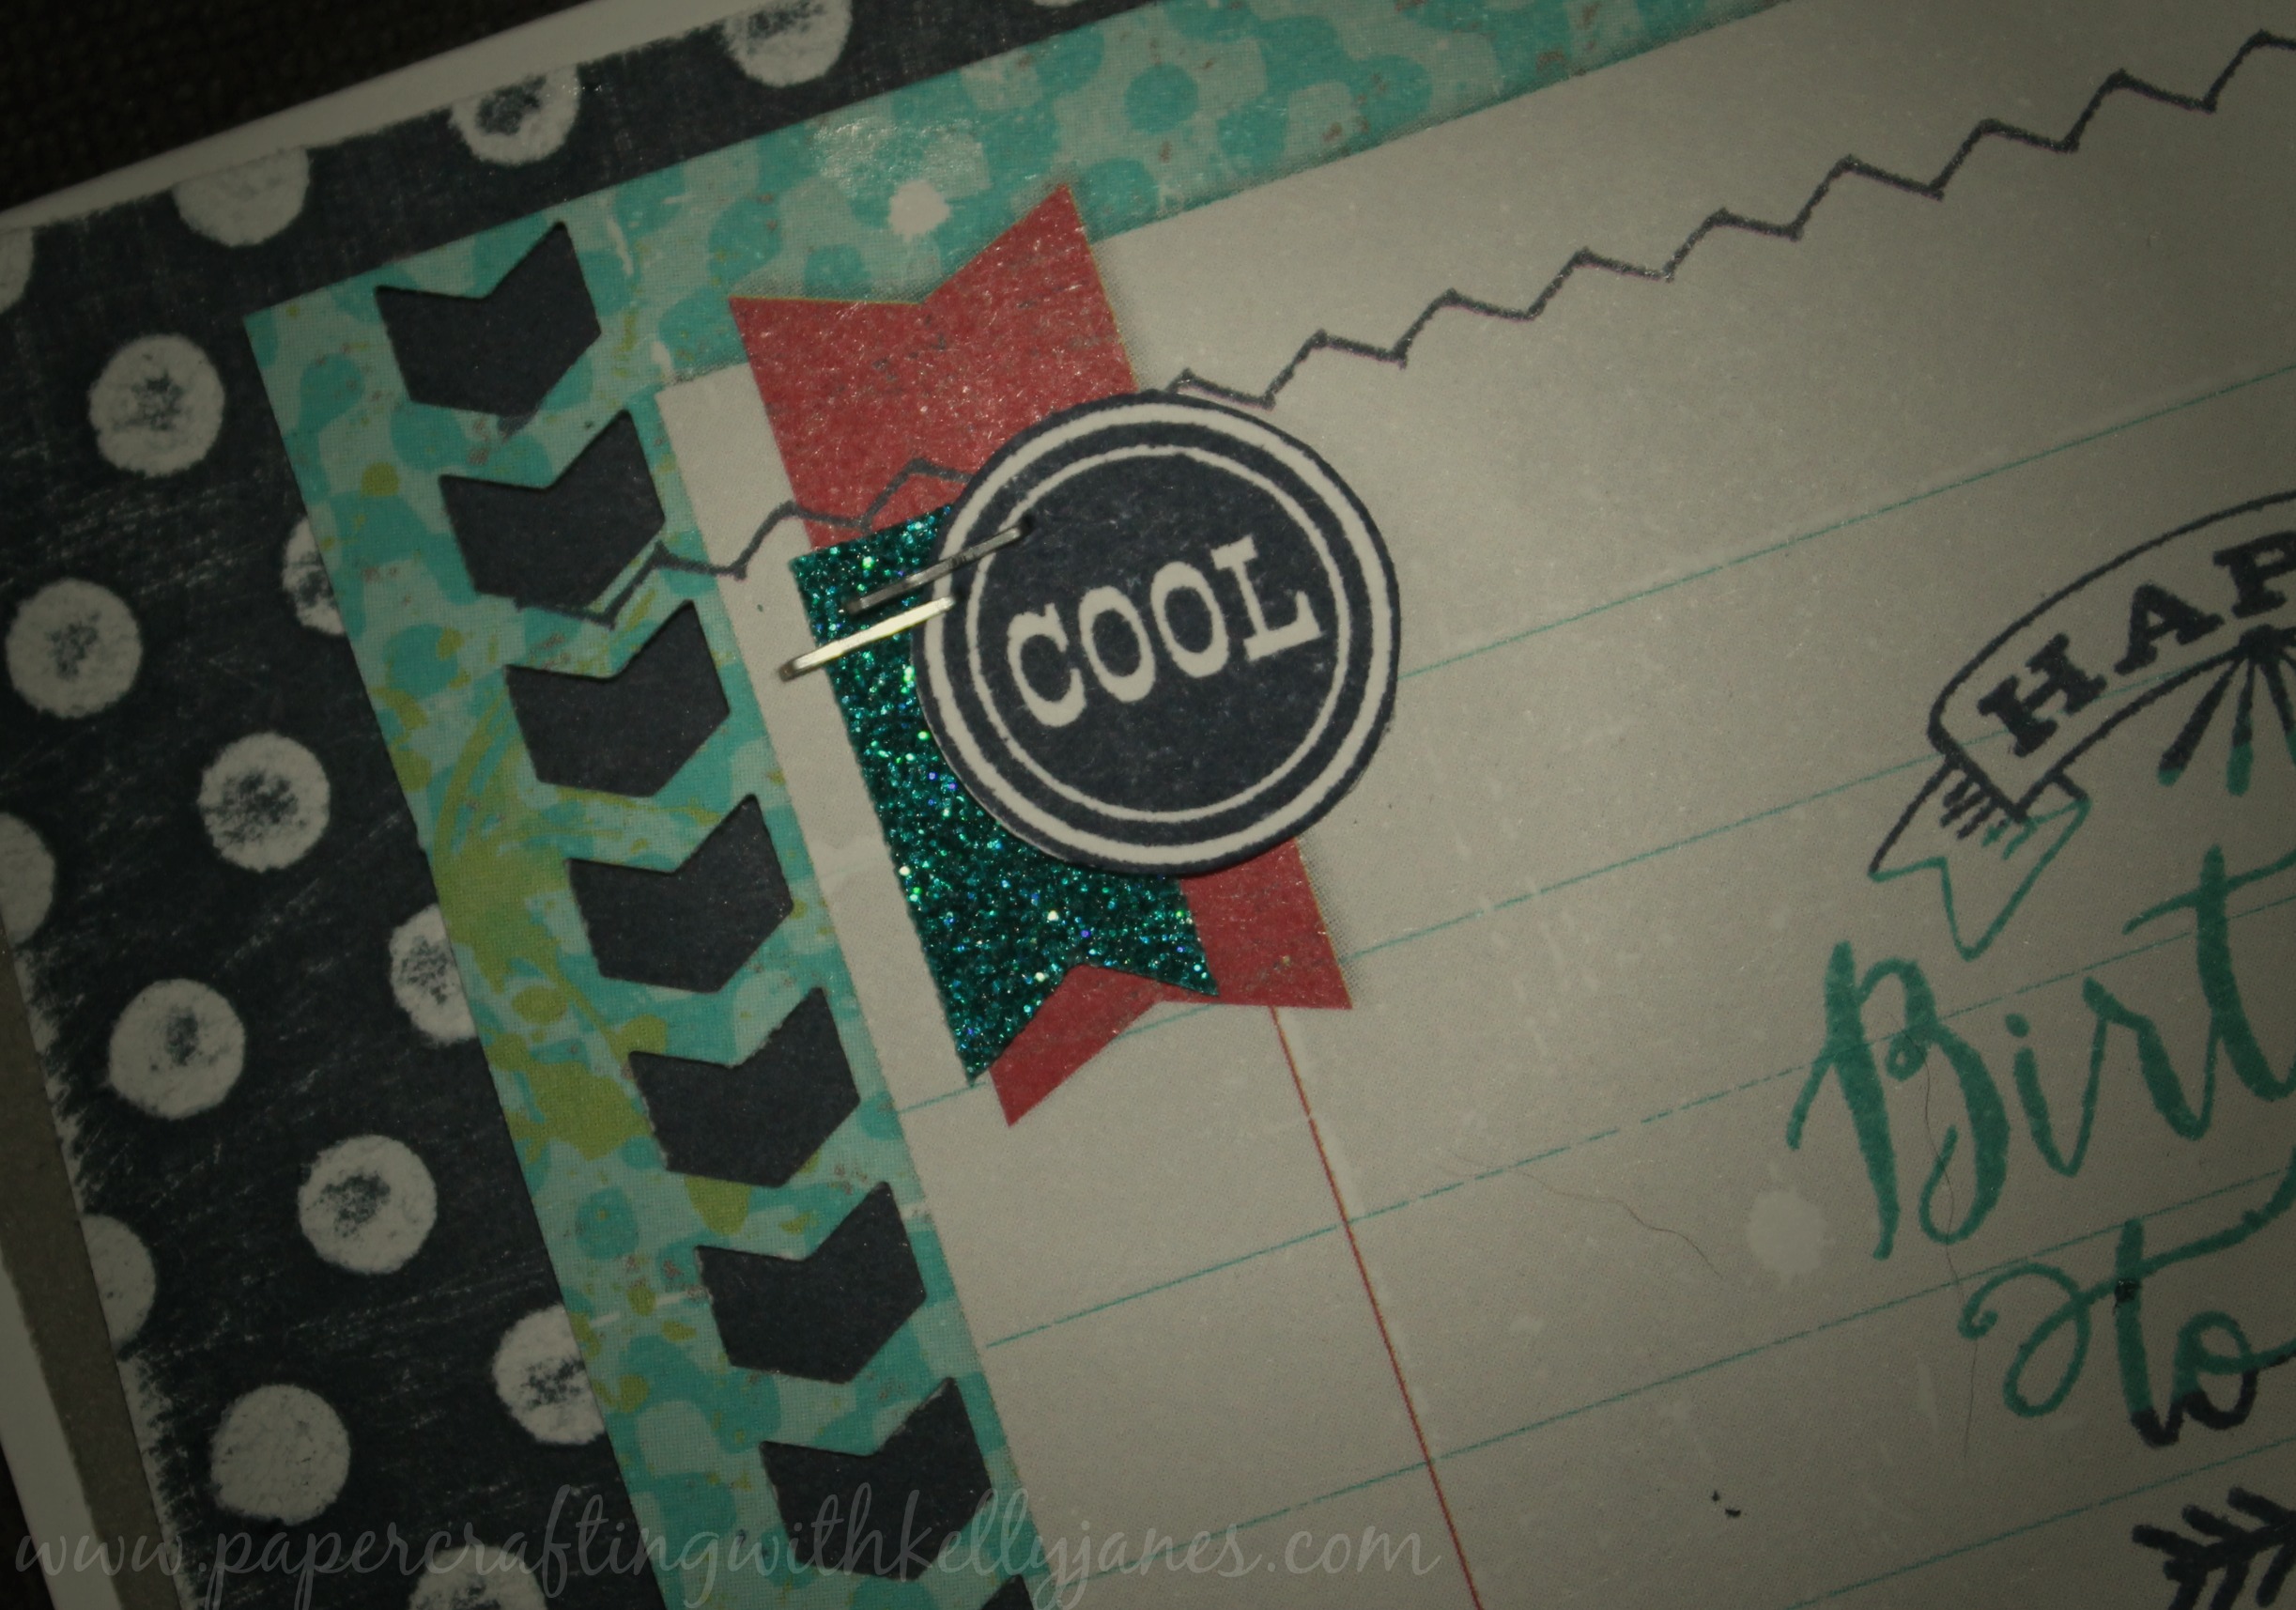
I started with a 4″x 5½” card base, followed by a layer of Slate Cardstock, then another layer of Outdoor Denim Cardstock that I distressed using a Dot Dry Embossing Folder and the Sanding Kit. Next I grabbed a 4×6 journaling card from the Later Sk8r Picture My Life™ Scrapbooking Kit that I trimmed down to the size that I wanted to fit on my card.

I used the Chevron Border Punch along one of the edges of the journaling card to add a little something extra to the card. {Have you checked out the NEW border punches that are available from CTMH? They are must haves! I’ve been collecting papercrafting products for 10+ years and have a large selection of border punches. I was so excited when I saw the Chevron Border Punch and the Triangles Border Punch because I had nothing like them in my stash!! YAY!} I also added a small piece of Teal Shimmer Trim, the “cool” sentiment from the #30yearsofhappy Stamp Set, and attached them all together with a Mini Stampler. The birthday sentiment is from the You Mean The World To Me Stamp Set in Outdoor Denim Exclusive Ink™ and Lagoon Exclusive Ink™.
Tips & Tricks
– While the Picture My Life™ Scrapbooking Kits are great to use as pocket scrapbooking pages, they are fantastic to use for cards or accents on traditional scrapbook pages. You get multiples of each journaling card so don’t be afraid to trim them down to a different size or shape to fit your need!!
– I am a H.U.G.E. fan of embellishments, but for masculine cards there is a fine line on when they make the card too frilly. The Mini Stapler is a perfect solution {and one of my absolute faves!!!}

-From past experience getting any type of paper to adhere to an embossed piece of cardstock can be troublesome….Liquid Glass to the rescue! Wet adhesive works much better than a tape runner adhesive on embossed cardstock!
-This isn’t a trick, but it is definitely a tip! Make sure you take advantage of the FREE #30yearsofhappy Stamp Set during the month of September!! Click here for details on how you can get this great limited edition stamp set for FREE!

-Kelly