Beach Life | Spiegelmom Scraps

Hey there friends! I’m back today with a new layout for my Guest Design spot with Spiegelmom Scraps Shop.

12x12 shaker pocket scrapbook layout using the Pink Paislee Summer Lights Collection & Spiegelmom Scraps Sequins.

I knew I wanted to use the Sweet Summer Vibes Sequin Mix as soon as I received my sequin package! I knew the colors in the sequins would match the Pink Paislee Summer Lights Collection perfectly, and I’m in the mood to scrapbook photos that remind me of warmer weather! March in Northern Indiana has been especially cold, and I am ready for warmer weather to arrive!

12x12 shaker pocket scrapbook layout using the Pink Paislee Summer Lights Collection & Spiegelmom Scraps Sequins.

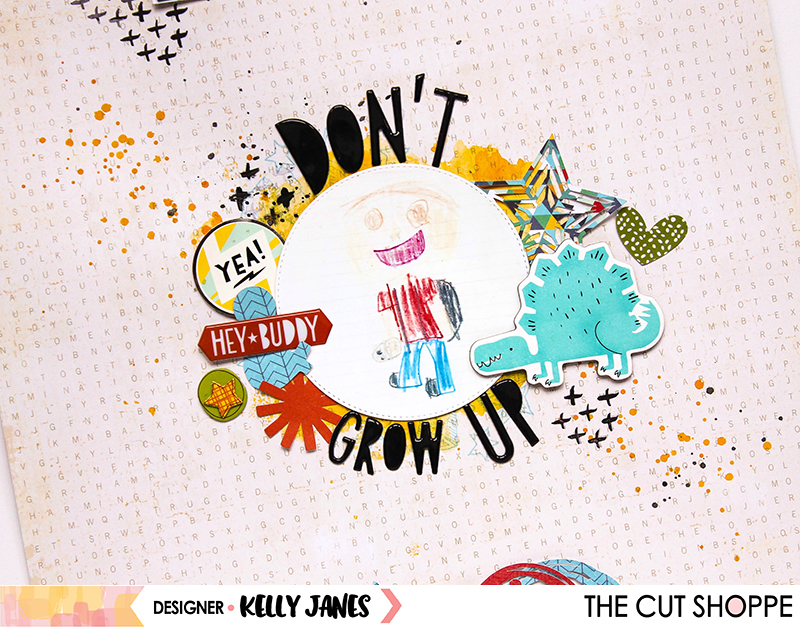
I started with one of the Summer Lights Patterned Papers and used one of the Free Cut Files from the Spiegelmom Scraps Shop. I then backed that cut file with white cardstock that I sprayed with a pink Shimmerz Paints spray. I also added white lines using the Carta Bella Welcome Home Stencil with white modeling paste behind a few of the circles.

12x12 shaker pocket scrapbook layout using the Pink Paislee Summer Lights Collection & Spiegelmom Scraps Sequins.

I wanted to create a few shaker pockets to fill with sequins. I used metal circle dies, the cover sheet for one of my Cricut Cutting Mats, and my sewing machine to create the pockets and I dumped a generous amount of the Sweet Summer Vibes Sequins into each pocket.

12x12 shaker pocket scrapbook layout using the Pink Paislee Summer Lights Collection & Spiegelmom Scraps Sequins.

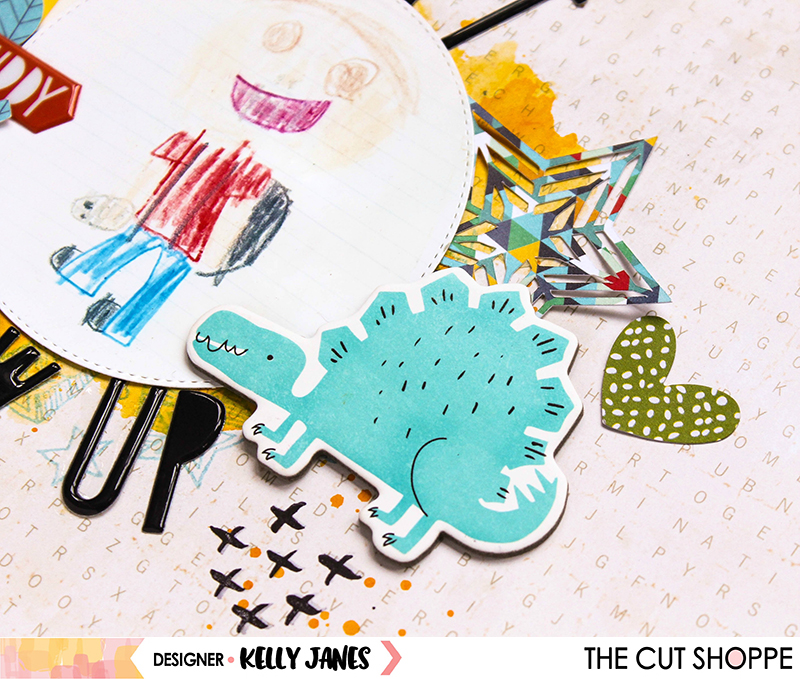
I positioned my photo behind the largest circle. This photo was taken in 2013 on a vacation to Grand Haven, Michigan. We were relaxing at the beach and watching Aidan play in the sand. It was so relaxing…just listening to the water…sitting under the umbrella…it really was just a perfect time!

12x12 shaker pocket scrapbook layout using the Pink Paislee Summer Lights Collection & Spiegelmom Scraps Sequins.

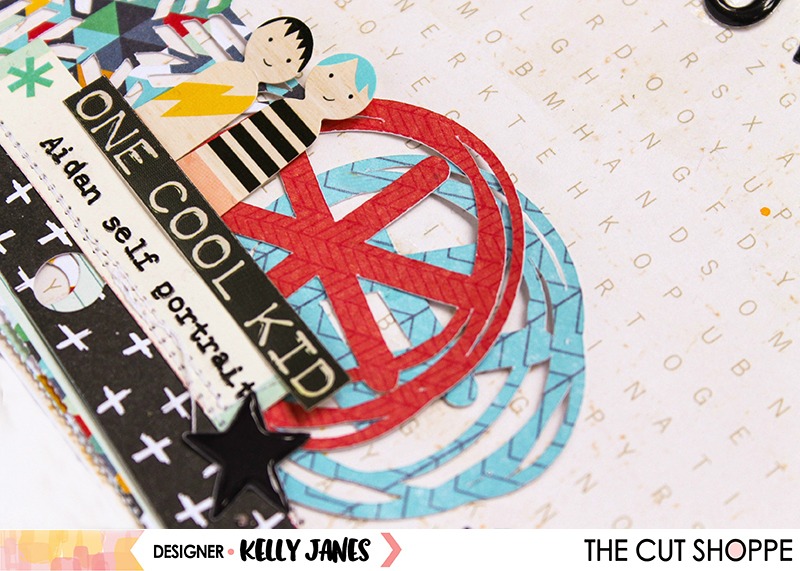
After I had the main elements (my photo and the shaker pockets) positioned, I moved on to embellishing! I scattered the Pink Paislee Summer Lights Cardstock Stickers, Chipboard Thickers, and Ephemera around the page. I tried to evenly spread the colors and dimension to help your eye dance around the layout. I added my journaling using the We R Memory Keepers Typecast Typewriter on a sheet of white cardstock that I spritzed with the same pink Shimmerz Paints Spray. I then cut the journaling into strips and added it to the remaining empty circle.

Now you can take a look at my YouTube Process Video that shows how this layout came together!

Thank you so much for spending part of your day with me and remember to head to Spiegelmom Scraps to check out all of the items in the shop! Use the code KellyJ15 to receive 15% off your order during the month of March!

This blog post contains affiliate links. This means I will receive a commission (at no cost to you) from items purchased from those affiliate links.

Don’t Grow Up | The Cut Shoppe

Hey there friends! I have a new layout to share with you today that was recently on The Cut Shoppe Blog. I used The Everyday Essentials Cut File and  The You’ve Been Punc’d Cut File for this layout documenting a self portrait drawing my son had made.

The Cut Shoppe, Everyday Essentials, You've Been Punc'd, Crate Paper, Cool Kid, 12x12, Scrapbook, Layout

I used clear gesso and a yellow watercolor from the Prima Tropicals Watercolor Confections to add a little color behind the photo. Around the photo, I used multiple embellishments from the Crate Paper Cool Kid Collection and a few other odds and ends from my stash. I used a retired stamp set from Close To My Heart and a light blue dye ink to add more interest behind the photo. I’m really trying to add more stamping to my layouts. I have so many and they are so neglected! HA! I’ve found that I’m much more opt to add stamping to my layouts when I use the Tim Holtz Tonic Studios Stamp Platform. It feels less daring when I know I can perfectly position the stamp set a second time in case I don’t get a clean impression the first time.

The Cut Shoppe, Everyday Essentials, You've Been Punc'd, Crate Paper, Cool Kid, 12x12, Scrapbook, Layout

I cut a star and an ampersand from the Cool Kid 6×6 Paper Pad using The Everyday Essentials Cut File, and I positioned those cut files around the photo for additional die cut embellishments. I used the Thickers set from the Cool Kid Collection for my title, Don’t Grow Up.

The Cut Shoppe, Everyday Essentials, You've Been Punc'd, Crate Paper, Cool Kid, 12x12, Scrapbook, Layout The Cut Shoppe, Everyday Essentials, You've Been Punc'd, Crate Paper, Cool Kid, 12x12, Scrapbook, Layout

That’s something I love about cut files…they can be cut large to use as focal images or they can be sized down to use as embellishments!

The Cut Shoppe, Everyday Essentials, You've Been Punc'd, Crate Paper, Cool Kid, 12x12, Scrapbook, Layout

I layered multiple manufacturing strips from the Cool Kid 6×6 Paper Pad and used my mini stapler to attach them to the top and bottom of the layout. I then created a cluster along the bottom strips of paper. I used another star from The Everyday Essentials Cut File, two icons from The You’ve Been Punc’d Cut File, and a few other stickers from the Cool Kid Collection.

The Cut Shoppe, Everyday Essentials, You've Been Punc'd, Crate Paper, Cool Kid, 12x12, Scrapbook, Layout

I just wanted to add one line of journaling for my photo, so I grabbed the label sticker at the bottom of the layout and used my We R Memory Keepers Typecast Typewriter to add the journaling. This sticker had a slick surface so the ink from the typewriter was wanting to smudge. To try to prevent the smudging, I used a permanent ink pen from American Crafts to trace over the journaling. That worked like a charm!! I wanted to add another pop of black to the background so I grabbed an Illustrated Faith Stamp Set to add little doodle accents around the page. Now the layout feels done!

The Cut Shoppe, Everyday Essentials, You've Been Punc'd, Crate Paper, Cool Kid, 12x12, Scrapbook, Layout

This layout took a lot of twists and turns. It also had a few mixed media disasters, but I persevered and am really happy with the finished layout! To see how this layout came together, including all the blunders, you can watch the process video.

Remember to head to The Cut Shoppe Etsy Store to check out all of the cut files. New cut files are added every 2 weeks, but there are so many fun designs that never go out of style!

This blog post contains affiliate links. This means I will receive a commission (at no cost to you) from items purchased from those affiliate links.