Altenew Build-A-Flower: Fuchsia Release Blog Hop + Giveaway

Hey there friends! I’m so excited to be back for a new Altenew Build-A-Flower Blog Hop! If you started the hop from the beginning then you would have come from Therese Calvird’s Blog. If you’re just starting here, WELCOME! You can still make your way around the entire hop by clicking the link at the bottom of my post.

Altenew-Build-A-Flower Fuchsia Stamp Set - Kelly Janes

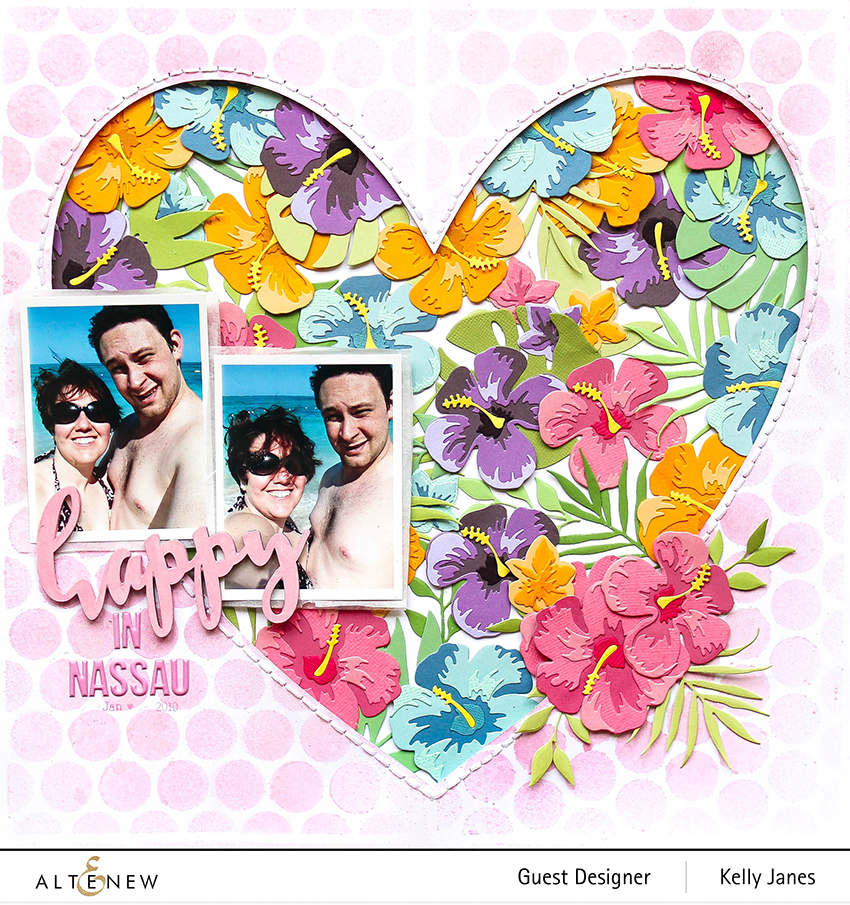
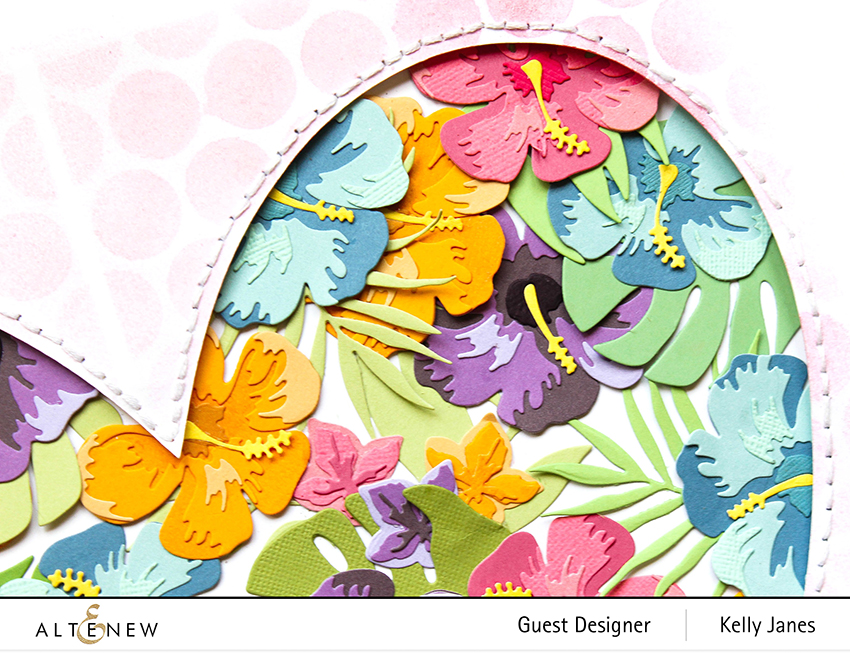
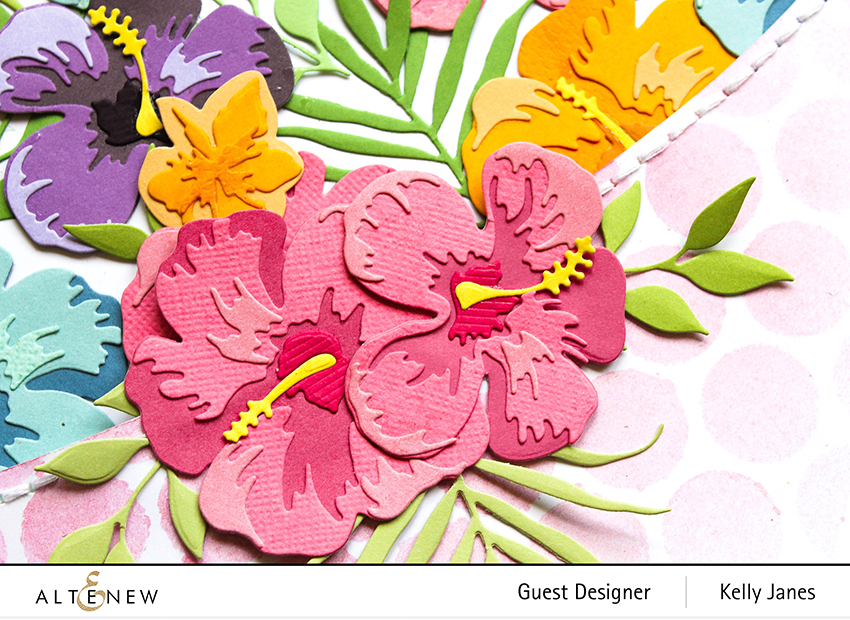
This Altenew BAF – Fuchsia Stamp is such a unique and gorgeous layering stamp set. It’s unlike any stamp I own. I used the stamp with black, pinks & purples to create my color scheme. I also stamped the leaves and stem in coordinating colors of green. After I had all of my stamping complete, I used the coordinating die to cut out all of my images. I then went to work on my layout. Now, I’m not sure if it’s the inks I used or just the way this stamp set layers, but I feel like the layers almost have a colored marker look to them (like I colored with Copics). I LOVE THAT!

Altenew-Build-A-Flower Fuchsia Stamp Set - Kelly Janes

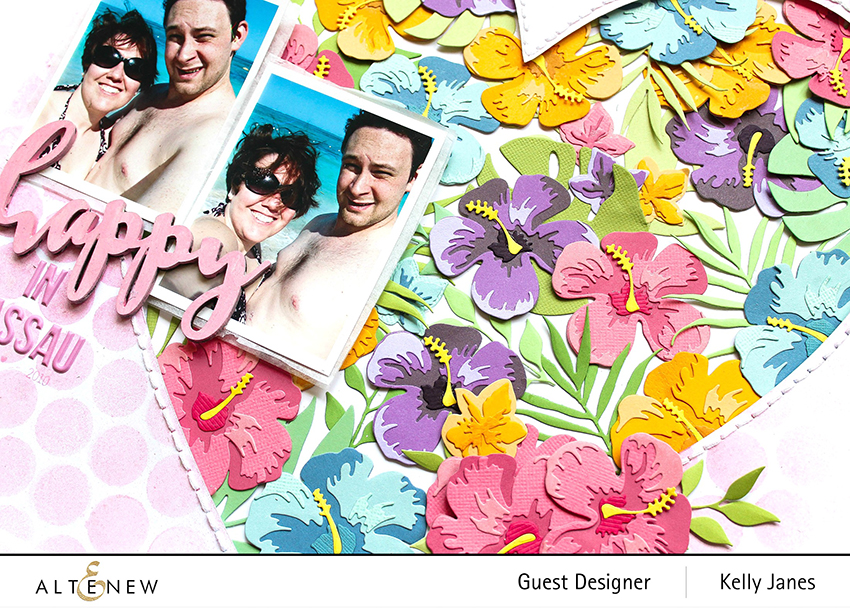
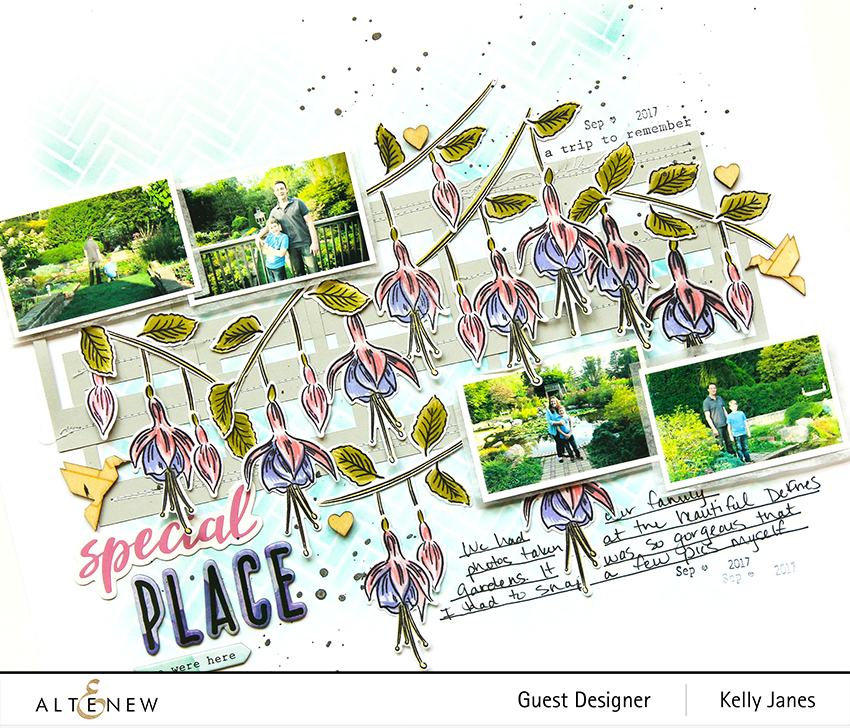
I didn’t really have a photo in mind when I started stamping these flowers. I honestly was just playing with the stamp and really loved the first color combo I used; which was the pink & purple. So after I had the stamps complete I went back to my photos on Instagram to see if anything sparked. Then, I remembered these photos I had snapped at a garden during our family photo shoot. I printed 4 of my favorites from that day on a single 4×6 sheet of photo paper. The photos ended up being a smidgen smaller than I liked, but I didn’t want to fuss with reprinting them so I just went with it.

Altenew-Build-A-Flower Fuchsia Stamp Set - Kelly Janes

Altenew-Build-A-Flower Fuchsia Stamp Set - Kelly Janes

I used the Broken Chevrons Stencil with a blue Distress Oxide Ink to create a subtle background on my white cardstock. I then cut two film strips using my Cricut on a light grey cardstock just to create a little bit of layering on the background. I then assembled all of my stamped flowers across the grey cardstock.

Altenew-Build-A-Flower Fuchsia Stamp Set - Kelly Janes

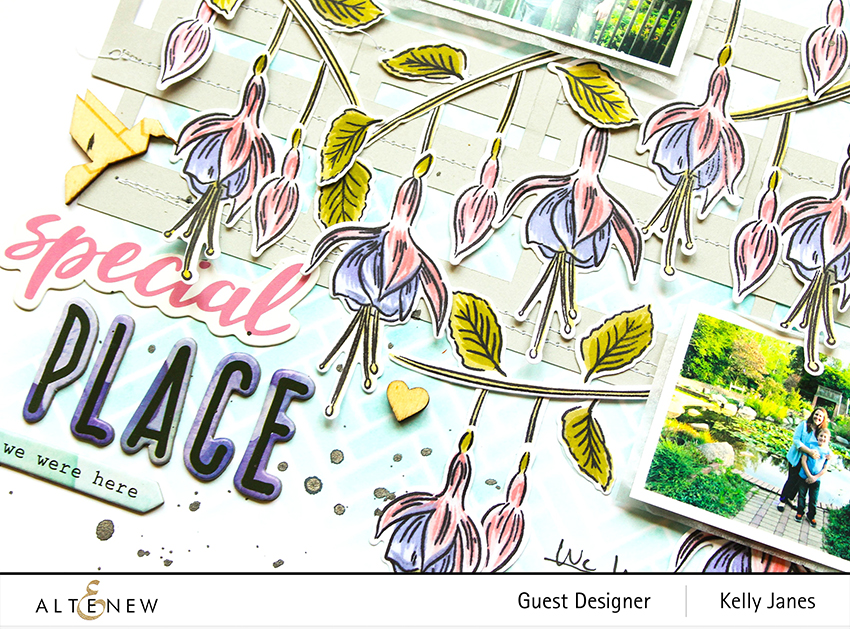
I positioned my photos on the top left and bottom right to help balance the layout. I then fussy cut the word “Special” from one of the Die Cuts from the Live Your Dream Scrapbook Collection. I then used the Colorful Alphas from the Our Family Scrapbook Collection to spell out the word “Place”.

Altenew-Build-A-Flower Fuchsia Stamp Set - Kelly Janes

I also added a Chipboard Sticker and Wood Veneer Origami Hummingbirds from the Reflection Scrapbook Collection. I wanted to add a bit more wood veneer, so I grabbed a few Wood Veneer Hearts to help balance the design. After I had the journaling in place I felt like I needed another pop of black at the top of the layout, so I added a sentiment from the Mini Stamp Set that is included with the Reflection Scrapbook Collection. The final thing was black splatters & the date using the Roller Date Stamp to call the layout complete.

Altenew-Build-A-Flower Fuchsia Stamp Set - Kelly Janes

Now you can take a look at my process video showing how this layout came together:


GIVEAWAYS:

To celebrate this release, Altenew is giving away a $30 gift certificate to 6 lucky winners! Please leave a comment on the Altenew Card Blog and/or Altenew Scrapbook Blog for a chance to win.

Altenew will also draw a winner to receive a $15 gift certificate from the comments left on each designer’s blog on the blog hop list below. All winners will be announced on the Altenew blogs on October 7, 2019. [To leave a comment on my blog, click the number at the top of the blog post.]


There’s a few different ways you can get your hands on this Build-A-Flower Stamp & Die: You can purchase the Stamp & Die, the Stamp, Die + Ink Bundle at a 5% discount or you can join the monthly Build-A-Flower Subscription. When signed up for the subscription, you are guaranteed a monthly Build-A-Flower release and will receive a set each month at a specially discounted price!

I have no doubt that you are finding inspiration as you are making your way through this blog hop, and the fun isn’t over yet! Head to LauraJane’s Blog to see what she’s created!

This blog post contains affiliate links. This means I will receive a commission (at no cost to you) from items purchased from those links.

Blog Hop List:
Altenew Card Blog
Altenew Scrapbook Blog
Svitlana Shayevich
Amber Rain Davis
Maryam Perez
Kelly Griglione
Ashlea Cornell
Virginia Lu
Jaycee Gaspar
Therese Calvird
Kelly Janes <<< YOU ARE HERE
LauraJane
Lilith Eeckels
Mindy Eggen
Nathalie DeSousa
Emily Midgett
Nenette S. Madero
Caly Person
Christine Pennington

Altenew July 2019 Stencil Release Blog Hop + Giveaway

Hey friends! Thank you for joining me for the Altenew July 2019 New Release Stencil Blog Hop. If you’ve been making your way through the hop from the very beginning then you would have come from Jeanne Jachna’s Blog. If you’re just starting here, WELCOME! You can still make your way around the entire hop by clicking the link at the bottom of my post.

Altenew- Bubble Wrap Stencil - Hibiscus 3D Flower Die - Kelly Janes

Stencils are one of my faves. There are so many uses for them…spray mists, Embossing Paste, ink blending, using acrylic paint…the options really are limitless! This release from Altenew has so many fun stencils and so many possibilities. After much thought, I decided to go with the Bubble Wrap Stencil for my layout today.

Altenew- Bubble Wrap Stencil - Hibiscus 3D Flower Die - Kelly Janes

This stencils measures 6×6 and I thought it would be the perfect stencil to create a background. I cut a heart, using my Cricut, into the center of a piece of white cardstock. I then positioned the stencil (white the cardstock was still on the cutting mat) in the upper left hand corner of the page. I then grabbed a couple pink spray mists from my stash and spritzed the stencil. I didn’t want even coverage on the stencil. I wanted some of the dots to be darker than others and I also wanted the pattern to look as if it faded a bit. I then moved the stencil around the page 3 more times to create the dotted background. I don’t like to let the extra mist that is left on the stencil to go to waste so I always have my art journal handy. I automatically have a page started in my journal by pressing the ink on top of the stencil on a blank page.

Altenew- Bubble Wrap Stencil - Hibiscus 3D Flower Die - Kelly Janes

After the mist had dried, I removed the white cardstock from my cutting mat, and added hand-stitching around the edge of the heart. I then moved onto embellishing. I had just received the Hibiscus 3D Flower Die in the mail and thought it would make the perfect embellishing for this layout. I took a little time and multiple colors of cardstock to create the hibiscus flowers and leaves. Making these flowers became a bit of an addiction! HA! I brought my die cutting machine into my living room and made all of these flowers while watching my favorite TV show (I’m currently binge watching ER on Hulu).

Altenew- Bubble Wrap Stencil - Hibiscus 3D Flower Die - Kelly Janes

I started by placing the leaves from the Hibiscus 3D Flower Die all around the center of the heart. I then took the flowers and scattered them around the heart; covering a majority of the die cut leaves. I positioned the photos on the left side of the layout and added my title using an Altenew Wood Veneer Word, that I painted pink, and a few puffy alphas from my stash.

Altenew- Bubble Wrap Stencil - Hibiscus 3D Flower Die - Kelly Janes

I thought at that point the layout was complete, but I felt like the layout looked a bit unbalanced. So, I die cut a couple more hibiscus flowers and leaves and added them to the outside of the heart. I didn’t add any journaling to this layout, because all I had to say about these photos was contained within the title.

Now you can take a look at my process video:


GIVEAWAYS:

To celebrate this release, Altenew is giving away a $30 gift certificate to 6 lucky winners! Please leave a comment on the Altenew Card Blog and/or Altenew Scrapbook Blog by July 28,2019 for a chance to win.

Altenew will also draw a winner to receive a $15 gift certificate from the comments left on each designer’s blog on the blog hop list below. All winners will be announced on the Altenew blogs on July 30, 2019.


There’s still more inspiration to be found on Mindy Eggen’s Blog! Head there now!

This blog post contains affiliate links. This means I will receive a commission at (at no cost to you) from items purchased from those links.

Blog Hop List:
Altenew Card Blog
Altenew Scrapbook Blog
Virginia Lu
Nathalie DeSousa
Jaycee Gaspar
Kymona Tracey
Amber Rain Davis
Laurie Willison
Maryam Perez
Emily Midgett
Agnieszka Malyszek
Zinia Redo
Norine Borys
Caly Person
Lilith Eeckels
Therese Calvird
Ashlea Cornell
Erum Tasneem
Marie Nicole
Svitlana Shayevich
Terri Koszler
Isha Gupta
Jeanne Jachna
Kelly Janes <<< YOU ARE HERE
Mindy Eggen