Welcome to our Stamp of the Month Blog Hop! This month over 60 Close To My Heart consultants are displaying artwork from the December Stamp of the Month, Cutie Pie. If you’ve come from Kathy Burrow’s Blog you’re in the right place…if you’ve started here- WELCOME! This blog hop is a giant circle so you can join in the fun by clicking the link at the bottom of my post and still make complete trip around this hop. If you happen to get lost along the way, you can find a complete list of participants on Melinda Everitt’s Blog.
Two of my guilty pleasures are cruising Pinterest & Bloglovin’!! I stumbled on this sketch on Pinterest from Page Maps and knew immediately I wanted to use it with December’s Stamp of the Month, Cutie Pie. Eeek!! All of the details of this sketch fit PERFECTLY with this month’s stamp set!! The biggest challenge was deciding what paper and photos to use!
Please note: This blog post is full of NEW product that will be available December 1 in the Seasonal Expressions Volume 1 so a few of the links may not work today but they will be up and running tomorrow!!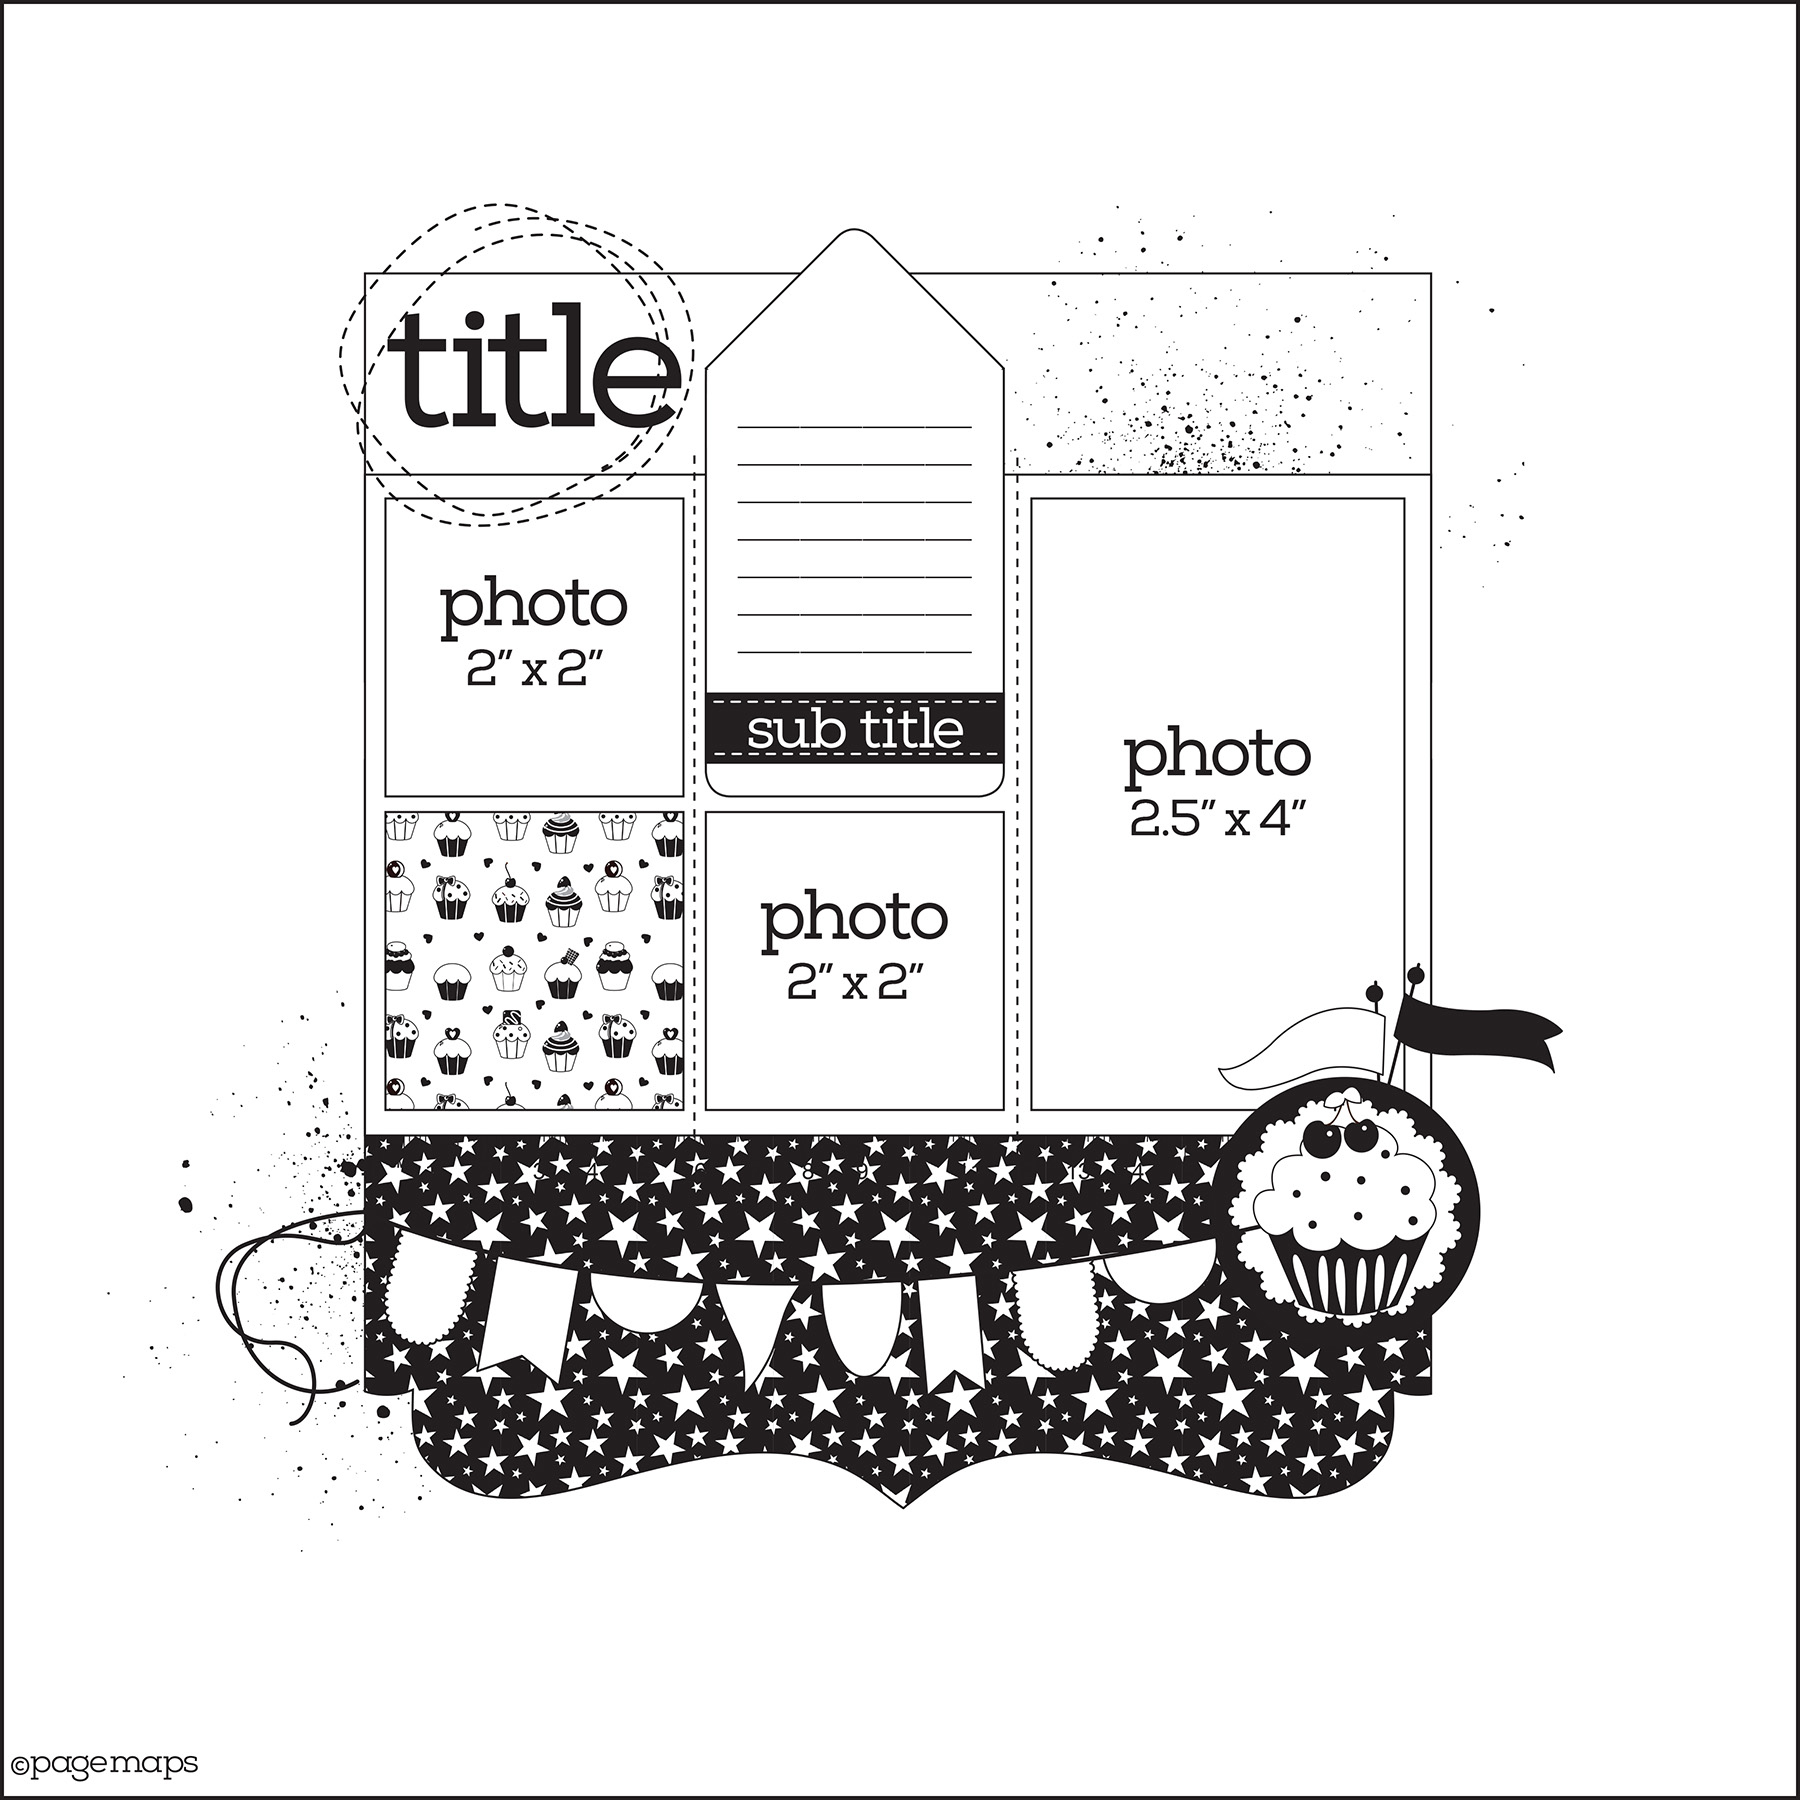
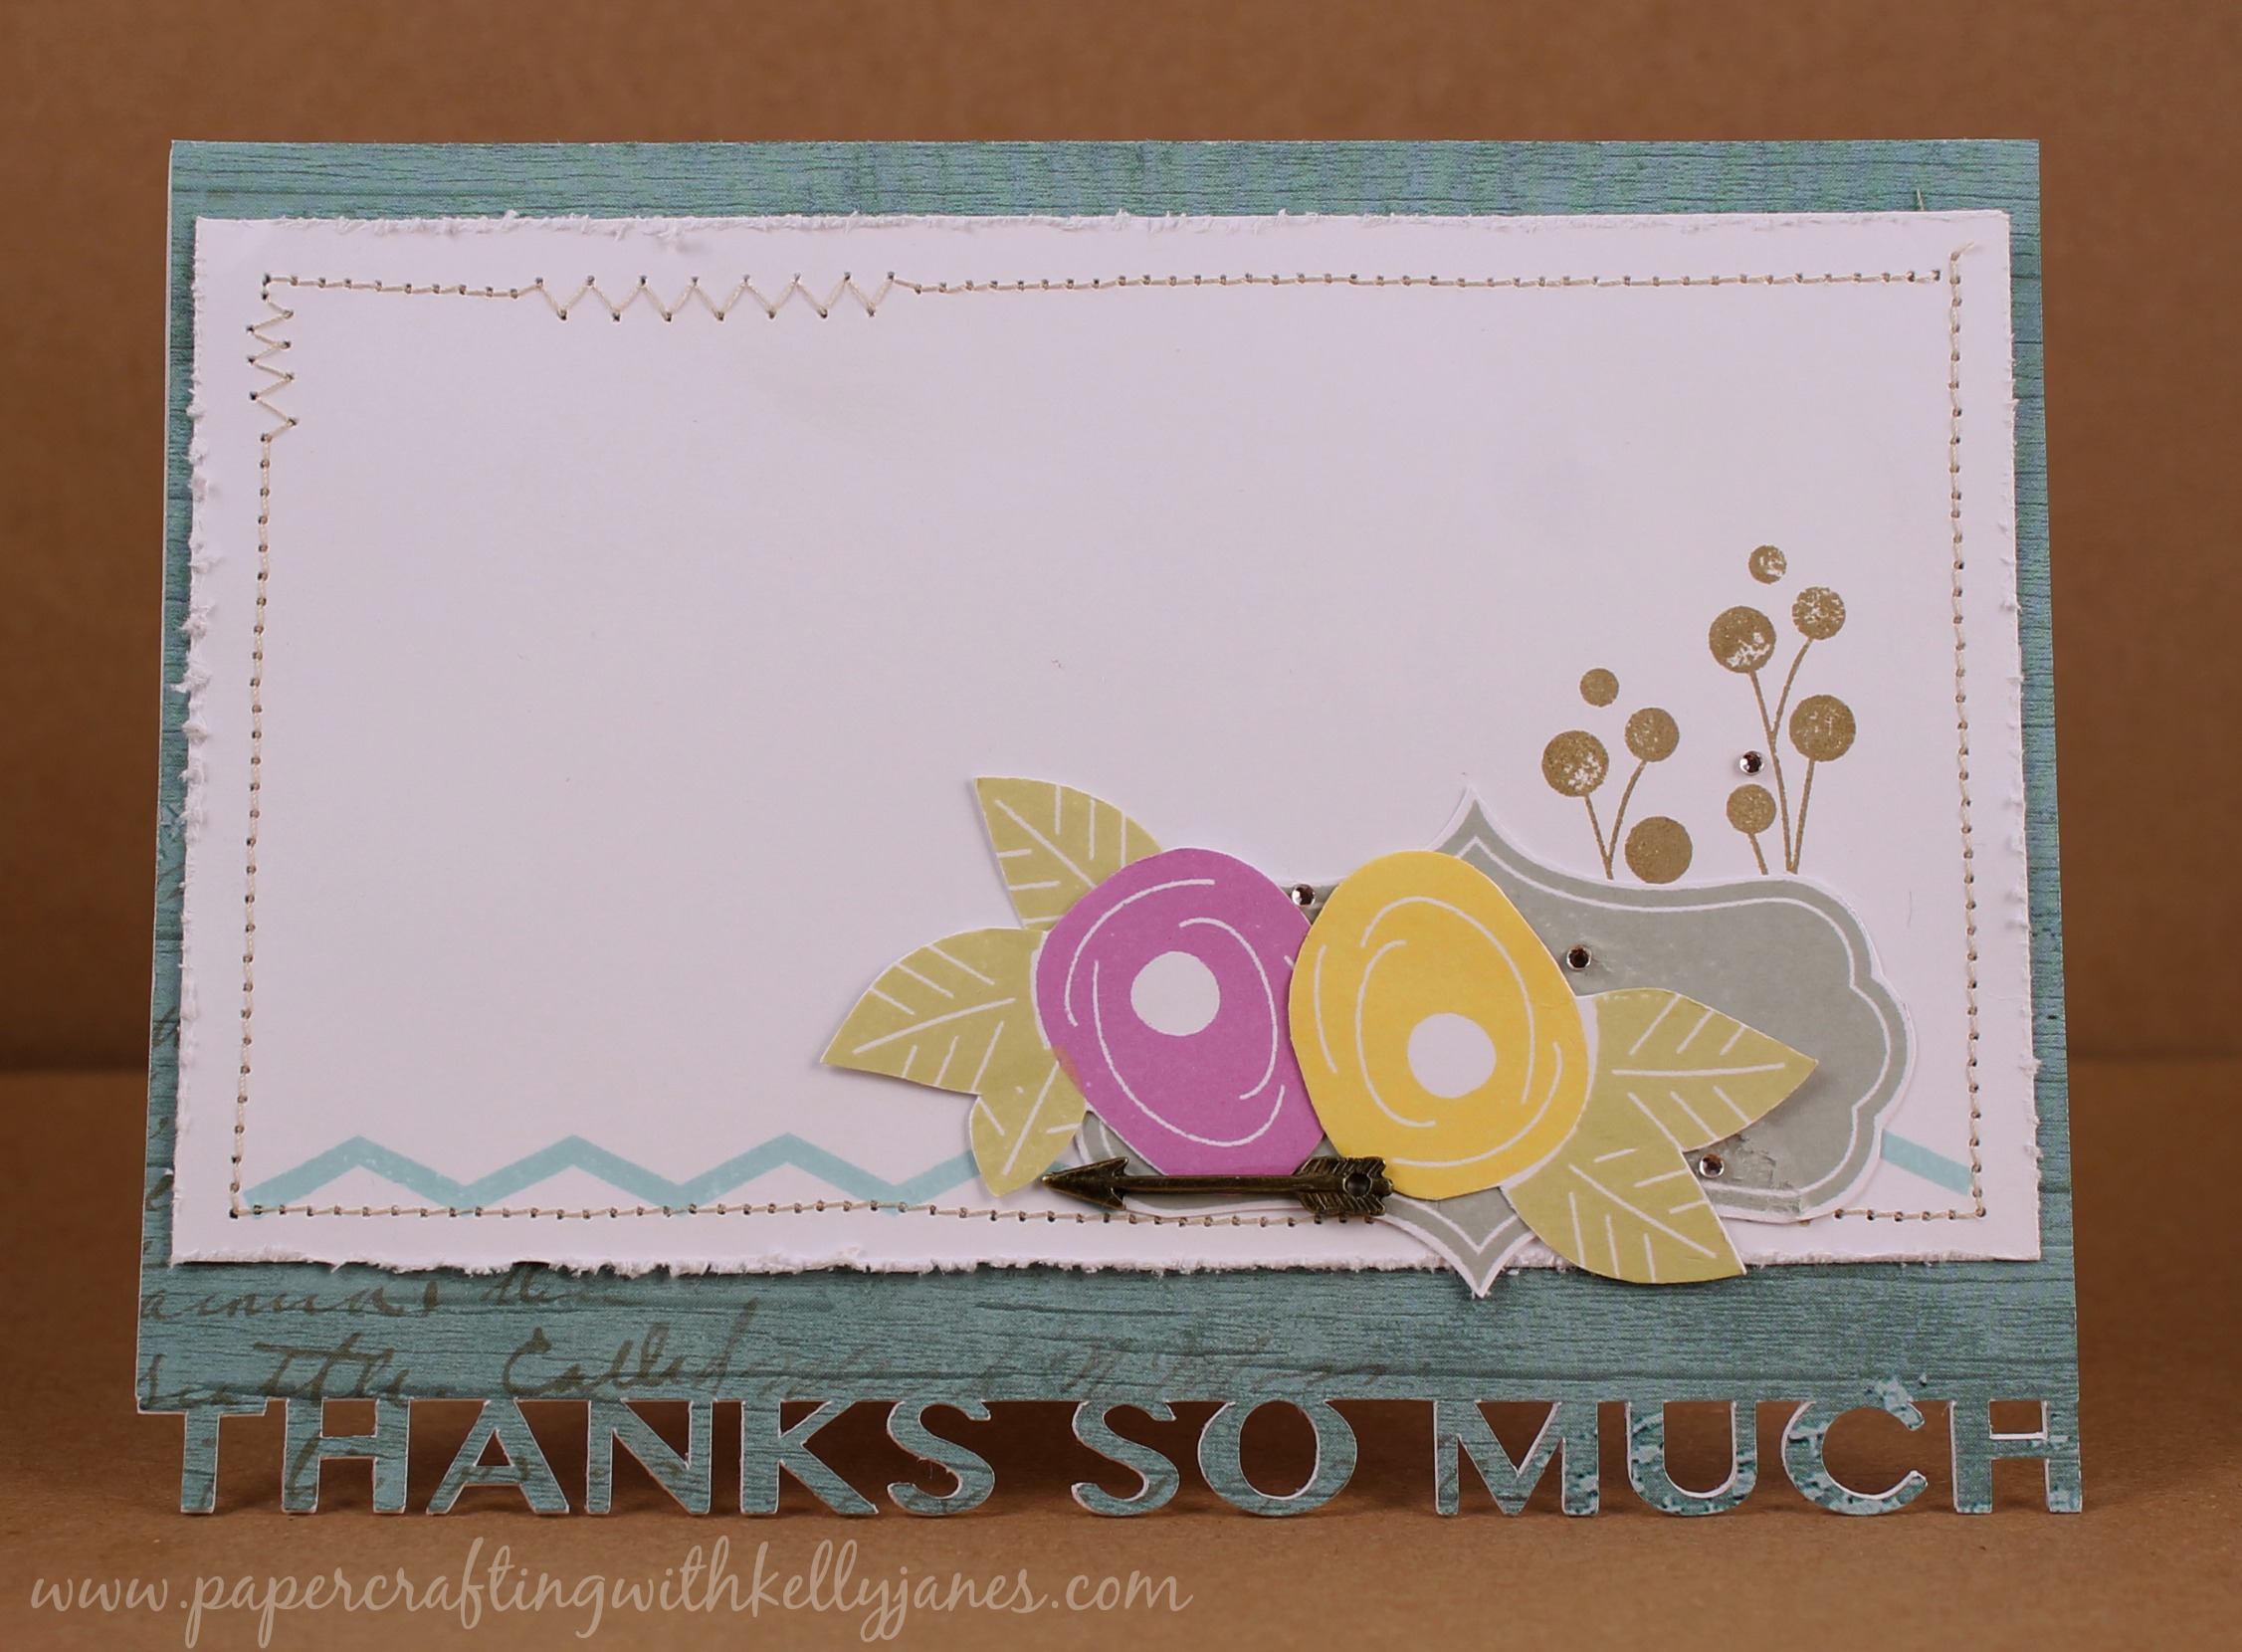
I surprised myself when I chose to use the Heartstrings Paper Packet. I’m the mom of a six year old boy and we don’t do a lot to celebrate Valentine’s Day in our home. I have a few pics here and there from school activities, but other than that I just don’t have a whole lotta use for Valentine themed products. So I’m sure the moms of little boys can understand that pinks and reds are not usually my go to choices when buying paper. BUT I loved the blue hues & newsprint that were included in the Heartstrings Paper Packet and could envision other uses and it just so happened to work out for these photos.
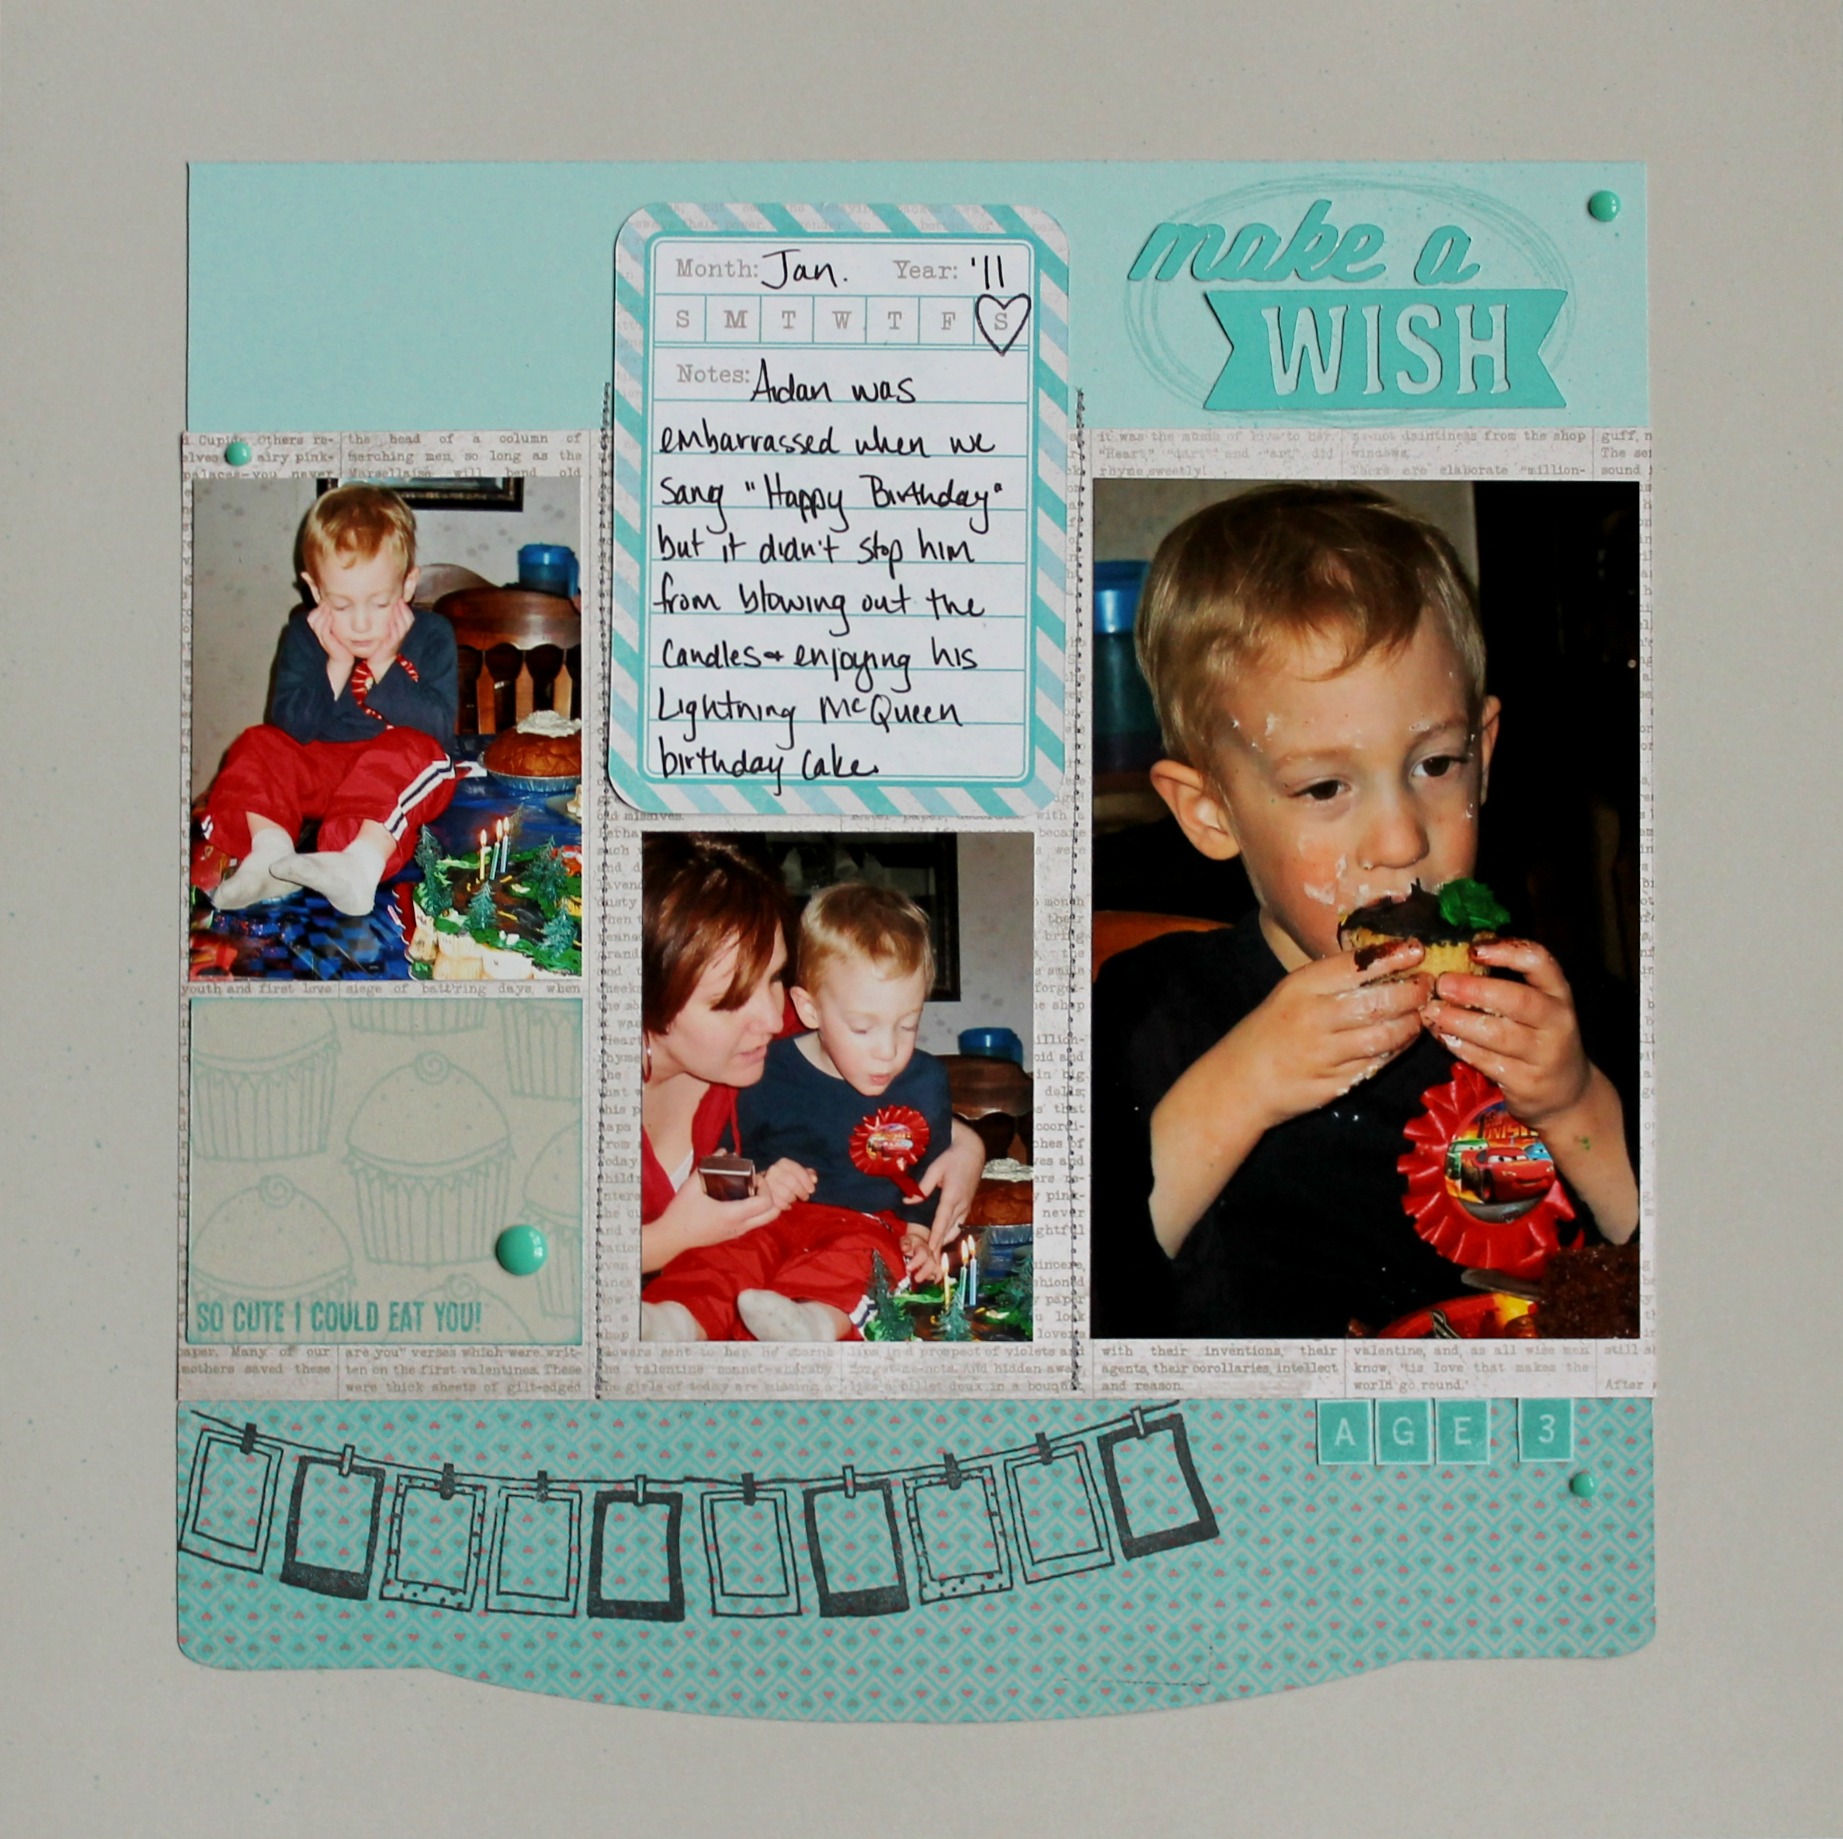
Now let me quickly break down my layout… I started with a Whisper Cardstock Base, followed by multiple B&T Duos® from the NEW Heartstrings Paper Packet. I stamped the frames from the Cutie Pie SOTM Stamp Set in Black Exclusive Ink™ on a piece of B&T that gets it’s shape from the Art Philosophy Cricut® Cartridge. I used a waterbrush and Lagoon Exclusive Ink™ to create the ink splatter on the page. On the bottom right, I used the Keyboard Uppercase Stamp Set in Glacier Exclusive Ink™ and fussy cute them to look like alphabet stickers.

The NEW Heartstrings Picture My Life™ card was the perfect size for my journaling. {Notice the little heart around the day of the week…that little gem is also included in the December SOTM, Cutie Pie} I know a lot of people struggle with journaling, but my struggle is titles. Where to place them, what to write, how big??? I ended up using the Artbooking Cricut® Cartridge and Lagoon Cardstock to create the title. After the title was cut I felt like I needed a little more dimension surrounding the title so I grabbed the NEW Doodled Designs Stamp Set & Glacier Exclusive Ink™ to create a backdrop.

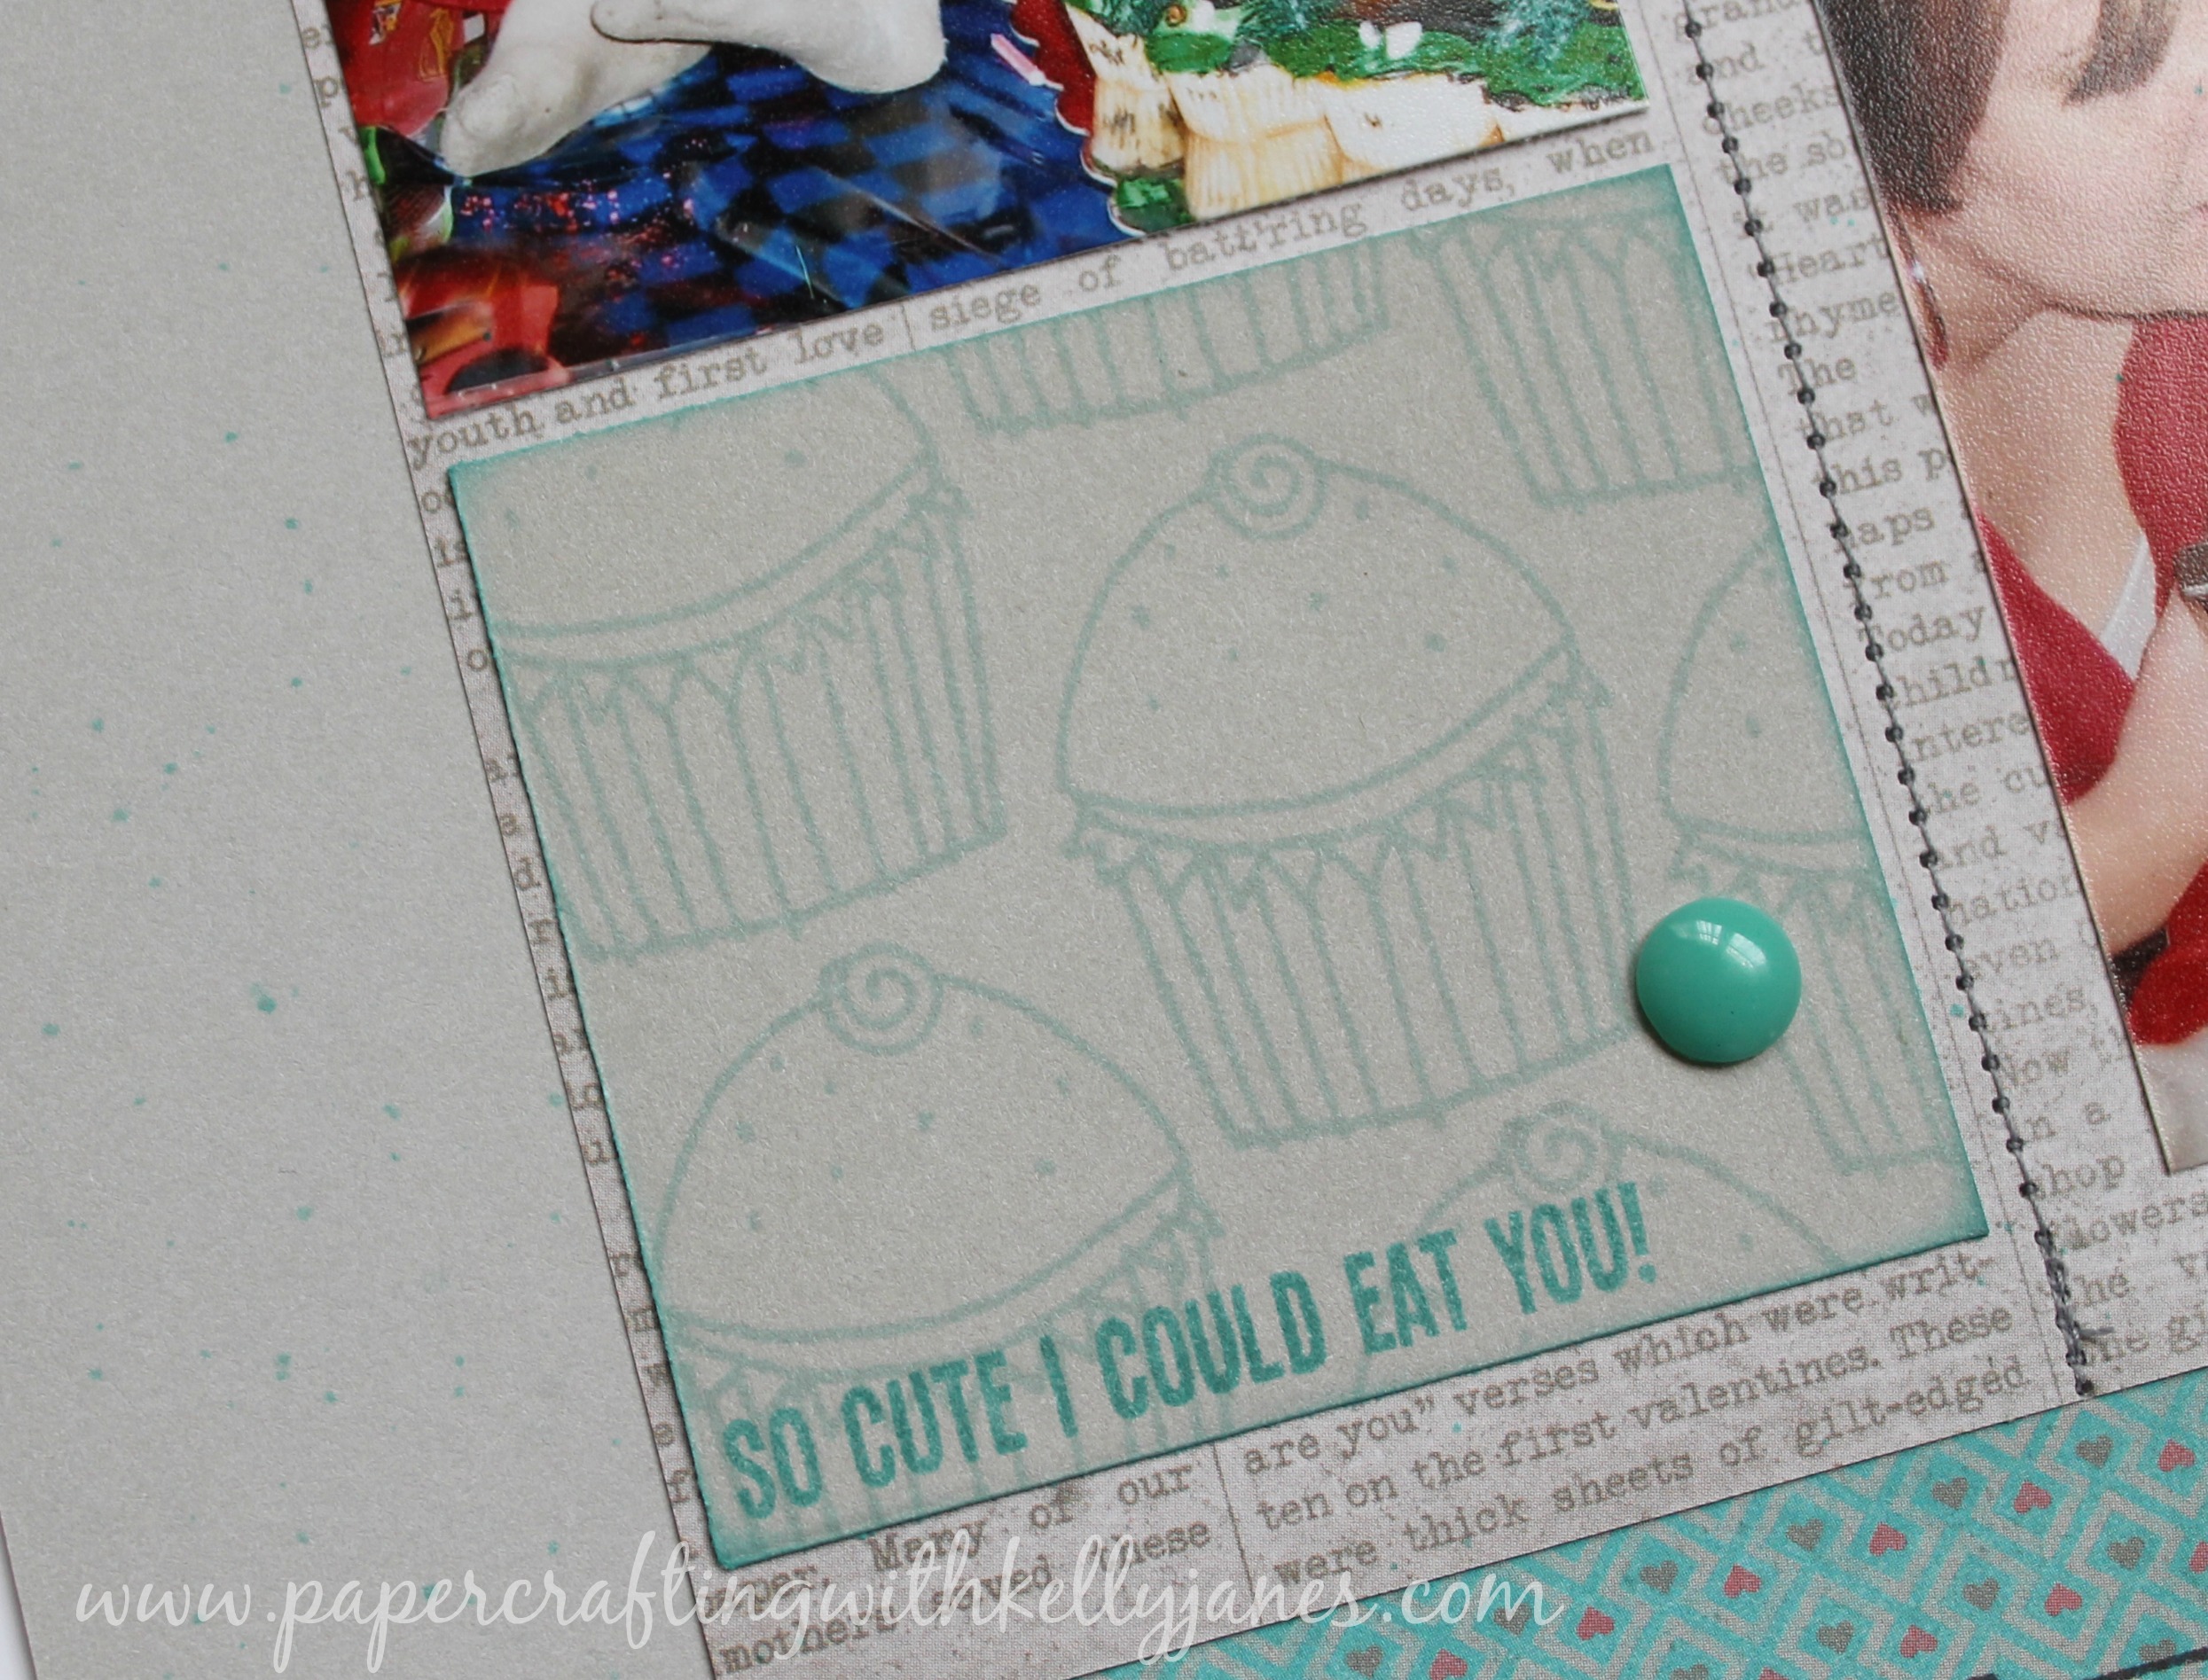
On a scrap piece of Whisper Cardstock I stamped the cupcakes in Glacier Exclusive Ink™ and used a sponge dauber with the same color ink to create a little definition between the B&T Duo® and Whisper Cardstock. The cute little subtitle come from NEW Love Ya Silly Stamp Set in Lagoon Exclusive Ink™.
I tossed a few Aqua Dots and added grey stitching using my craft sewing machine. This layout is so adorable in person…I feel like it’s nearly impossible to catch it with a photo.
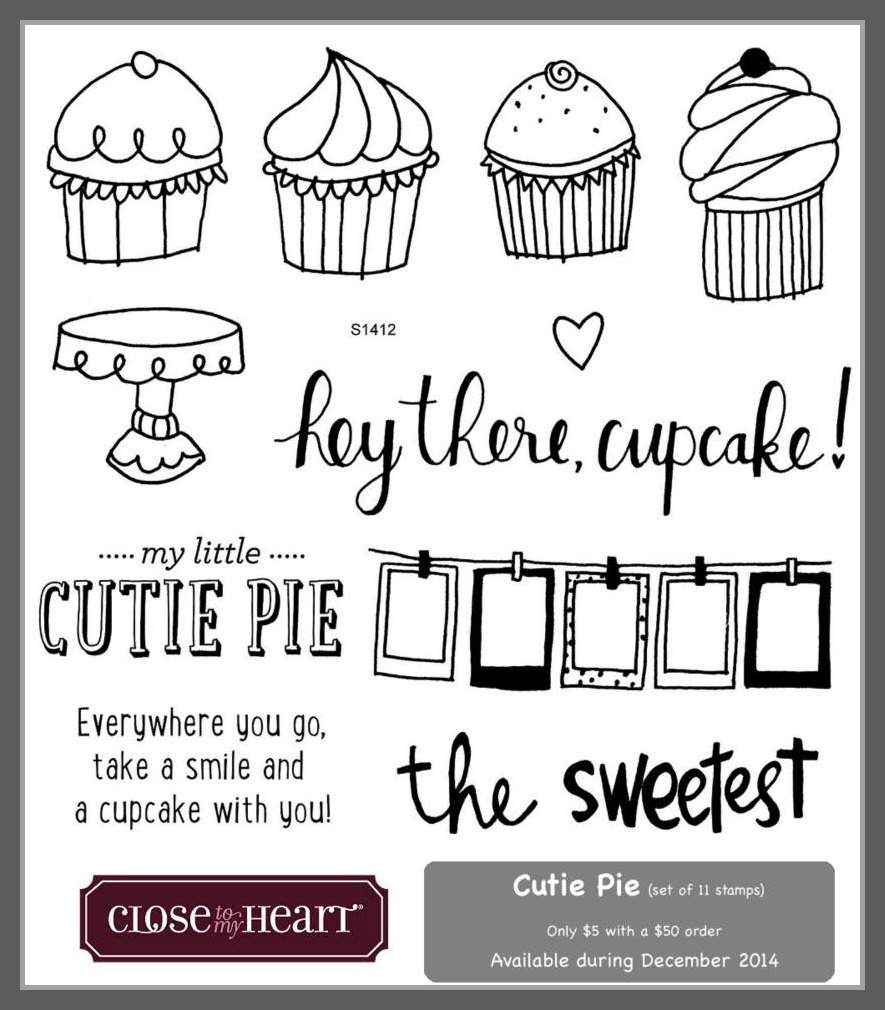
Remember, this stamp set is only available until December 31. For more information on how this stamp set can be yours for only $5 contact your CTMH consultant or click here to shop with me now! It’s now time to head to Michelle John’s Blog to see what she has created using this fun stamp set!
-Kelly