Sun Tan | The Cut Shoppe

We were recently discussing Print Then Cut in The Cut Shoppe -Scrap Spot- Facebook Group. There were quite a few people who had never tried this feature and were curious how it worked or just wanted more detailed information. My friend & owner of The Cut Shoppe, Ashley Horton, and I are teaming up and creating tutorials showing how easy it is to use this feature. Ashley is a Silhouette Cameo user so her video will focus on how to use this feature using the Cameo. My blog post & video will focus on how to use this feature in Cricut Design Space.

12x12 scrapbook layout for The Cut Shoppe Design Team using the Summer Sizzle Print Then Cut & Bella Blvd Island Escape Collection.

Ashley designed this FREE Summer Sizzle Print Then Cut that is only available in The Cut Shoppe -Scrap Spot- Facebook Group, so be sure to head there to download a free copy. You can still use this printable even if you don’t own a die cut machine. Just print it out and then fussy cut all of those cute images!

I do have a step-by-step tutorial for Print Then Cut (PTC) included in the Process Video at the end of this blog post, but a PTC file is uploaded almost exactly the same as a regular cut file in Cricut Design Space. The only step that is different is at the very end. You will want to save it as a PTC file rather than a Cut File. One of the things I love about The Cut Shoppe is all files are on a transparent background so it makes uploading into Design Space a breeze!

12x12 scrapbook layout for The Cut Shoppe Design Team using the Summer Sizzle Print Then Cut & Bella Blvd Island Escape Collection.

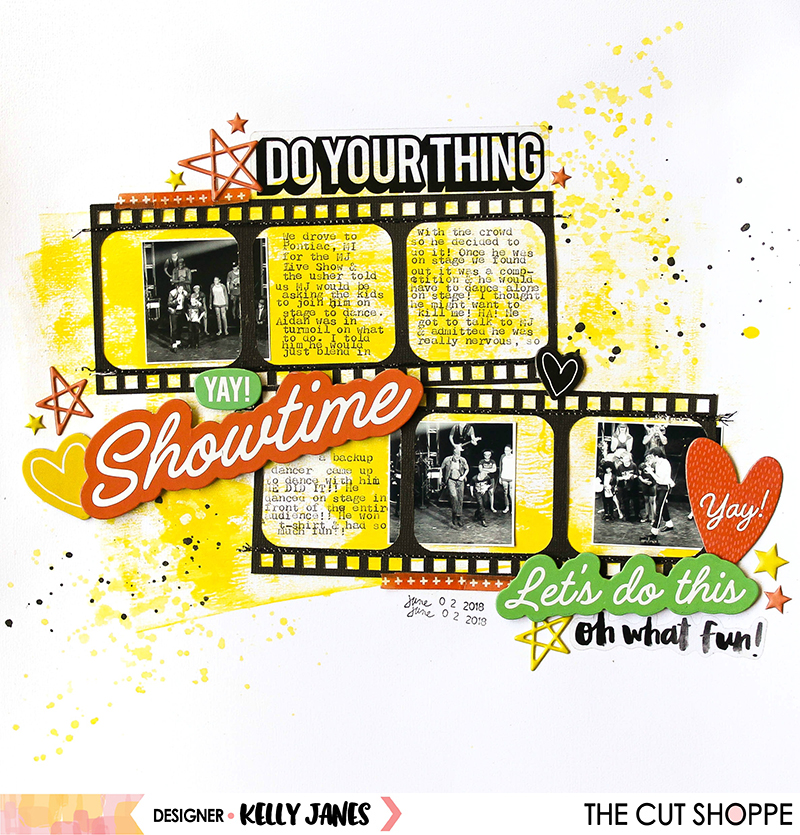
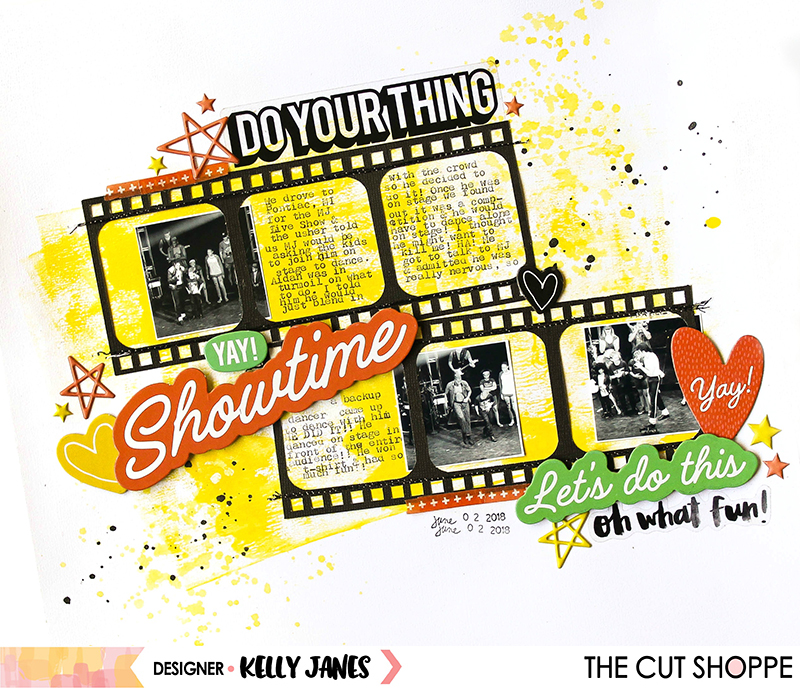
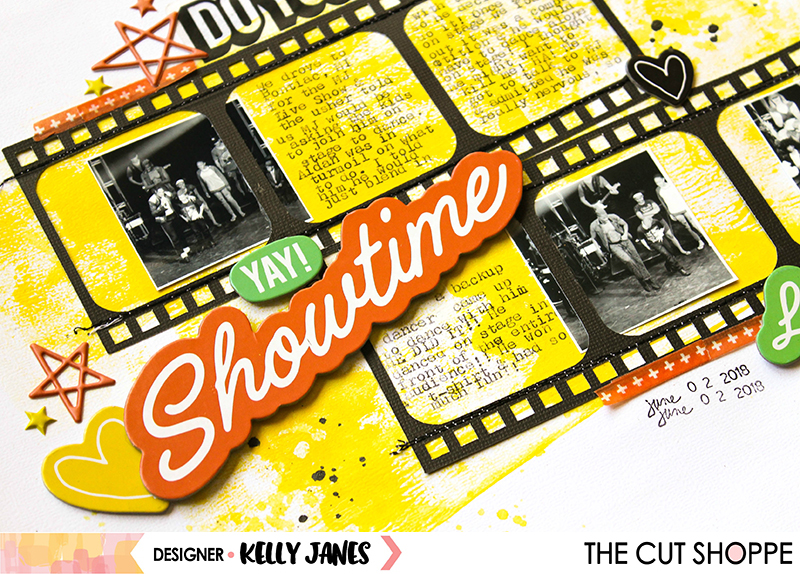
For my layout today I cut a circle from the Full Circle Cut File on white cardstock. I then backed the cut file using the Tropical Bliss Patterned Paper from the Bella Blvd Island Escape Collection. PTC files are great to use as embellishments and the bonus is you will never run out! You just print another copy! I used multiple icons from The Cut Shoppe FREE Summer Sizzle Print Then Cut. I also used multiple Die Cuts and Chipboard Pieces from the same Bella Blvd Collection for additional embellishing.

12x12 scrapbook layout for The Cut Shoppe Design Team using the Summer Sizzle Print Then Cut & Bella Blvd Island Escape Collection.

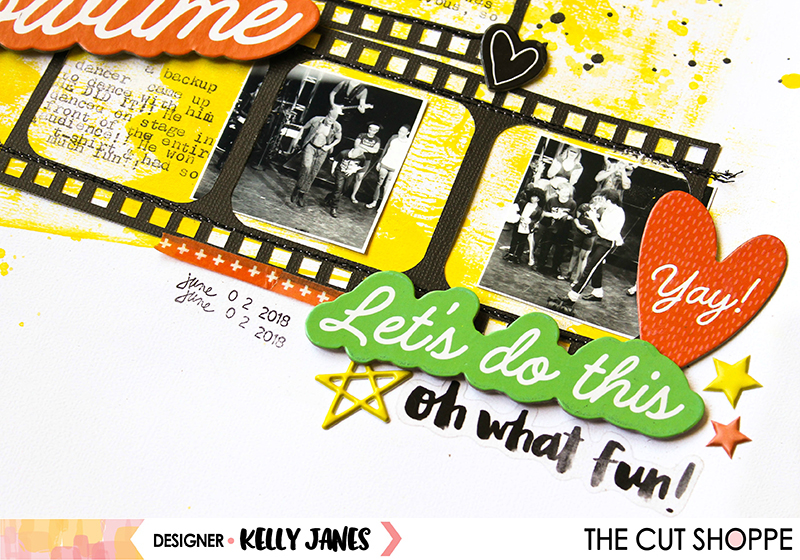
Sometimes white cardstock feels too bright so I wanted to break that color up a bit before I adhered down my embellishments and photo. So, I added a splash of pink behind the embellishments using a pink mist from Shimmerz Paints. I was trying to figure out what I should do for a title & where my title placement should go. I decided to place it directly in the center of the cut file using a phrase and a banner from The Cut Shoppe Printable.

12x12 scrapbook layout for The Cut Shoppe Design Team using the Summer Sizzle Print Then Cut & Bella Blvd Island Escape Collection.

Now you can take a look at my process video that includes a Cricut Design Space tutorial showing you how to upload, print and cut this free printable from The Cut Shoppe.

Thanks so much for spending part of your day with my today! Please let me know if you have any questions about the Print Then Cut process!

This blog post contains affiliate links. This means I will receive a commission (at no cost to you) from items that are purchased from these affiliate links.

YAY! Showtime | The Cut Shoppe

Hey there friends! I’m back today to share a layout that was recently on The Cut Shoppe Blog using The Big Screen Cut File.

12x12 scrapbook layout for The Cut Shoppe using The Big Screen Cut File & products from Amy Tangerine On a Whim & Pinkfresh Studio The Mix No. 2 puffy stars.

Let me start by giving you some context of the story I wanted to tell on my layout. My son, Aidan, developed an obsession with Michael Jackson around Thanksgiving last year. I have no idea where it came from or how it started…I’m guessing YouTube! I saw that the Las Vegas show, MJ Live, was touring and there was a show somewhat nearby (7 hour round trip). Without much thinking or hesitation I purchased tickets for us to go. When we arrived at the theater the usher told us that “Michael” would be asking the kids to join him on stage to dance with him during one of the songs. Aidan was in complete turmoil on what to do…he knew it was a once in a lifetime experience, but was nervous about being embarrassed when he would dance on the stage in front of the entire audience. I told him that he would just blend in with all the other kids and no one would even notice him. He was bouncing back & forth during the concert on whether or not he wanted to do it…but when the time arrived he decided to go for it!

12x12 scrapbook layout for The Cut Shoppe using The Big Screen Cut File & products from Amy Tangerine On a Whim & Pinkfresh Studio The Mix No. 2 puffy stars.

After he got on stage “Michael” announced that it would be a dance competition and the kids would have to dance individually in front of the audience. I think my heart jumped into my throat. Here I had convinced him to go because he would just blend in with everyone else and come to find out he would have to dance by himself IN FRONT OF EVERYONE! I was so nervous for him! He had a few kids that went in front of him and I could see his nerves building. When it was finally his turn, “Michael” was really nice and talked with Aidan a bit before the music started. Aidan admitted to being nervous, so “Michael” kindly offered for one of the backup dancers to come up and dance with him. The music started, Aidan danced, and did such an amazing job! I never in a million years would have been able to do this! I knew immediately I needed to document this story and his bravery! My photos were of terrible quality. It was dark in the theater and we were on the first balcony. I converted the photos to black & white and printed them very small (less than 2×2) to try to mask how terrible they really are! Ha! Now I needed a way to have these tiny photos make a big impact on the layout. That’s when I turned to The Big Screen Cut File.

12x12 scrapbook layout for The Cut Shoppe using The Big Screen Cut File & products from Amy Tangerine On a Whim & Pinkfresh Studio The Mix No. 2 puffy stars.

I altered the cut file slightly in Cricut Design Space by removing the word “action” from the filmstrips. I duplicated the filmstrips and sized them so my photos would fit within the frames and still have room for embellishing. I cut both of the filmstrips on black cardstock. After I had the filmstrips cut, I needed to decide what products to use. That was the real challenge.

12x12 scrapbook layout for The Cut Shoppe using The Big Screen Cut File & products from Amy Tangerine On a Whim & Pinkfresh Studio The Mix No. 2 puffy stars.

I ended up going with a majority of Amy Tangerine products, mainly the On a Whim Collection. The bright colors and sentiments went well with the theme of the layout. I knew I needed to tell this story and needed a lot of room to tell it. I originally printed the journaling on a 6×6 pattern paper that I intended to trim down and tuck behind the filmstrip. But the paper hid too much of the yellow that I painted on the white cardstock background using a brayer. So I decided to use my We R Memory Keepers Typecast Typewriter to add the journaling in the open spots of the filmstrips. At this point I thought I needed just a bit more color spread around the page, so I grabbed the Pinkfresh Studio The Mix No. 2 puffy stars and scattered them around the page. The colors matched the Amy Tan products perfectly!

12x12 scrapbook layout for The Cut Shoppe using The Big Screen Cut File & products from Amy Tangerine On a Whim & Pinkfresh Studio The Mix No. 2 puffy stars.

Now you can take a look at the YouTube Process Video that has a Cricut tutorial showing how I altered the cut file step by step.

I’m so glad I documented this story while it was so fresh in my mind. The Cut Shoppe Etsy Store has so many cut files and I’m sure there is the perfect one to help document your stories!

This blog post contains affiliate links. This means I will receive a commission (at no cost to you) from products purchased from those links.