Hello Dapper Boy

Hey everyone!! I have another layout and process video to share with you today!

Hip Kit Club Cut File, Shimmerz Paints, Minc Frame & lots of brads!!

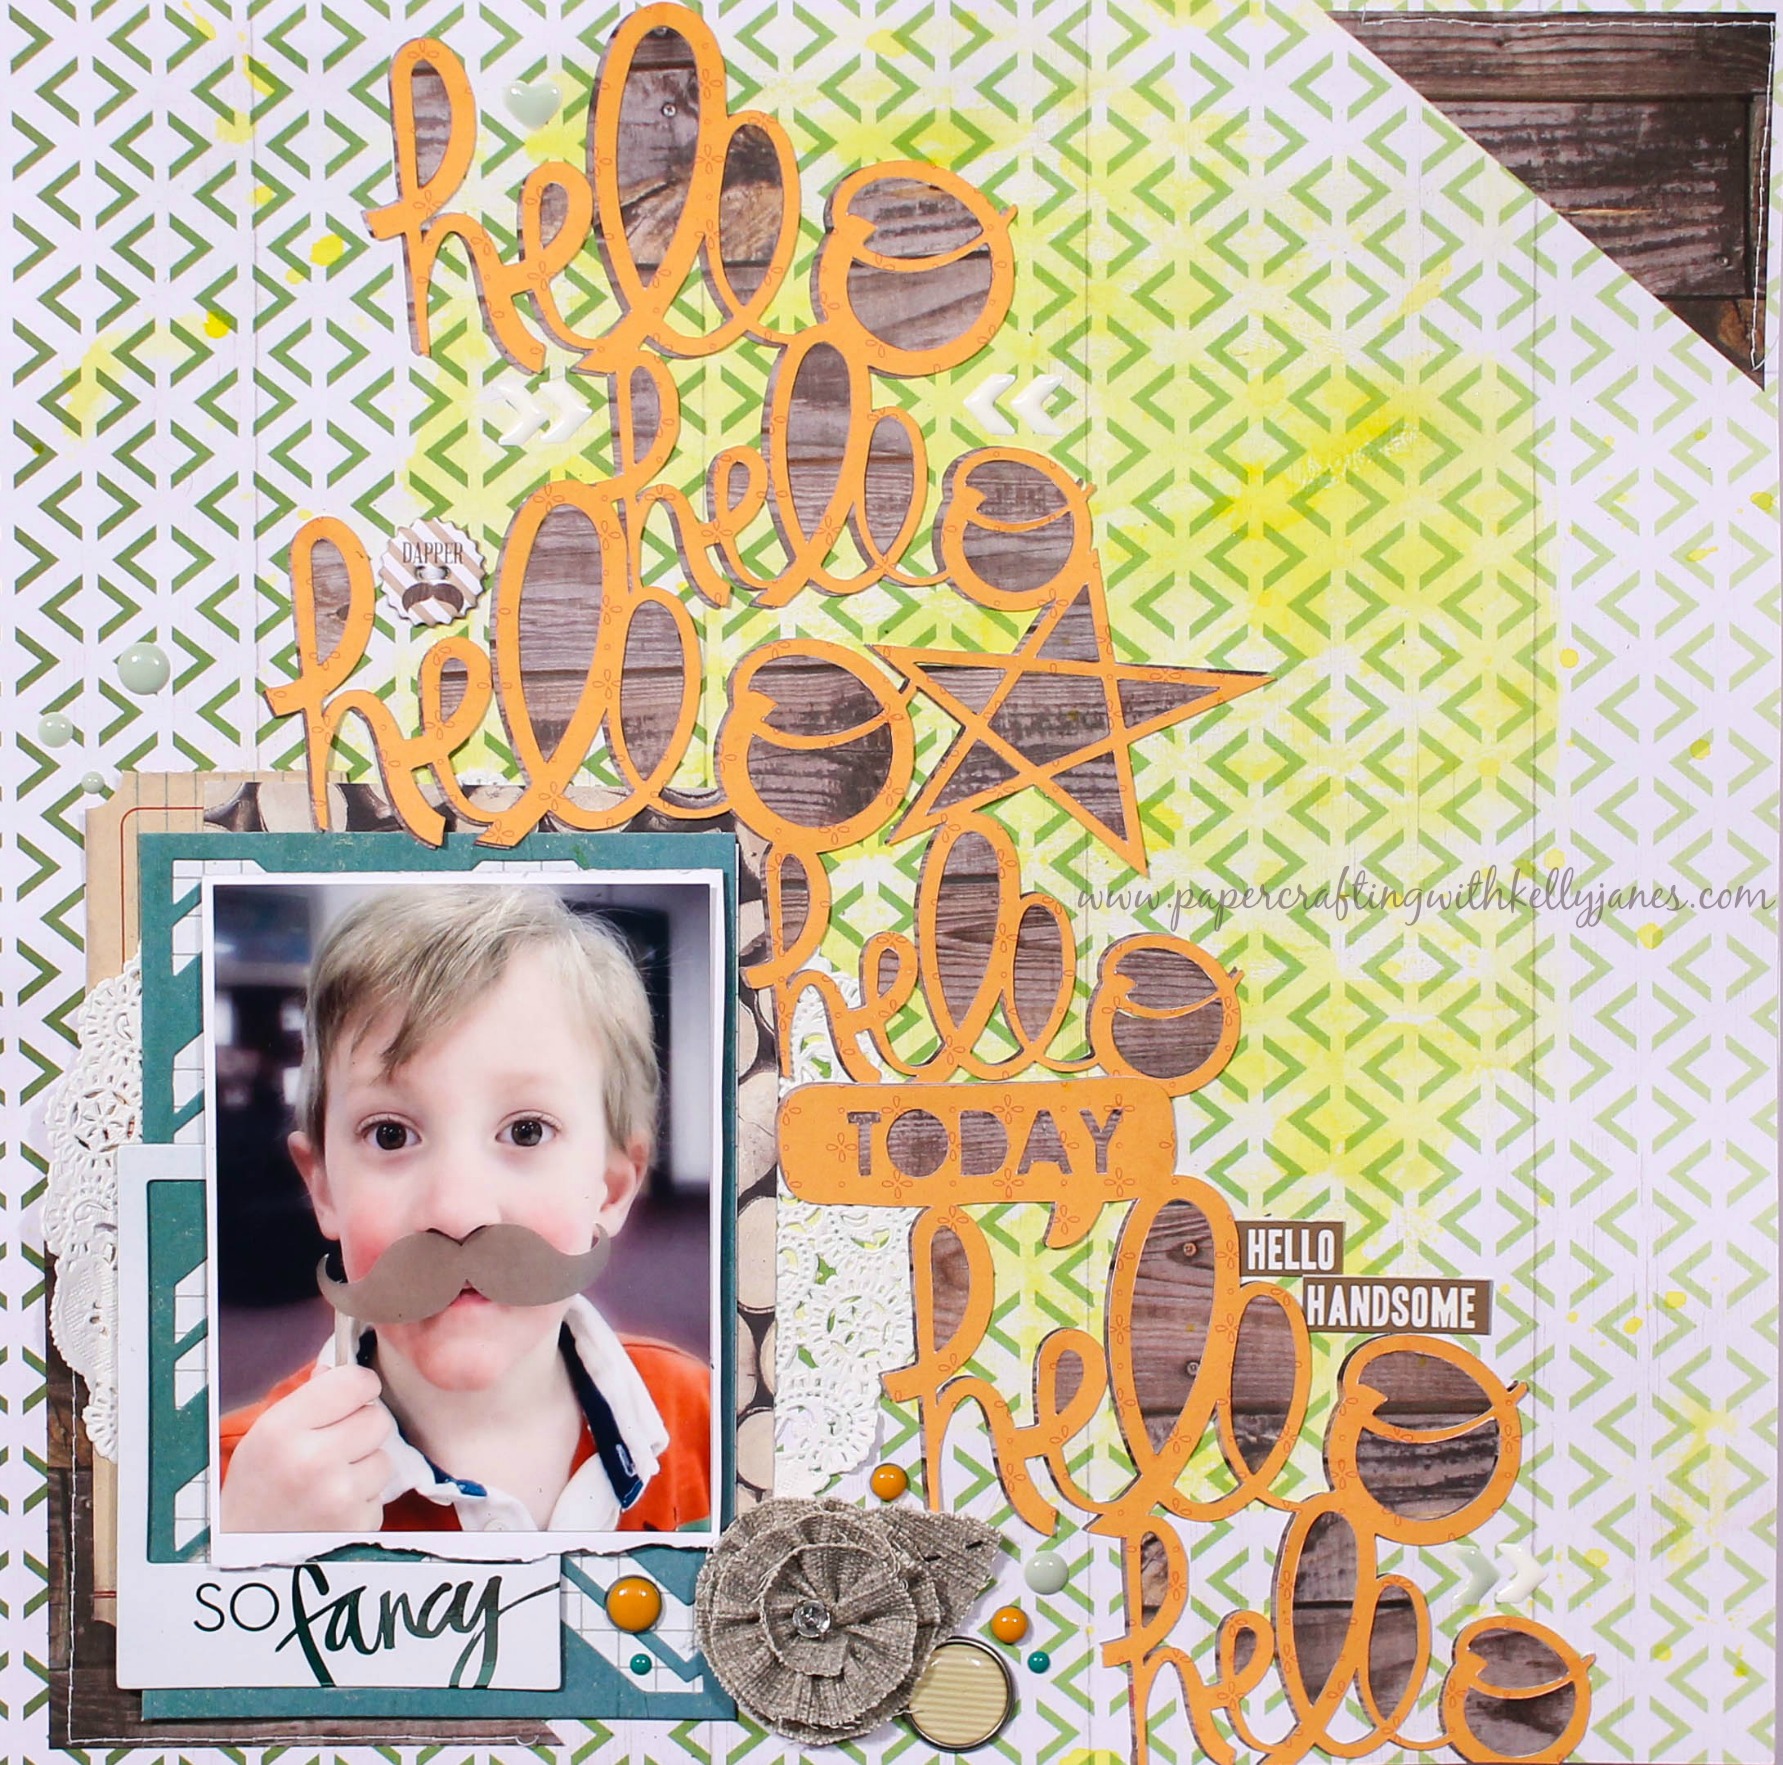
I started with a white/green patterned paper from Pink Paislee Citrus Bliss Paper Pad. I applied a layer of clear gesso & added No Yoking Coloringz from Shimmerz using a brayer and the packaging technique. The brayer inspiration came after seeing a process video by Kim Watson on the Hip Kit Club Instagram feed. Using a brayer is a great way to get mixed media onto your layout in a controlled way, but I got slightly impatient and ended up using the packaging technique towards the end!!

Hip Kit Club Cut File, Shimmerz Paints, Minc Frame & lots of brads!!

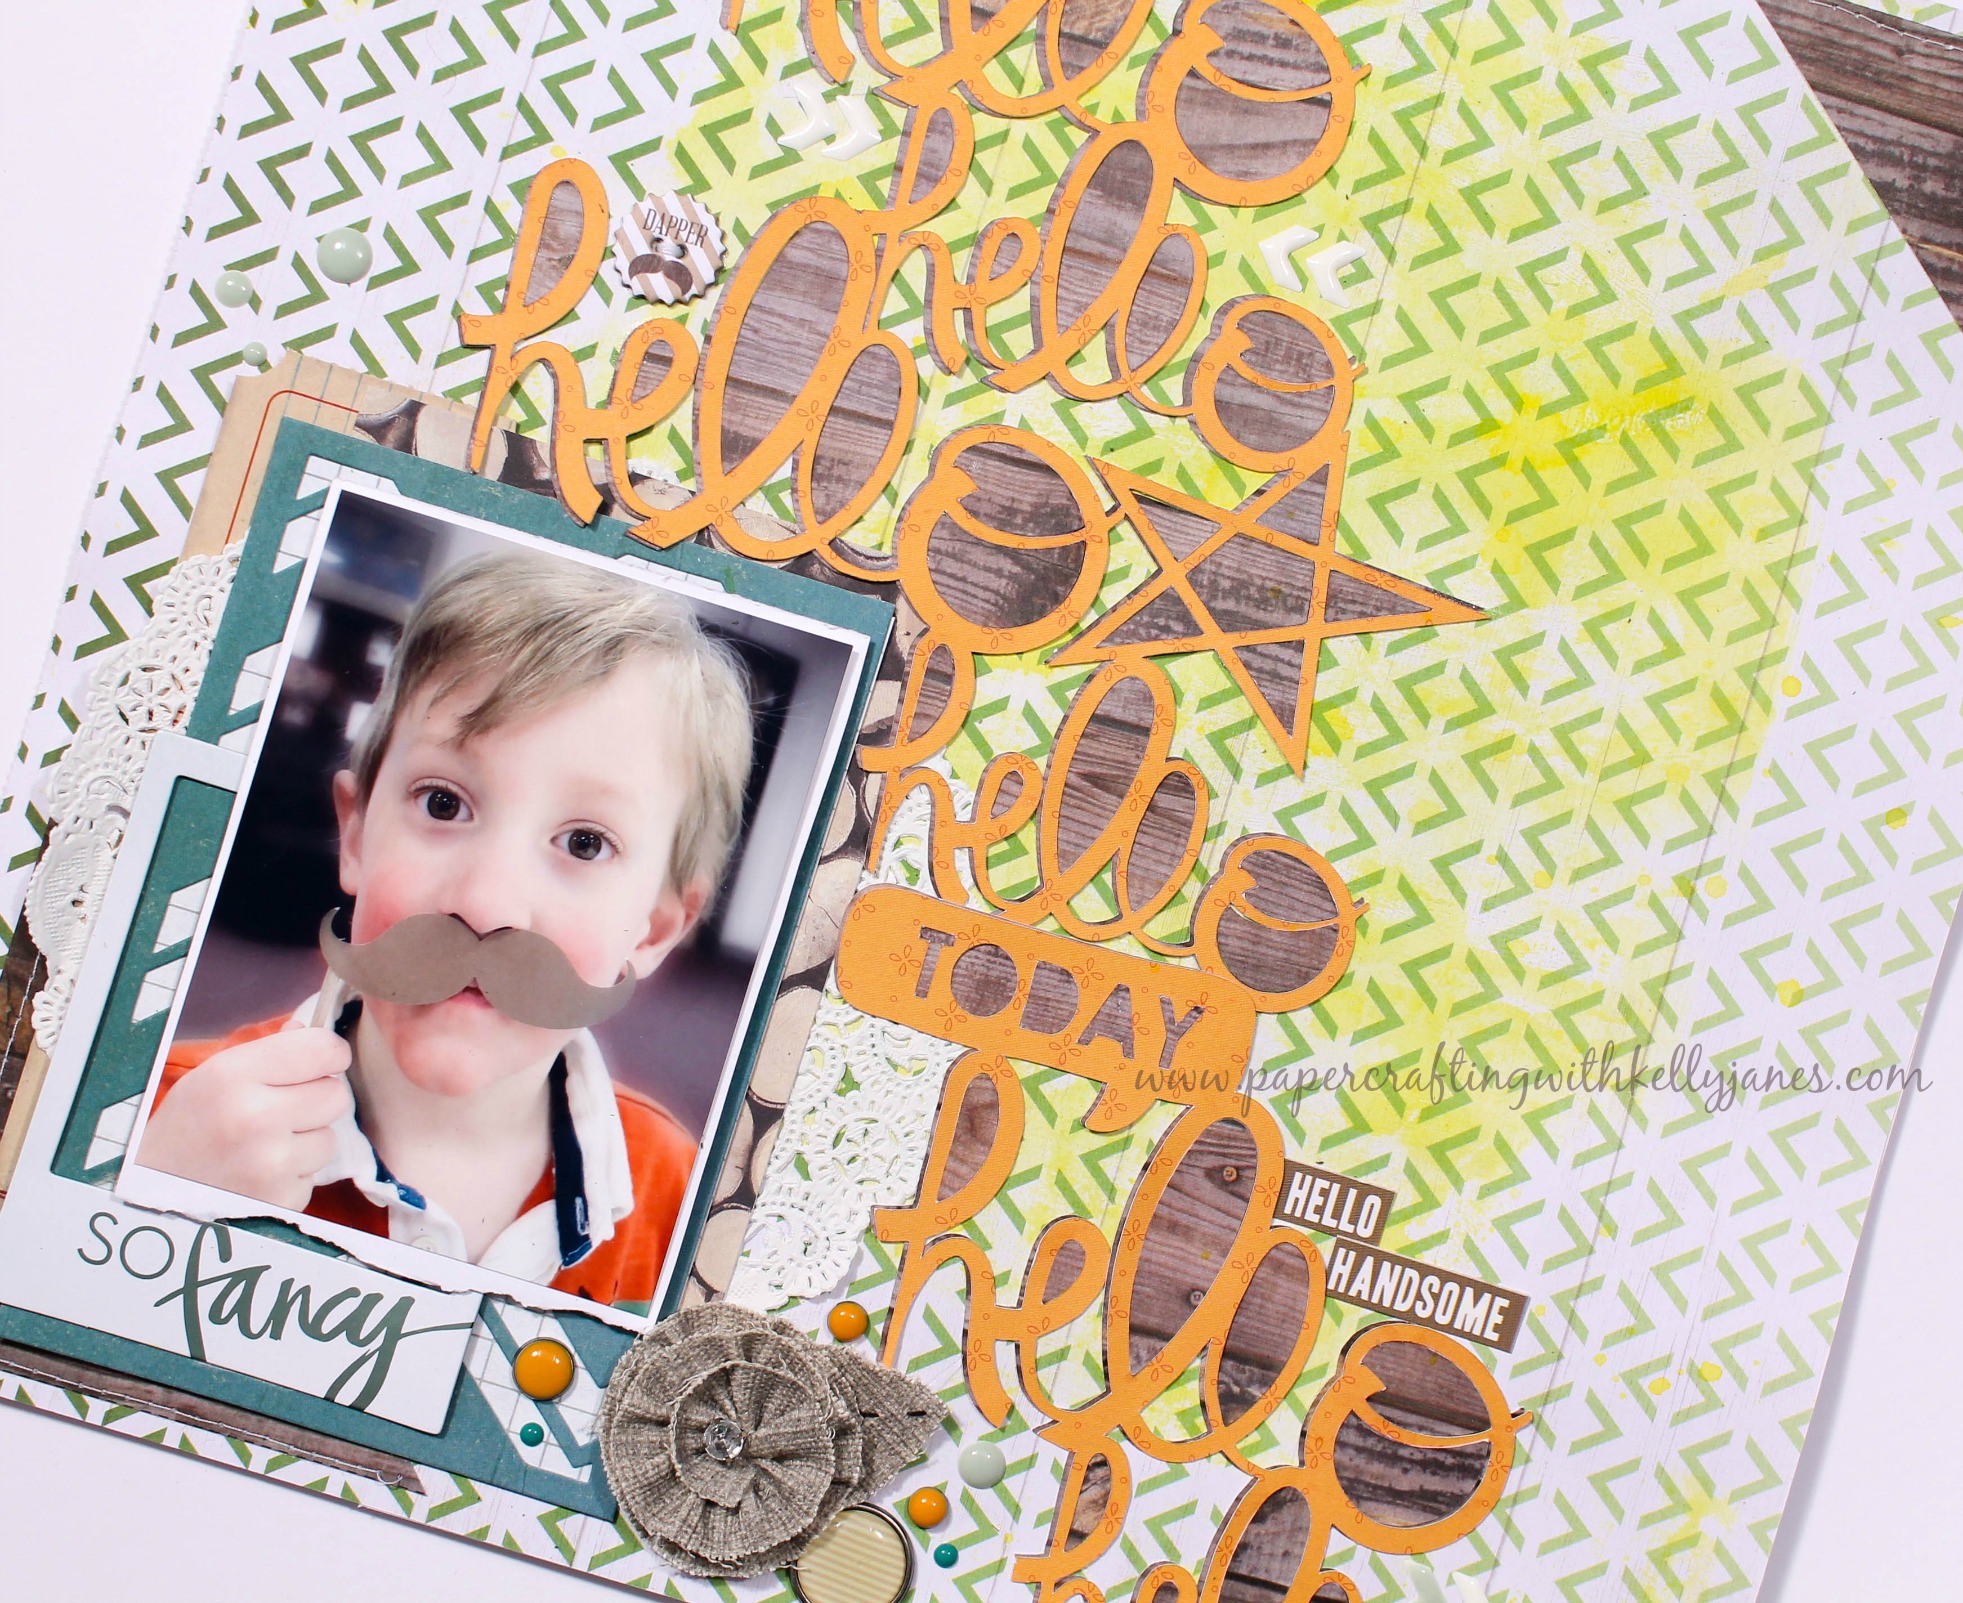
Once the color had dried I moved onto my photo mat. Now this layout is a true “scrap your stash” layout because every single piece of paper used has been in my stash for over a year! YAY! There is something about using products from your stash…like it’s accomplishment! ha! Now because so much of this has been in my stash for so long I don’t remember all of the manufacturers. I do know that a couple of the pieces are from Amy Tangerine’s Finders Keepers Grab Bag Kit, a Heidi Swapp frame that I Minc’d using Mint Foil, Tim Holtz ticket tags, and a doily from my stash. I matted my photo on a scrap piece of white cardstock to give a little separation from the layering.

Hip Kit Club Cut File, Shimmerz Paints, Minc Frame & lots of brads!!

The title comes from a cut file from the Hip Kit Club & is cut on two different patterned papers. The orange paper is from Pink Paislee’s Citrus Bliss collection & the wood grain paper is from my stash.

I have an Iris container full of paper that I can use portions of for cut files or photo mats. This particular wood grain patterened paper had a doily & florals printed in one of the corners and it just wasn’t my style, but ¾ of it was just woodgrain. I know I would never use the paper as a whole sheet because the doily/florals are not my style, but I knew I could get good use out of the woodgrain!

Hip Kit Club Cut File, Shimmerz Paints, Minc Frame & lots of brads!!

I layered the two cut files together and by using the “contour” feature in Cricut Design Space I cut out the negative pieces of the h, e, l’s, & o. I’ve layered my titles together previously to create a bit of a shadow & was inspired by a recent Missy Whidden process video to give this technique another go!! By layering the two papers & filling in the negative spaces of the letters it draws more attention to the title and helps keep it from fading into the background patterned paper.

Hip Kit Club Cut File, Shimmerz Paints, Minc Frame & lots of brads!!

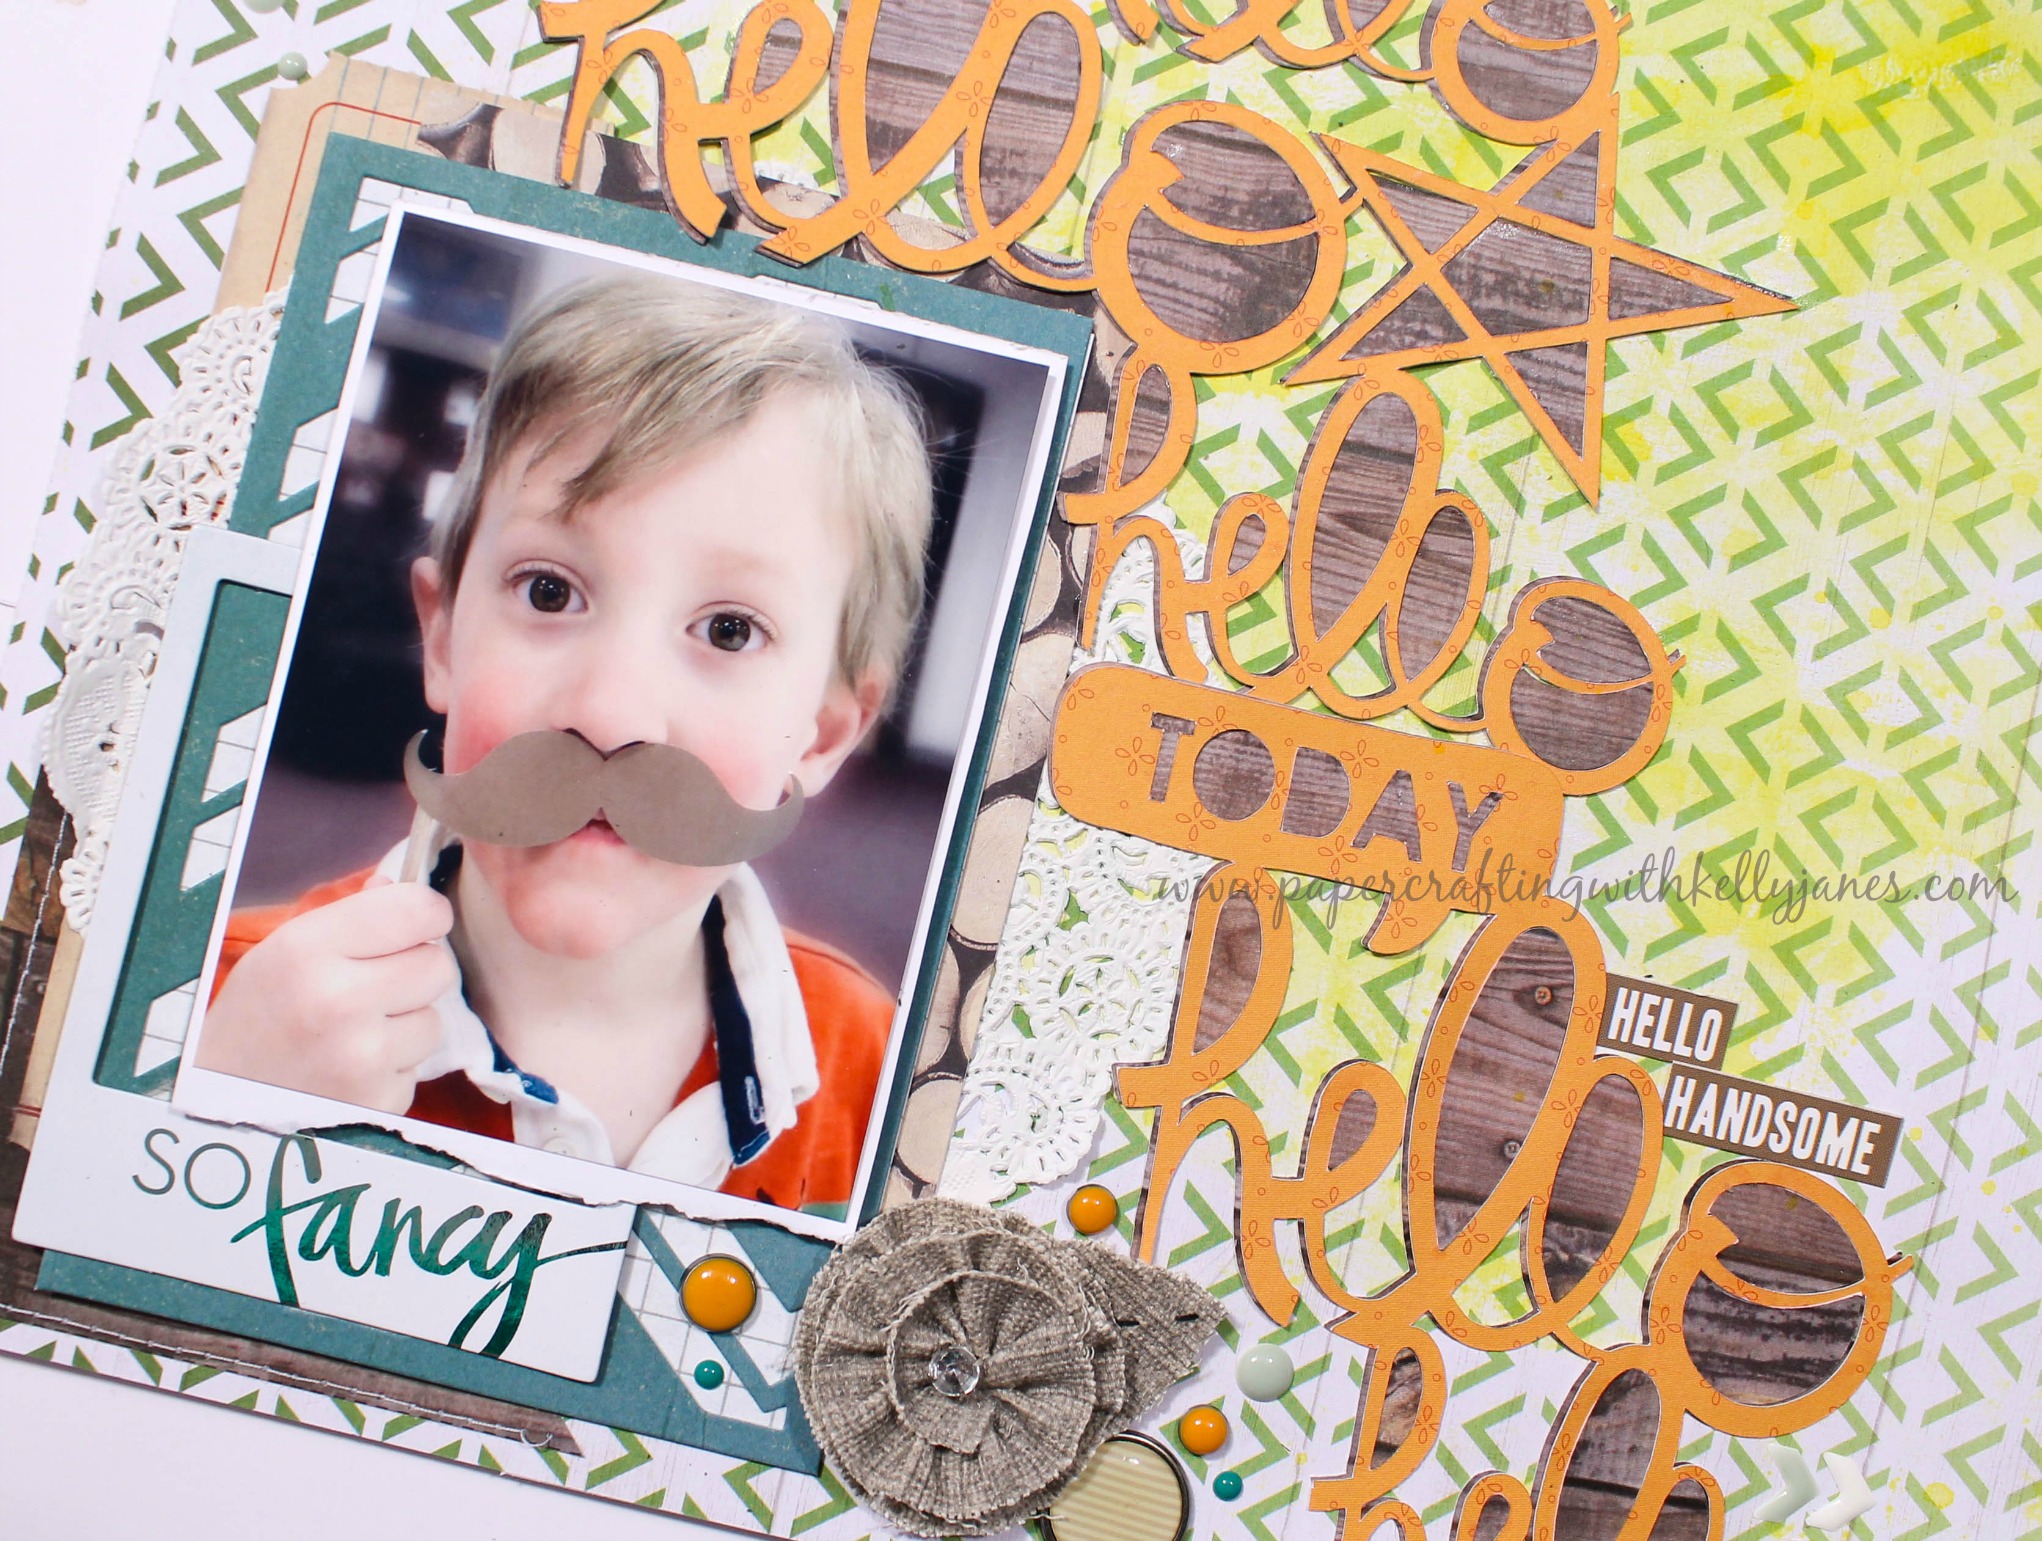
I added a lot of embellishments using My Mind’s Eye enamel dots & Chalk Studio chipboard pieces, Teresa Collins-He Said, She Said brads, a Prima burlap flower & stickers from a random sticker sheet from my stash. I added a small piece of woodgrain patterned paper in the upper right hand corner and also random stitching in both corners of the layout.

Here’s a YouTube process video showing how all of this came together!!

Thanks for stopping by!!
-Kelly

Pocket Blog Hop

Welcome to another Blog Hops with Heart blog hop! If you started from the beginning you should have come from Amie Kiger’s blog, but if you’ve started here that’s perfect also! Our blog hop is a circle so just click the link at the bottom of my post to take you to the next blogger and you’ll eventually make your way around the entire hop!! This month we are featuring papercrafting projects that have a pocket!

Prickly Pineapple Cut File, Shaker Pocket Layout

I started by creating my pocket! I cut a solid pineapple, from the Prickly Pineapple Cut File from The Cut Shoppe, on CTMH White Daisy Cardstock & then a second pineapple using patterned paper from the CTMH Calypso Paper Packet. I applied a layer of clear gesso to the white cardstock pineapple. After the gesso was dry, I mixed Whipped Spackle Texture Paste, pink acrylic paint & white acrylic paint. I then used a Dina Wakley Stencil to create a pink textured mixed media background on the white cardstock pineapple.

Prickly Pineapple Cut File, Shaker Pocket Layout

I then layered those 2 pieces of paper together along with a layer of clear packaging (I used the packaging from a 12×12 chipboard embellishment sheet) to create a shaker pocket! I tossed in random sequins from my stash into the shaker pocket and used white machine stitching to seal the shaker closed.

Prickly Pineapple Cut File, Shaker Pocket Layout

Once that was assembled I moved onto the rest of the layout. I’m scrapbooking another photo from our 2012 cruise. I used a yellow pattern paper from Pink Paislee Citrus Bliss Collection as my background paper. I used multiple embellishments from the Citrus Bliss Collection and the Calypso Collection. I used White Daisy cardstock to back my photo and also some blue tissue paper. My title is from are DIY Thickers from American Crafts that are intended to be inked or sprayed but I like the look of the white so I left them plain. I used a retired CTMH tiny alphabet stamp (Sans Small Caps) & CTMH Glacier Ink for the subtitle.  I also added a torn strip of washi, which was something I first saw from Missy Whidden, and is a fun way to add texture to a layout! Once everything was adhered I did add a couple paper strips to the top & bottom of the layout. Those papers were mainly zip strips, left over washi, & scraps from the layout. I also added white machine stitching to those clusters to add a little more texture. I finished the layout off by adding a splatter of Heidi Swapp Black Color Shine & black sequins from the Calypso Collection.

Here’s a process video to show how all of this came together!!

Now it’s time to head to Becca Whitham’s blog. I saw a sneak peek of her project and it is perfection!! Head there now to check it out!!

Stick it in a Pocket Blog Hop

Thanks for stopping by!
-Kelly