Splash | The Cut Shoppe

I’m still trying to squeeze in my summer themed layouts I’ve made before the weather gets cold! Today I’m sharing a layout I created for The Cut Shoppe earlier this summer using the Make a Splash Cut File.

12x12 layout using the Make a Splash Cut File from The Cut Shoppe & multiple Amy Tangerine Collections.

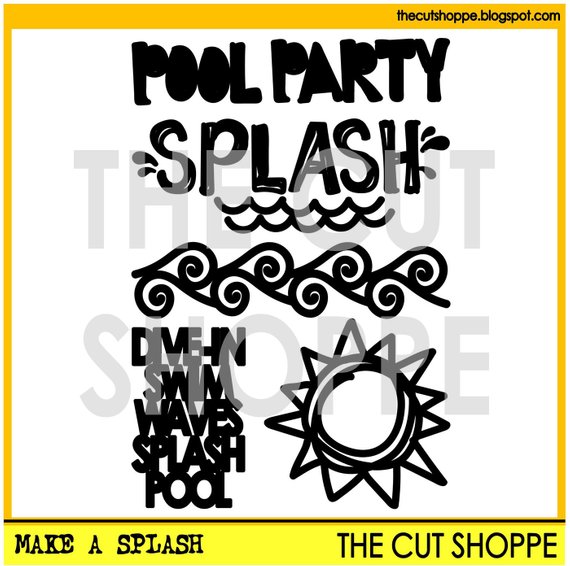
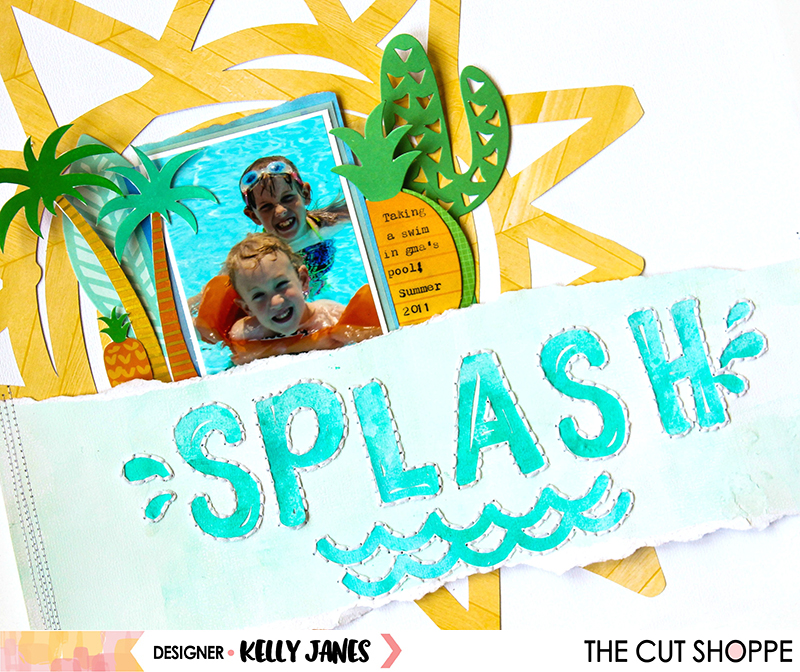
I had started this layout with a completely different idea in mind, and it took many twists and turns before arriving here. I used blue mists from Shimmerz Paints to create a custom color to cut the word “Splash” & waves from the Make a Splash Cut File using a Cricut Explore. I then adhered the title to a sheet of white cardstock that I had painted a light blue color using acrylic paint & my brayer. I added hand stitching once the word, “Splash” & the waves were adhered down.

12x12 layout using the Make a Splash Cut File from The Cut Shoppe & multiple Amy Tangerine Collections.

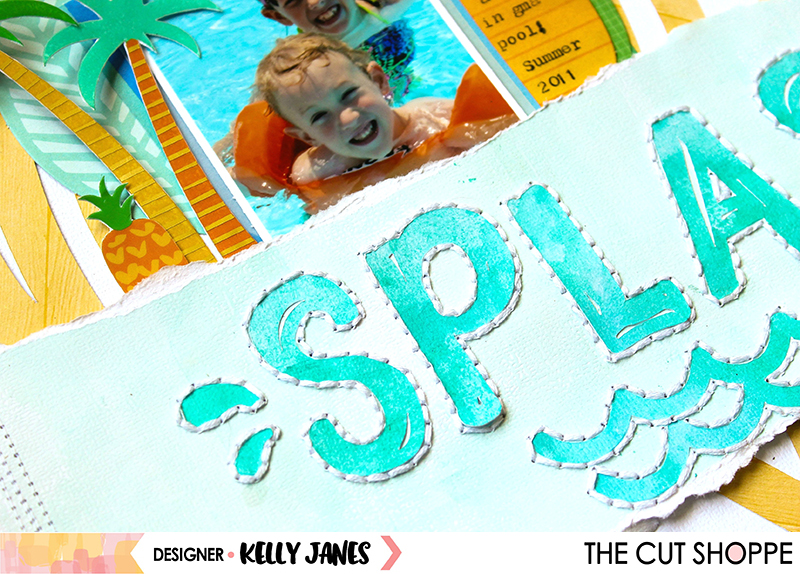
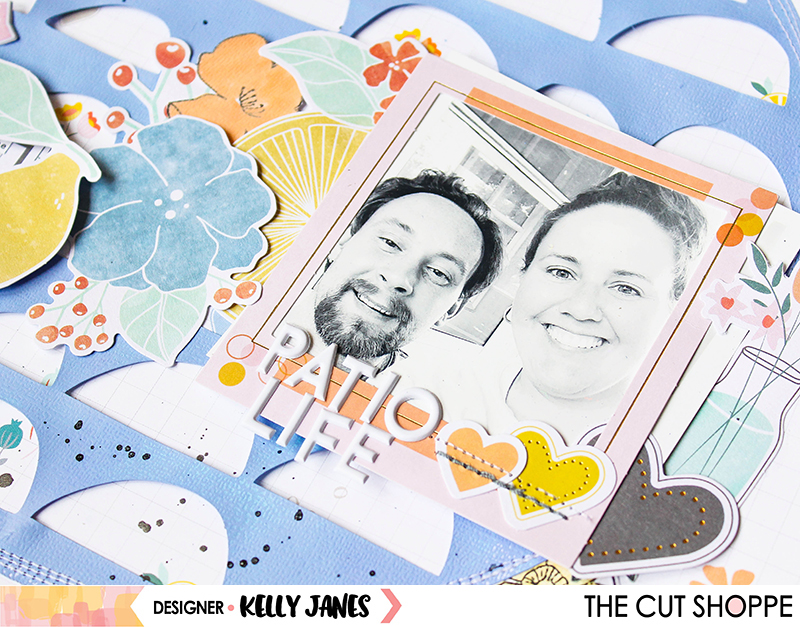
I tore the cardstock with the hand stitched title and added it to another sheet of white cardstock. I wanted to use it as a layer so I cut a large sun, from an older Amy Tangerine Collection, from the same Make a Splash Cut File & added it behind the torn title. Then came the embellishing! I really struggled with this part of the layout. I wanted to use a lot of the fun summery items from the Amy Tangerine – On a Whim Collection. So I grabbed the sticker book & die cuts and started adding layers around the photo.

12x12 layout using the Make a Splash Cut File from The Cut Shoppe & multiple Amy Tangerine Collections.

This photo just melts my heart! I’m not so sure when my son grew up!! I wanted to draw more attention to the photo so I used the On a Whim 6×6 Paper Pad to add layers behind the photo to give some separation from the background. I used my We R Memory Keepers Typecast Typewriter to add journaling to the pineapple shaped die cut. I wanted to add more texture to the layout so I turned to my ever trusty sewing machine to add messy stitching along the edges of the title layer.

12x12 layout using the Make a Splash Cut File from The Cut Shoppe & multiple Amy Tangerine Collections.

Now you can take a look at the process video so you can see all of the twists and turns this layout took from beginning to end!

Thank you so much for spending part of your day with me & remember to visit The Cut Shoppe Etsy Store to see all of the cut files & digital collections!

This blog post contains affiliate links. This means I will receive a commission from items purchased from those links.

Patio Life | The Cut Shoppe – August Challenge

We’ve started something new and fun in The Cut Shoppe Scrap Spot Facebook Group!! Each month a different Design Team member will host a challenge, and I’m kicking things off this month with a Go Big or Go Home Challenge (use a cut file in a large way on your project).

It’s simple to enter the challenge…all you have to do is create a NEW project that fits this month’s theme and you have to use at least one cut file from The Cut Shoppe (it can be from the Etsy Store or a freebie that you’ve picked up from the TCS Blog). After you’ve created your project be sure that you head to TCS FACEBOOK GROUP and upload your project in the August Designer Challenge comments. You have until August 31 at 8:00 AM CST to upload your project. One person will be drawn at random and will win 5 FREE cut files from The Cut Shoppe!

Now onto my project…

12x12 scrapbook layout for The Cut Shoppe using the Full Circle Cut File & the Pinkfresh Studio Simple & Sweet Collection.

I used the Full Circle Cut File and sized it to 10.5″ in Cricut Design Space. I cut the circle on white cardstock, but knew I wanted to alter the color. So before I removed the circle from the Cutting Mat I grabbed a few acrylic paints, including Dylusions Periwinkle and a few others from my stash. While the cut file was still on the cutting mat, I used a Rubber Brayer and added multiple layers of paint until I got the right color combination. I love how it turned out…it matches the periwinkle color in the Pinkfresh Studio Simple & Sweet Collection perfectly!!

12x12 scrapbook layout for The Cut Shoppe using the Full Circle Cut File & the Pinkfresh Studio Simple & Sweet Collection.

I then machine stitched the cut file circle to the Happy Life Patterned Paper which I’m using as my background. This is my favorite paper in the Simple & Sweet Collection and I love that so much of it can peek through the open semi circles from the Full Circle Cut File. Next I started embellishing…

12x12 scrapbook layout for The Cut Shoppe using the Full Circle Cut File & the Pinkfresh Studio Simple & Sweet Collection.

I added a Puffy Sticker & multiple Die Cuts horizontally across the cut file. I also positioned a Frame over my photo to help draw more attention to the photo. I was also in the mood to stamp so I stamped a few florals from the Fleur 1 Stamp Set and colored them using watercolors. I didn’t realize until after I had already purchased this stamp set that it has Matching Dies! I have since purchased them! HA! I used the White Puffy Alpha Stickers for my title, Patio Life. (PS: I think these may be my new fave alpha of all time!!! The size is perfect, the font is awesome & they are puffy! Need I say more?!)

12x12 scrapbook layout for The Cut Shoppe using the Full Circle Cut File & the Pinkfresh Studio Simple & Sweet Collection.

12x12 scrapbook layout for The Cut Shoppe using the Full Circle Cut File & the Pinkfresh Studio Simple & Sweet Collection.

Now you can take a look at my Process Video to see how this layout came together!


Thanks so much for spending part of your day with me & remember you have until August 31 to get your project uploaded in The Cut Shoppe Scrap Spot Facebook Group! We can’t wait to see what you create!

This blog post contains affiliate links. This means I will receive a commission (at no cost to you) from items purchased from those links.