Welcome to our Artfully Sent Blog Hop!! This month nearly 50 consultants are featuring projects made from Close To My Heart’s newest Cricut® cartridge, Arfully Sent! If you’ve come from Beth Naumann’s Blog you are in the right place or if you’ve started here-WELCOME!! This blog hop is a giant circle so you can join the fun by clicking the link on the bottom of my post!! There is also a full list of participants on Melinda Everitt’s Blog if you happen to get lost along the way!!
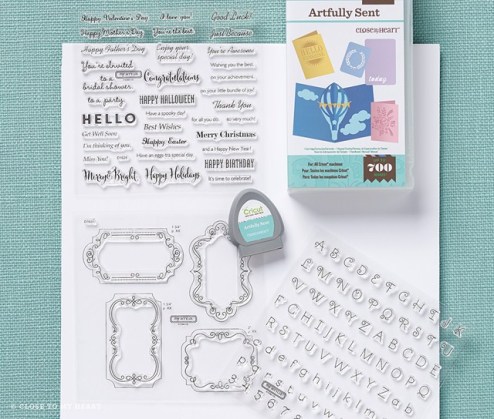
First, let me start by giving you the basics of the Artfully Sent Collection. This collection includes the Artfully Sent Cricut® cartridge, three D-size stamp sets {$17.95 value x3!!!} that coordinate with cuts on the cartridge, and a pack of 12″ × 12″ White Daisy cardstock. With the Artfully Sent cartridge you can create 250 artistic cards and 150 small projects. That means you can creates 400 unique projects from the 700 images on this cartridge!!! There are multiple styles of cards that can be made using this cartridge including pop-up, sleeve, pocket, swing, and tri-panel cards. It truly is full of everything you need to make beautiful cards!!
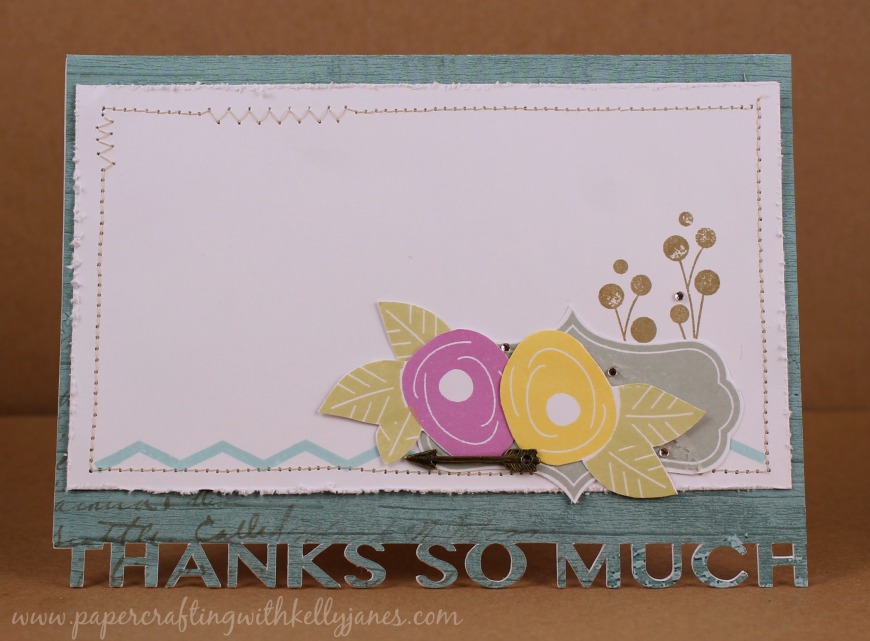
The card I chose to make was a thank you card. {Seriously, I sat and looked at the booklet for almost a half hour! There are so many great cards on this cartridge I couldn’t decide what to make!!} I started by cutting the card base twice; once in White Daisy Cardstock and then an exact repeat using a B&T Duo™ from the Seaside Paper Packet. After they were cut I directly layered them on top of each other. {By using cardstock along with a B&T Duo™ it reinforces your card; making it more sturdy}
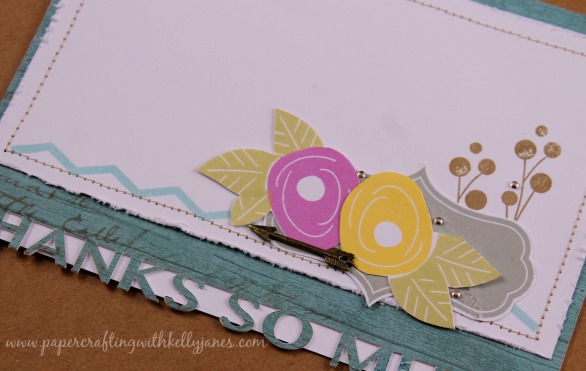
Once I had them layered together I grabbed a scrap piece of White Daisy Cardstock and the Have A Happy Day Stamp Set. Using multiple ink colors {Glacier Exclusive Ink™; Desert Sand Exclusive Ink™; Whisper Exclusive Ink™; Thistle Exclusive Ink™; Canary Exclusive Ink™; Flaxen Exclusive Ink™} I stamped and fussy cut a majority of the images. Before adhering the White Daisy Cardstock to my card base I used an Edge Distresser to create the roughened edges.
Now onto the embellishments! I added Brown & Tan Sparkles and an arrow from the Signature Charms Base & Bling Set. I also added stitching along the edge of the card. It adds so much flair to a card or any papercrafting project!!
I have a few more projects featuring the Artfully Sent cartridge that will be posted very soon so I hope you will come back to view those projects {hint, hint: You can make more than just cards with this fun cartridge}!! To get those posts delivered straight to your inbox please feel free to join my email subscription list or follow me through Bloglovin’ {both subscription lists on are on right hand side of the page}! I hope you are having a great time and finding a lot of inspiration as you are traveling around our blog hop!! For more information on the Artfully Sent Cricut® Cartridge you can contact your Close To My Heart consultant or CLICK HERE for more information and to shop! It’s time to head to Brenda Lapp’s Blog to see what she has created using this fantastic new cartridge!
Kelly


Cute card! Love the “cluster” on the front!
Thanks Beth!
Very pretty!
Thanks Gina!
Very nice job!
Thank you so much!
Your card is gorgeous. I love the stitching. It adds a wonderful touch.
Thank you, Brenda! I love stitching!!! I surprised I haven’t burned the motor out on my little sewing machine!! haha!
great card, the stitching is great!
Thank you so much Jean!
LOVE everything…the “thanks so much”…the stitching…the colors!
Thank you much, Katy!!!!