Hey there friends! I hope you all had a great Christmas and are getting ready to celebrate the upcoming New Year!! I have a new layout to share with you today that was recently on The Cut Shoppe Blog using the Snow Day Background Cut File.
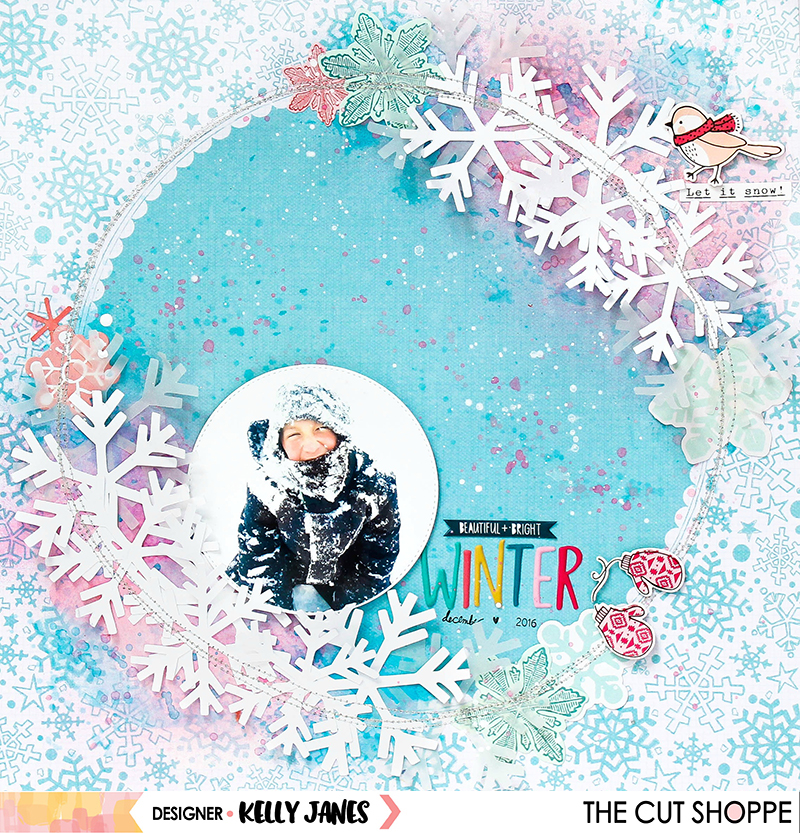
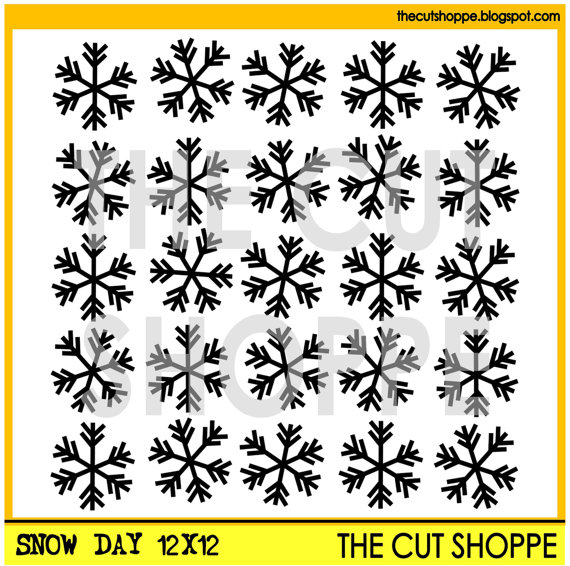
I started in Cricut Design Space by slicing out one of the snowflakes from this background cut file. I then duplicated and resized the image numerous times and cut the snowflakes on white cardstock and vellum.

After I had the snowflakes cut I moved onto my background. I found this blue snowflake patterned paper in my stash. Multiple times a year (and especially when we enter a new season…Halloween, Christmas, etc), I purge and destash. I actually really enjoy this process because I always come across products I forgot that I have…including this patterned paper that I purchased from Michaels years ago. I used White Gesso in a couple spots on the patterned paper and grabbed a few spray inks (2 pinks & 1 blue) from Shimmerz. I sprayed the ink directly onto the background, used the packaging technique, and added splatters to the background using all 3 colors.

I adhered the snowflakes in the same area that I had applied the mixed media. I added a dot of Liquid Adhesive to the center of each snowflake. This allowed the edges of the snowflakes to curl naturally giving the layout a lot of interest and dimension. I then used a few die cuts from the Crate Paper Snow and Cocoa Ephemera Pack and Sticker Sheet. I also added a few die cuts from an older Hip Kit Club kit. I then used my Sewing Machine and silver metallic thread to stitch around the circle to secure all of the snowflakes and die cuts.
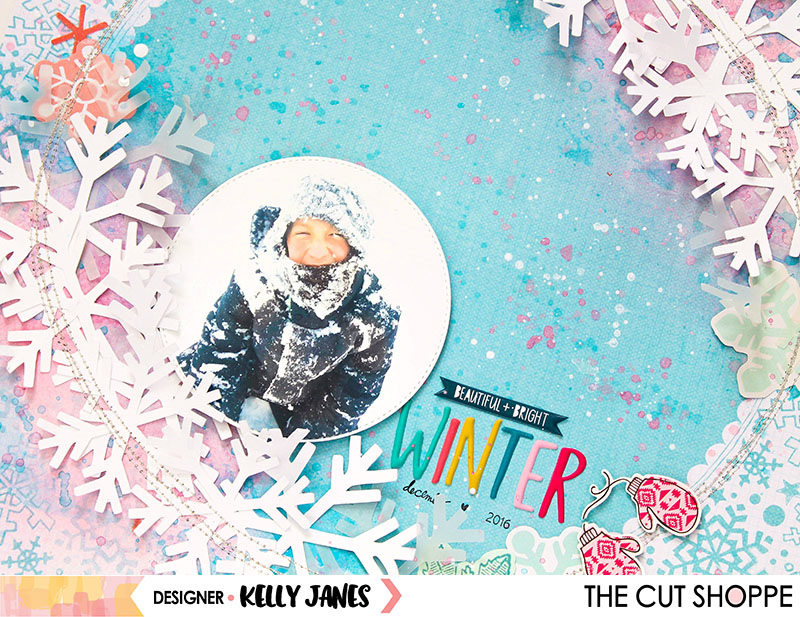
Using a Canon Selphy, I printed my photo as a 3½ x 3½ inch square and used a Stitched Circle Die to cut the photo into a circular shape. I nestled the photo into the snowflakes and added a few more embellishments from the Crate Paper Snow and Cocoa Ephemera Pack and Sticker Sheet. I added my multi-colored title using the CP Snow and Cocoa Puffy Stickers. I absolutely LOVE the colors included in the Snow and Cocoa Collection & was SO happy to see the Crate Paper released this collection for a second year in a row!

For final touches, I added a few more splatters using the same Shimmerz sprays and I also watered down white acrylic paint. I added my date using a Heidi Swapp roller date stamp and black ink. I absolutely love how this layout came together.

Now you can take a look at my process video!

Remember to head to The Cut Shoppe Etsy Store to check out all of the cut files and as an added bonus there is a great sale happening! Make sure you take advantage!! Thanks so much for spending part of your day with me!


Such a great layout!! I gasped…and then again at the end of your post. 🙂
Thanks so much, Becca!! I’m really happy with how this one turned out too! Those colors just speak to my heart!!