Hey there friends! I’m back today to share a new 12×12 scrapbook layout that was recently on The Cut Shoppe Blog using the Happy Little Clouds Cut File!

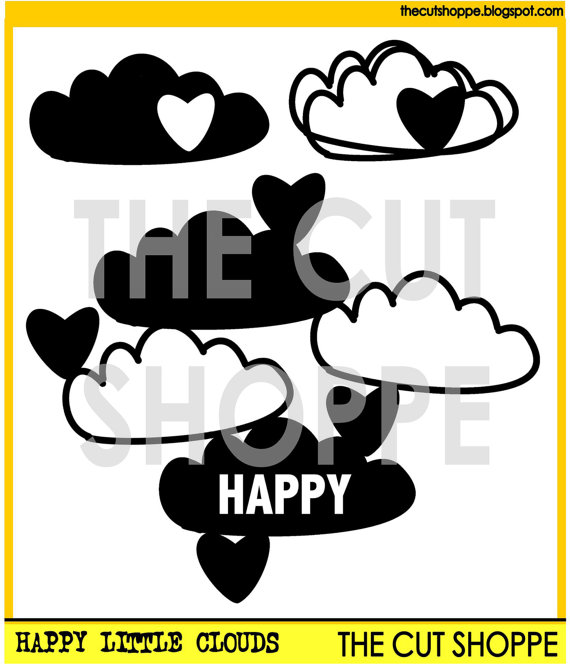
I altered the cut file in Cricut Design Space by using the slice, hide contour and weld features. I first separated the images within the cut file set using the slice feature. I then used the hide contour feature to hide the solid cloud (on the upper left) so the heart was the only portion remaining. I duplicated the heart and placed the hearts within the open clouds on the large image within the cut file set. I welded those hearts along with the single open cloud (on the upper right) to the main cut file set. I also used the hide contour feature to hide the word ‘happy’.
[There is a Cricut Design Space tutorial included in the process video at the end of this post showing each of these steps.]

I painted a blue Shimmerz paint on the clouds before I removed the cut file from the Cutting Mat to to take away the starkness of the white cardstock. While that blue paint was drying, I added a layer of Clear Gesso to the Happy Patterned Paper from the Dear Lizzy Star Gazer Collection. I then added mixed media to the patterned paper using the Illustrated Faith Shanna’s Favorites Watercolors and a gelato from my stash.

I then added vellum behind all of the open clouds on the cut file to help mute out the background patterned paper.

I added multiple embellishments including kites from the 12×12 Chipboard Sheet from the Maggie Holmes Carousel Collection. I also added an additional kite from Crate Paper Poolside and a banner from the Maggie Holmes Carousel Collection Sticker Sheet. I even tossed in a few butterflies from the Crate Paper Cute Girl Collection. This layout is all about our cat named Cloud. So the clouds from the cut file, the kites and butterflies all go along with the theme of her name.

For final touches I added my title using the Amy Tangerine Hustle & Heart white alpha Thickers. I typed journaling using my We R Memory Keepers Typecast Typewriter on white cardstock, cut it into strips and adhered the strips to the solid cloud next to the photo. I also added a few heart stickers and enamel dots around the page.

Now you can take a look at my YouTube Process Video that includes the Cricut Design Space tutorial.
Thanks so much for spending part of your day with me! Remember to head to The Cut Shoppe Esty Store to check out the cut files and digital collections!

