Hi friends! I’m back with a new layout that I recently created for Pretty Little Studio using the XOXO Collection.
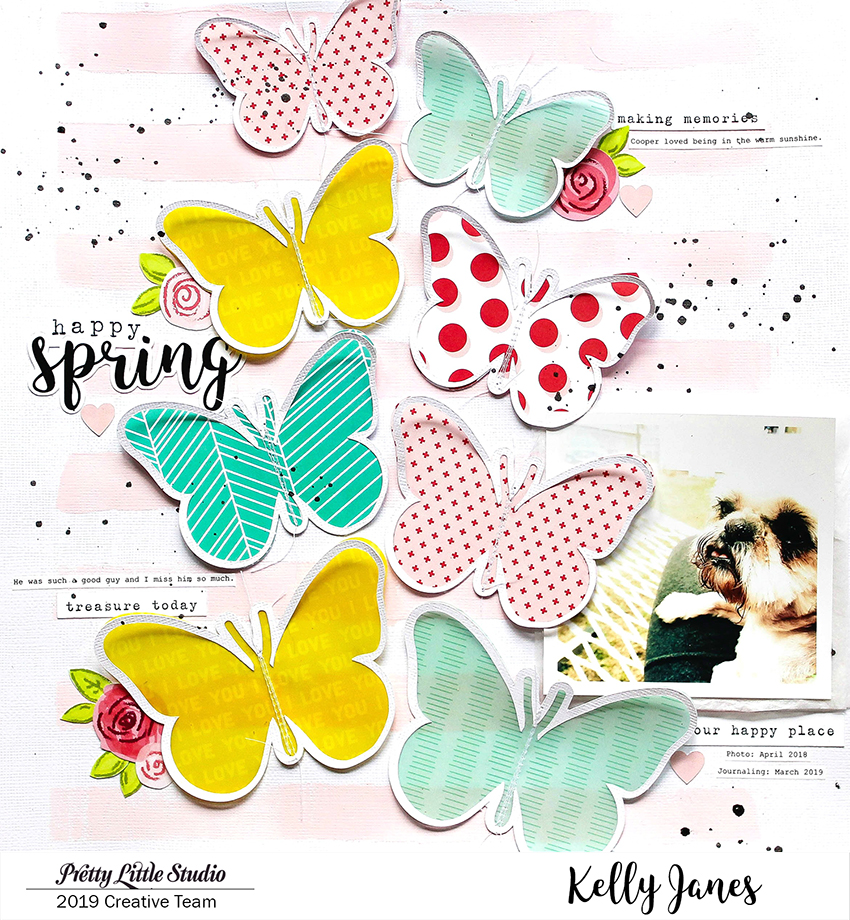
I started by creating an offset in Inkscape. [A step-by-step tutorial can be found in the process video at the bottom of this post.] I then uploaded the outline of the Butterfly Cut File, that is available in the Pretty Little Studio Shop, into Cricut Design Space. Once the butterfly was uploaded, I sized and duplicated the butterfly numerous times. Once I had the outline of the butterflies sized, I selected the whole group and duplicated all of the butterflies. I then used the Contour Feature in Design Space to turn the duplicated butterflies into a solid image. Next, I cut the butterfly outlines in white cardstock and the solid butterflies in numerous pattern papers from the XOXO 8×8 Paper Pad and two pieces of vellum [Never Ending Love & I’m Yours] from the same XOXO Collection.
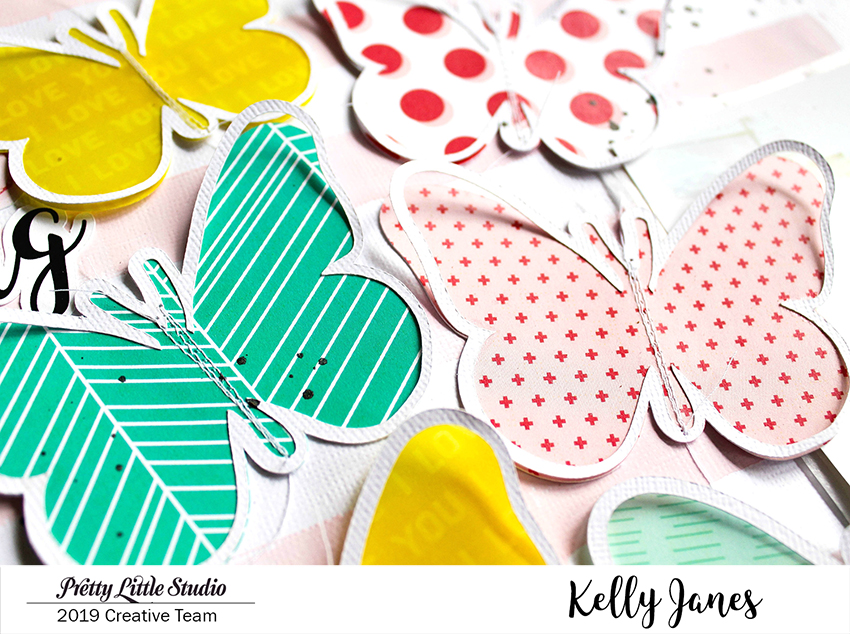
After all of the butterflies were cut, I adhered the outline to each of the patterned papers. I then used a Heidi Swapp stencil and a light pink acrylic paint to paint lines on my white cardstock background. I then positioned the butterflies vertically in the center of my layout.
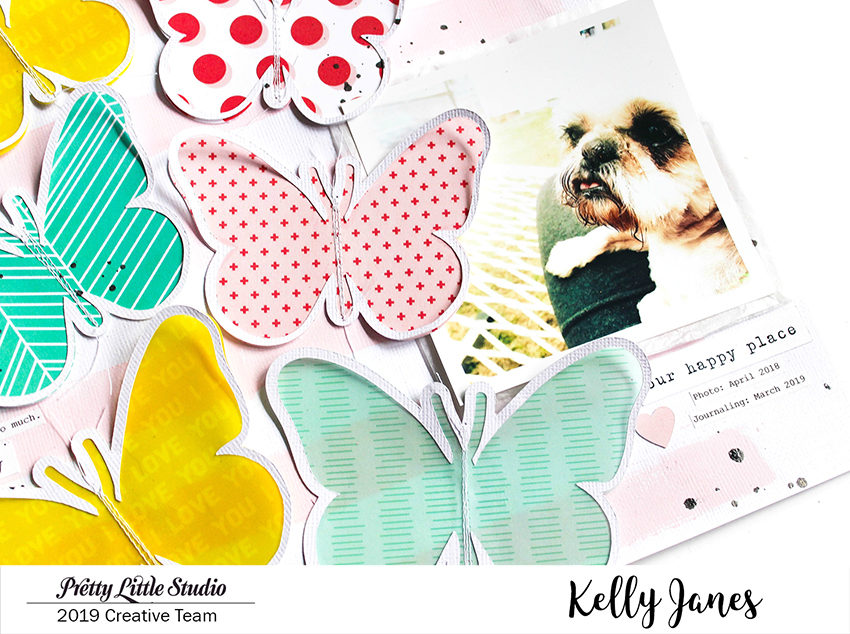
I positioned my photo to the right of the butterflies and added a few fussy cut florals. I actually cut these florals from the 8×8 Patterned Paper Pad packaging! Last Spring I guest designed for Pretty Little Studio and went through an entire pack of the Floral Die Cuts. They are my absolute fave! I still have the 8×8 Floral Cardstock Patterned Paper, the Vellum, and the Acetate Sheet that has this same floral design, but I can’t bring myself to cut into them! I’m 100% hoarding those papers! HA!
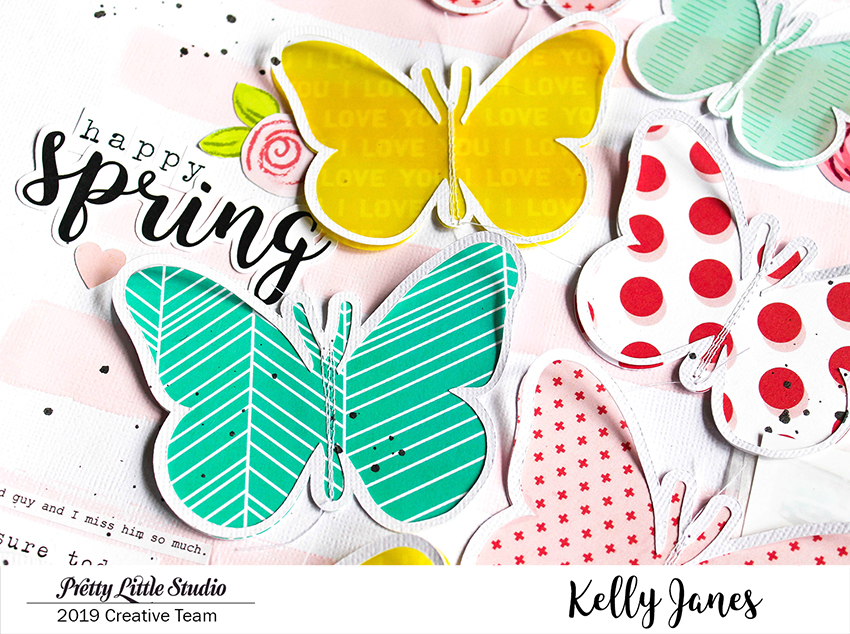
I really wanted the embellishing to be limited because I wanted the focus to be on the butterflies. For my title, I grabbed the word “Spring” from a Freebie pack of die cuts I had received in a previous Pretty Little Studio order. I added the word “Happy” above the die cut using the Cozy White Mini ABC Sticker Sheet from the Feel Likes Fall Collection. I also added a few sentiment strips from the same freebie pack, and a few pink hearts from the XOXO Love Word Flags Die Cut Pack. After adding black splatters and a few lines of printed journaling this layout was complete!
Now you can take a look at the process video that has an Inkscape & Cricut Design Space tutorial.
Thank you so much for joining me today! Happy Crafting!